
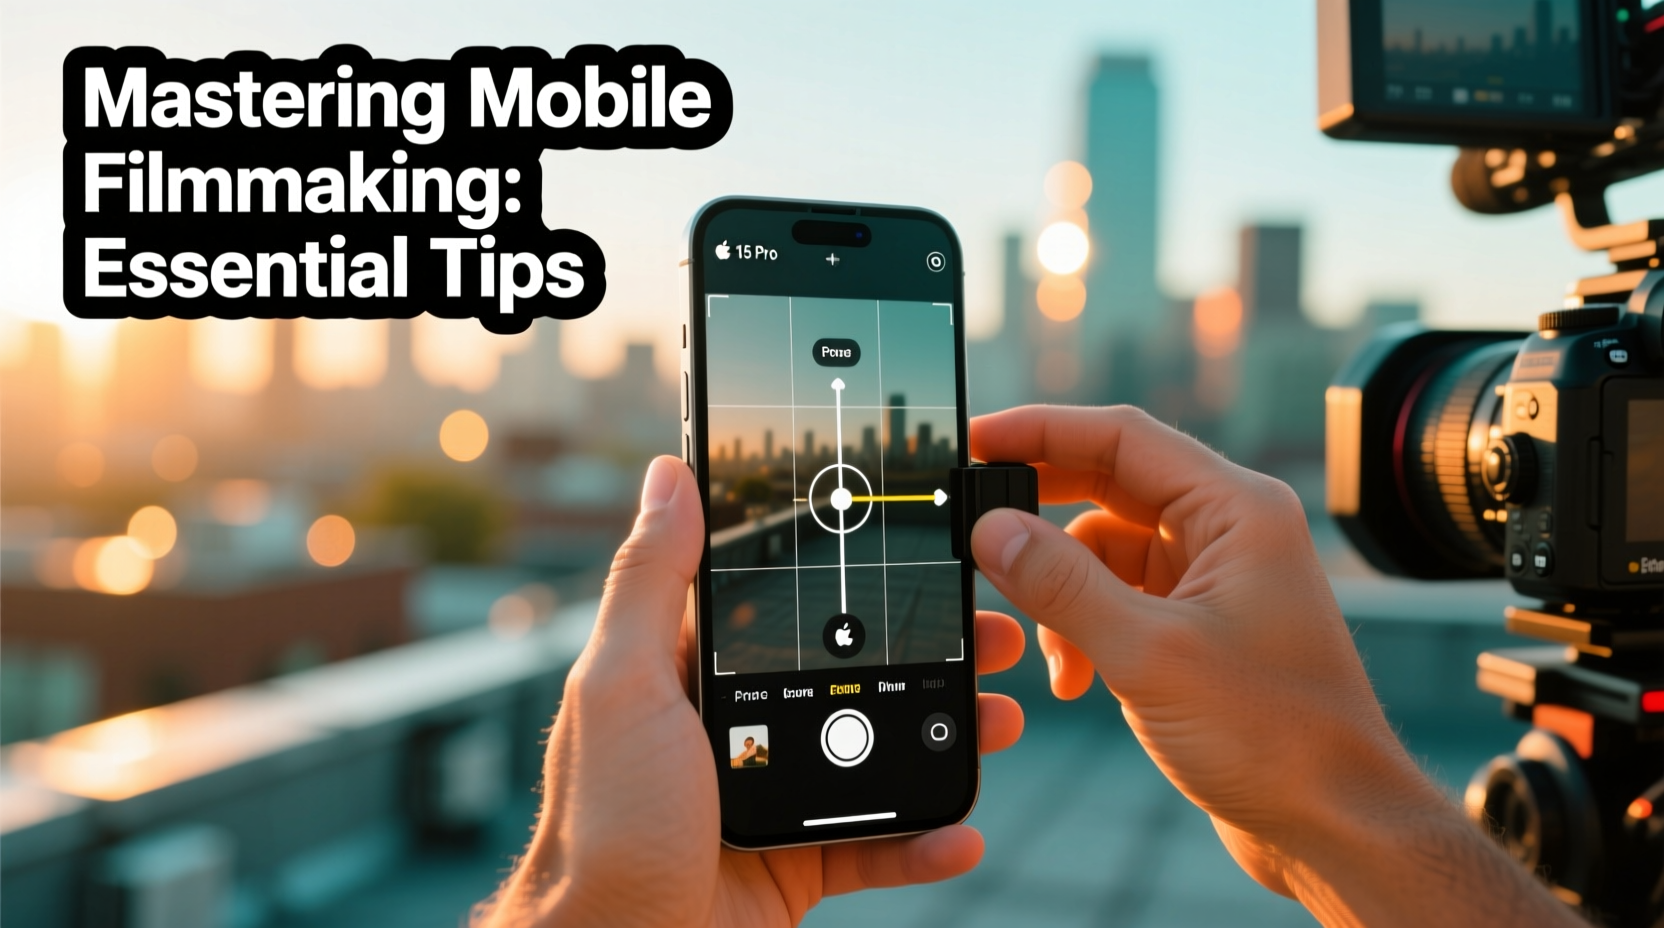
In the past decade, smartphones have evolved into powerful filmmaking tools. With high-resolution sensors, advanced stabilization, and pro-grade apps, today’s phones can produce cinematic footage that rivals traditional cameras. The barrier to entry has never been lower—yet the difference between amateur clips and compelling visual storytelling lies in technique, preparation, and intentionality. Whether you're documenting life, building a personal brand, or experimenting with narrative film, mastering mobile filmmaking begins with understanding how to harness your device’s full potential.
1. Optimize Your Phone’s Camera Settings
Most users rely on default camera modes, missing out on crucial control over exposure, focus, white balance, and resolution. To elevate your video quality, dive into manual settings—either through your native camera app or third-party alternatives like Filmic Pro, Moment Pro Camera, or Cinema FV-5.
Lock focus and exposure by tapping and holding on your subject until “AE/AF Lock” appears. This prevents unwanted shifts when lighting changes. Adjust white balance manually to avoid unnatural color casts—especially under artificial light. And if your phone supports it, enable LOG profiles (like iPhone’s Cinematic mode or Android equivalents), which preserve more dynamic range for color grading later.
2. Stabilization and Movement Control
Shaky footage instantly undermines professionalism. While modern phones have excellent digital stabilization, it often crops the image significantly. For cleaner results, use physical support.
- Use a grip or clamp mount for handheld shooting with better balance.
- Invest in a compact gimbal (e.g., DJI OM series) for smooth tracking shots and panning.
- Lean against walls or use tripods when static shots are needed.
“Stability isn’t about eliminating motion—it’s about controlling it. A slow dolly-in can convey emotion; a shaky pan distracts from it.” — Lena Patel, Mobile Documentary Filmmaker
When moving the phone without equipment, walk slowly with bent knees, keeping your arms close to your body. Avoid rapid pans or tilts—instead, let scenes breathe with longer takes.
3. Lighting: Shape Mood and Clarity
No amount of post-processing can fix poorly lit footage. Natural light remains the most flattering and accessible resource. Shoot during golden hour (shortly after sunrise or before sunset) for soft, warm illumination. Position your subject so light falls evenly across their face, ideally with the sun behind or beside them—not directly overhead.
For indoor scenes, layer your lighting: combine ambient room lights with directional sources like LED panels or lamps. Avoid fluorescent bulbs, which often cast greenish hues. Use diffusers—such as sheer fabric or parchment paper—to soften harsh point lights.
4. Audio Quality Matters More Than You Think
Even visually stunning videos fall flat with poor sound. Built-in microphones pick up wind, handling noise, and ambient distractions. To capture clean dialogue or voiceovers, external audio is non-negotiable.
| Audio Solution | Best For | Limits |
|---|---|---|
| Lavalier mic (wired) | Interviews, vlogs | Cable visibility, limited mobility |
| Wireless lavalier (Bluetooth or radio) | Moving subjects, run-and-gun | Battery life, occasional dropouts |
| Shotgun mic on rig | Narrative scenes, directional sound | Requires mounting, bulkier setup |
| Field recorder + clip-on mic | High-fidelity sync audio | Need to sync in post |
Always monitor audio with headphones while recording. Apps like Rode Reporter or Ferrite Recording Studio allow real-time monitoring and gain control. Record a few seconds of room tone at the end of each scene to help editors remove background noise later.
5. Compose with Purpose: Framing and Rule of Thirds
Strong composition guides the viewer’s eye and enhances emotional impact. Enable grid lines in your camera settings to align elements using the rule of thirds. Place key subjects along intersecting lines rather than dead center—unless symmetry serves the story.
Vary shot types deliberately:
- Wide shot: Establishes setting and context.
- Medium shot: Shows subject from waist up; ideal for dialogue.
- Close-up: Emphasizes emotion or detail.
- Over-the-shoulder: Adds perspective in conversations.
Avoid cluttered backgrounds. Blur them using portrait mode or by increasing distance between subject and backdrop. Leading lines, natural frames (windows, doorways), and negative space can add depth and sophistication.
Mini Case Study: From Concept to Festival Screening
Jamal Reyes, a first-time filmmaker from Portland, shot his 12-minute short film entirely on an iPhone 14 Pro. He used a $70 tripod, borrowed a Rode Wireless Go II mic, and filmed during early morning light to maximize natural illumination. By applying manual focus and shooting in 4K HDR, he captured rich textures in skin tones and urban landscapes. After editing in DaVinci Resolve, the film was accepted into three regional indie festivals. “People were shocked it wasn’t shot on a cinema camera,” he said. “The phone didn’t make the film—my planning and attention to light and sound did.”
Step-by-Step Guide: Shooting a Professional Mobile Video
Follow this timeline to ensure consistency and quality from pre-production to delivery:
- Day Before Shoot: Charge all devices, test audio levels, scout locations, check weather.
- 30 Minutes Before: Set up tripod/gimbal, attach external mic, enable grid lines, set resolution to 4K 24fps.
- 10 Minutes Before: Frame shots, lock exposure/focus, do a sound check.
- During Shoot: Record multiple takes, slate each scene (say scene/take aloud), capture B-roll.
- After Shoot: Backup footage immediately, label files clearly, log notes on performance/lighting.
- Editing: Use apps like LumaFusion (iOS) or CapCut (cross-platform) for multi-track editing, color correction, and audio syncing.
- Export: Render at 4K with H.264 codec, bitrate around 20–30 Mbps for online platforms.
Checklist: Essential Mobile Filmmaking Kit
- 📱 Smartphone with latest OS and ample storage
- 🔋 External battery pack (10,000mAh+)
- 🧰 Tripod or mini gimbal
- 🎤 External microphone (lavalier or shotgun)
- 🎧 Closed-back headphones for audio monitoring
- 💡 Portable LED panel or reflector
- 📎 Clip or case for secure mounting
- 📁 High-capacity SD card or cloud backup enabled
- 🎬 Third-party camera app (Filmic Pro, etc.)
- ✂️ Non-linear editing software (LumaFusion, DaVinci Resolve)
FAQ
Can I shoot a feature film on a smartphone?
Yes—several award-winning films have been made entirely on phones, including *Tangerine* (shot on iPhone 5s) and *Homecoming* (Samsung Galaxy). Success depends on script, direction, lighting, sound, and post-production, not just the camera.
Do I need expensive apps to edit mobile footage?
Not necessarily. Free apps like CapCut and iMovie offer robust features for cutting, transitions, and basic color grading. For advanced control, paid apps like LumaFusion ($29.99) provide professional workflows without needing a computer.
How do I avoid shaky zooming?
Digital zoom degrades quality and amplifies shake. Instead of zooming, move physically closer or reframe in post. If you must zoom, use a slider accessory or edit in a subtle \"zoom effect\" during editing for smoother results.
Conclusion
Mobile filmmaking isn’t about replacing high-end gear—it’s about democratizing storytelling. With deliberate choices in lighting, sound, framing, and stabilization, your smartphone becomes a cinematic instrument. The best stories don’t require million-dollar budgets; they demand clarity of vision, technical awareness, and creative courage. Pick up your phone, apply these principles, and start capturing moments that resonate.


 浙公网安备
33010002000092号
浙公网安备
33010002000092号 浙B2-20120091-4
Comments
No comments yet. Why don't you start the discussion?