
Needle punch art transforms soft fibers into intricate, tactile designs using a simple yet powerful tool: the felting needle. Unlike traditional embroidery or weaving, needle punch—also known as dry felting—allows artists to sculpt wool into dense, durable forms. The process is meditative, accessible, and deeply rewarding, making it ideal for both beginners and seasoned crafters. With patience and precision, you can create wall hangings, 3D sculptures, and wearable art that stand out through texture and depth.
The Essentials: Tools and Materials You Need
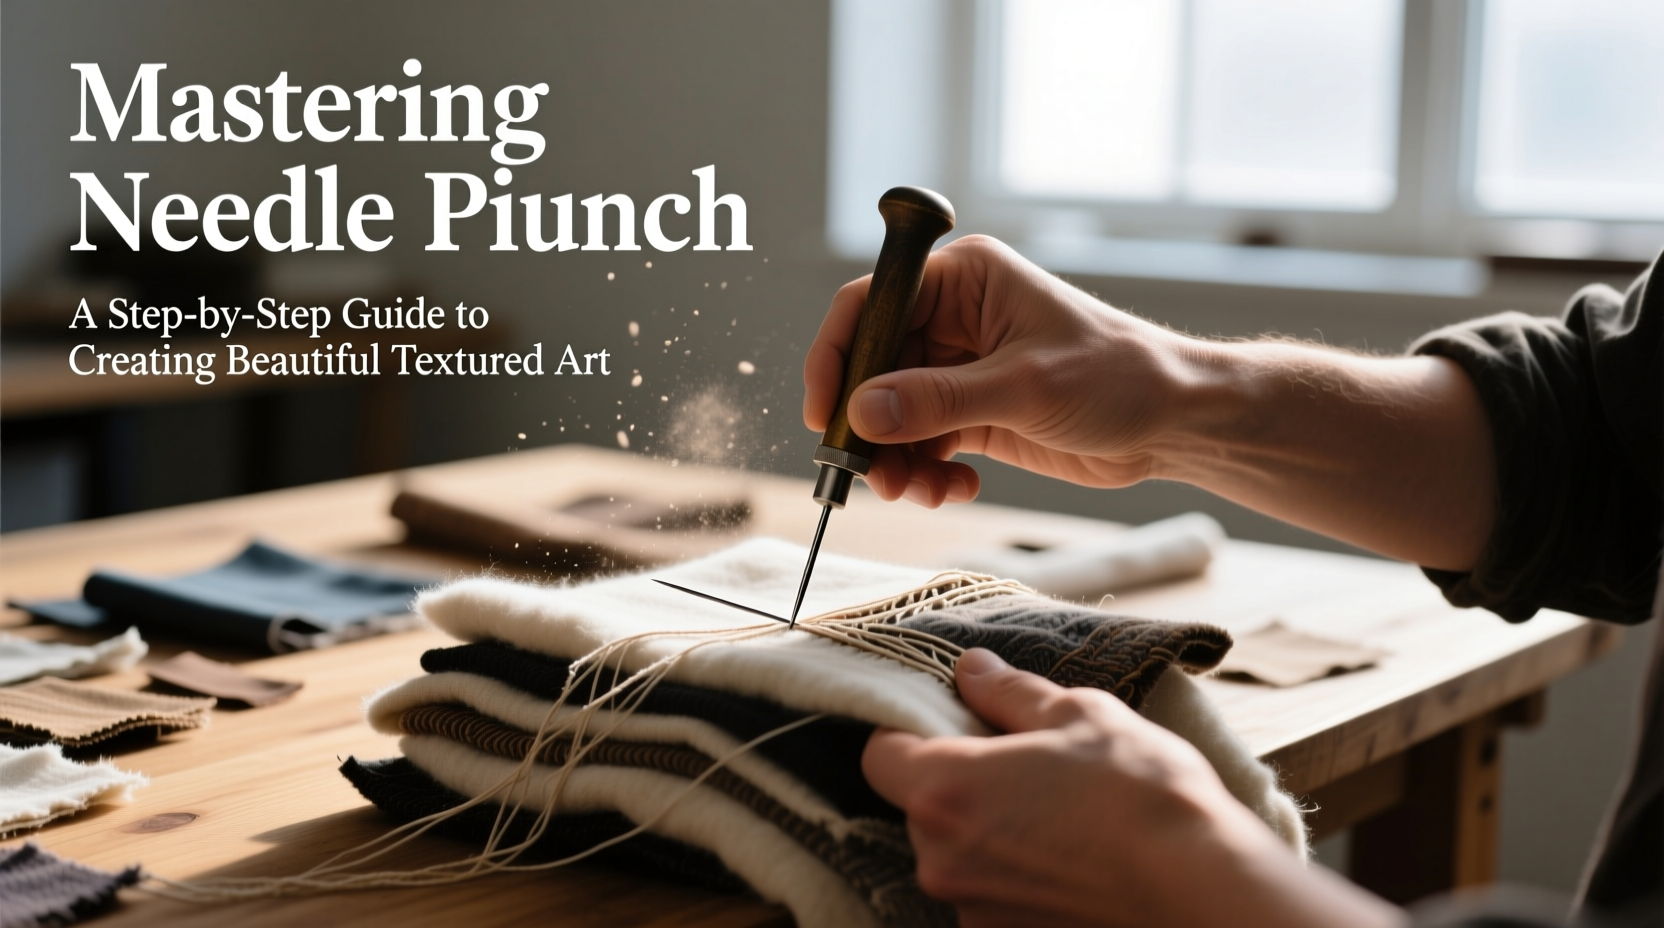
Before diving into technique, gather the right supplies. Quality materials make a significant difference in both ease of use and final outcome. Needle punch relies on barbed needles that tangle wool fibers when repeatedly stabbed into a surface. Over time, this compacts the fibers into solid shapes.
- Felting Needles: Available in various gauges (36, 38, 40), with finer needles for detail work and coarser ones for rapid bulk shaping.
- Wool Roving: Carded, unspun wool in a range of colors. Merino is popular for its softness and color vibrancy.
- Felting Surface: A foam pad, brush mat, or specialized felting cushion protects your work surface and allows needles to pass freely.
- Frame or Hoop (Optional): Keeps fabric taut when working on flat pieces like wall art.
- Tweezers and Needle Holders: For precise fiber placement and reduced hand strain during long sessions.
Step-by-Step Guide to Your First Needle Punch Project
Start with a small, manageable design to build confidence. A geometric shape or abstract pattern works well for early practice.
- Sketch Your Design: Transfer a simple outline onto a piece of felt or fabric using a water-soluble pen or chalk.
- Prepare the Base: Stretch the fabric in a hoop or tape it securely over foam to prevent shifting.
- Lay the Foundation: Place thin layers of roving over the area to be punched. Use tweezers for control.
- Begin Puncturing: Hold the needle vertically and stab steadily at a rate of 1–2 times per second. Never jab sideways—this can snap the needle.
- Build Layers: Once the base fibers are secured, add more wool to create height and dimension. Rotate the piece to maintain even tension.
- Refine Edges: Switch to a finer needle (40 gauge) to sharpen outlines and smooth surfaces.
- Final Inspection: Gently pull on the fibers. If they resist lifting, the piece is sufficiently felted.
This methodical approach ensures structural integrity and visual clarity. Rushing leads to uneven density and weak spots.
Avoiding Common Pitfalls: Do’s and Don’ts
Even experienced artists encounter setbacks. Awareness of frequent errors helps you troubleshoot before frustration sets in.
| Do’s | Don’ts |
|---|---|
| Work slowly and consistently for even texture. | Rush the process, causing loose fibers or lumpy areas. |
| Use fresh, sharp needles—replace them every 10–15 hours of use. | Continue using a bent or dull needle; it will fray wool instead of felting it. |
| Keep fingers behind the needle path at all times. | Work without attention—needles are sharp and can cause painful pricks. |
| Layer wool thinly to avoid bulky buildup. | Overload with roving; excess wool resists felting and creates gaps. |
| Clean your workspace regularly to avoid stray fibers contaminating colors. | Mix dirty hands between colors, especially light and dark shades. |
“Texture is not an afterthought—it’s the language of fiber art. Every punch changes the story.” — Lena Torres, Textile Artist & Educator
Expanding Your Skills: Advanced Techniques
Once basic felting feels intuitive, experiment with dimensional effects and mixed media. These strategies elevate your work from craft to fine art.
- Shading with Color: Blend two or more wool hues gradually by layering progressively. This mimics gradients in painting.
- Creating Relief: Build up certain areas higher than others for a sculptural effect. Ideal for floral motifs or landscapes.
- Incorporating Armatures: Use wire frames inside wool to support 3D forms like animals or jewelry.
- Combining with Yarn or Fabric: Stitch or embed other textiles for contrast in texture and sheen.
Mini Case Study: From Blank Canvas to Gallery Piece
Sophie Nguyen, a self-taught artist from Portland, began needle punching after a hand injury made knitting painful. She started with a 6x6 inch square of burlap and a single sheet of blue roving. Her first attempt—a wavy horizon line—was uneven and sparse. But she persisted, documenting each session in a journal.
Within six weeks, Sophie completed “Tidal Memory,” a layered seascape combining deep indigo, seafoam green, and touches of silver mohair. By varying needle types and building texture in stages, she achieved the illusion of moving water. The piece was accepted into a local craft exhibition and sold within days.
Her advice? “Let imperfection be part of the process. Wool forgives. The rhythm of punching teaches you to trust your hands again.”
Essential Checklist for Every Needle Punch Session
Follow this checklist before starting any project to ensure efficiency and safety:
- ☑ Secure your base material to a foam pad or hoop
- ☑ Select the appropriate needle gauge for your stage (coarse for bulk, fine for detail)
- ☑ Prepare wool roving by pulling thin, even strips
- ☑ Keep fingers clear of the needle path
- ☑ Work in a well-lit area to see fiber alignment clearly
- ☑ Take breaks every 20–30 minutes to avoid repetitive strain
- ☑ Clean stray fibers from your workspace to maintain color purity
Frequently Asked Questions
Can I use regular yarn instead of wool roving?
Most commercial yarns are spun and tightly twisted, making them resistant to felting. While some wool-blend yarns may partially compact, roving is specifically designed for needle punching and delivers superior results.
Is needle punch safe for children?
With supervision, older children (ages 12+) can learn basic techniques using blunt-tipped beginner needles and pre-cut shapes. However, standard felting needles are extremely sharp and require responsible handling.
How do I fix a hole or thin spot in my work?
Add a small piece of matching roving over the area and felt it in place using a medium-gauge needle. Blend the edges by angling the needle slightly outward as you work.
Bring Texture to Life
Needle punch art rewards patience and curiosity. Each puncture binds fiber into form, turning loose fluff into something enduring. Whether you're crafting a minimalist accent for your living room or exploring fiber as a medium for personal expression, the technique offers endless possibilities. The tools are simple, but the outcomes are profoundly tactile and visually rich.
Begin with a single shape. Master the rhythm of the needle. Then expand—not just in scale, but in imagination. Let wool become your paint, and the needle your brush.


 浙公网安备
33010002000092号
浙公网安备
33010002000092号 浙B2-20120091-4
Comments
No comments yet. Why don't you start the discussion?