
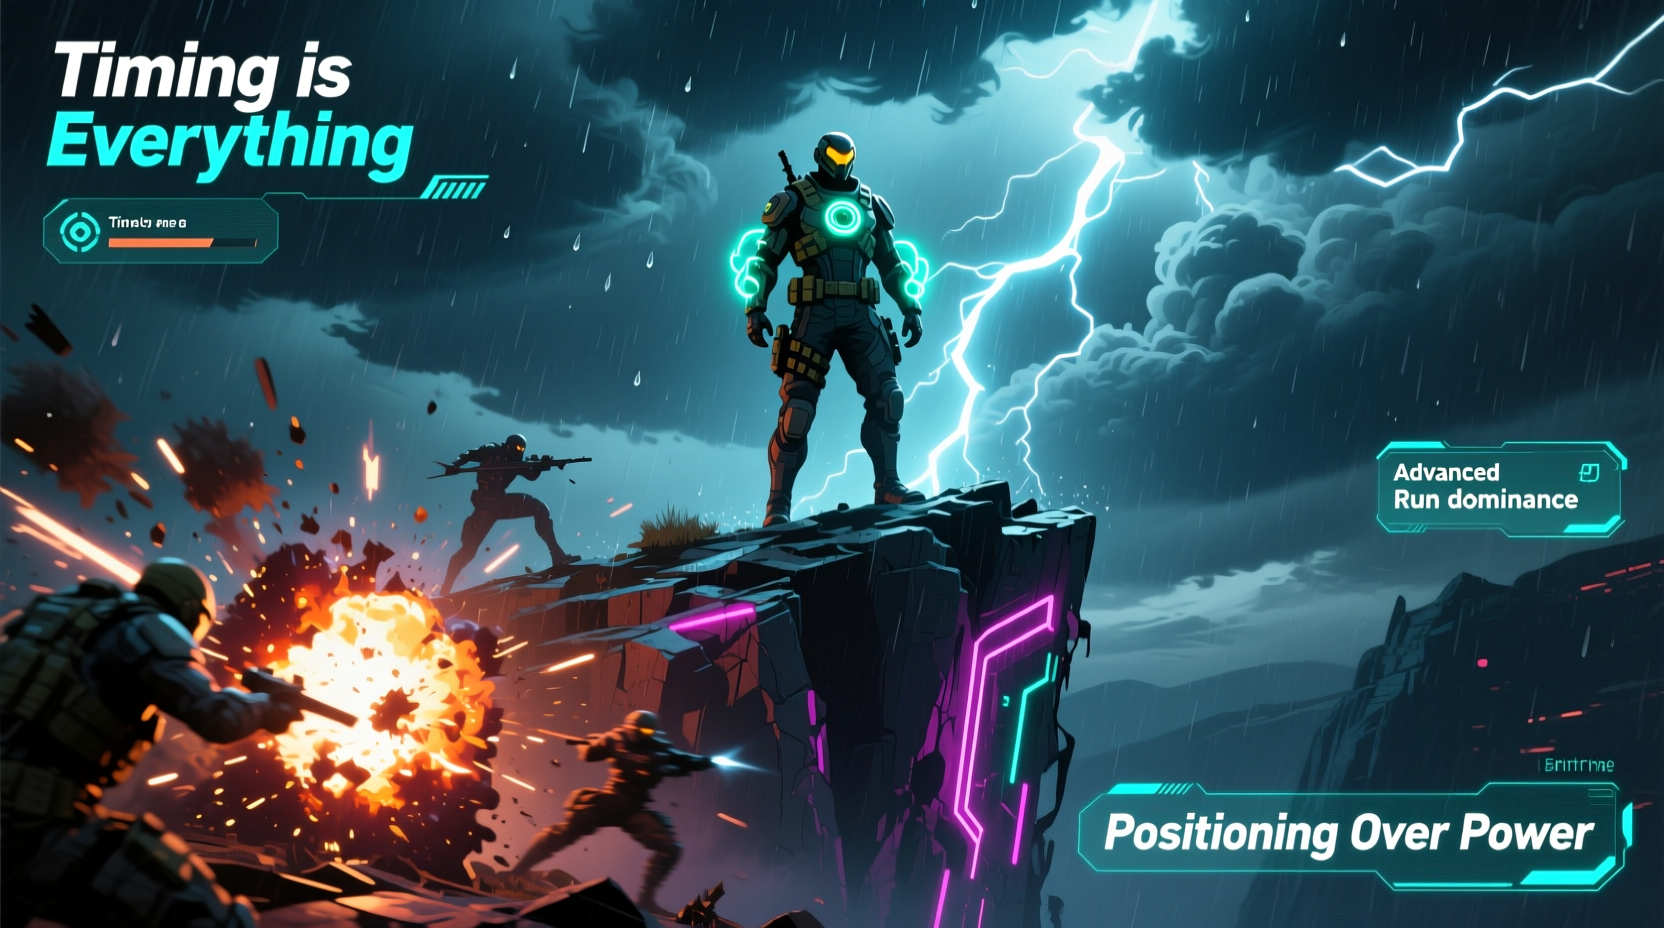
Obliteration is one of the most powerful mechanics in Risk of Rain 2, serving as both a gameplay milestone and a performance benchmark. Triggered after defeating all enemies during an Intermission phase, it grants massive rewards: tripled item gain, doubled experience, and increased teleporter damage. However, achieving Obliteration consistently—especially on higher difficulty levels—requires more than brute force. It demands strategic planning, precise execution, and deep knowledge of enemy behavior, map dynamics, and character synergies.
Players who master Obliteration don’t just survive longer—they dominate. Their item stacks grow exponentially, their damage output skyrockets, and their survivability becomes nearly unmatched. This guide breaks down the advanced techniques that separate average players from elite runners who clear stages in record time and conquer Mithrix with ease.
Understanding Obliteration: More Than Just Clearing Enemies
Obliteration occurs when every enemy—including hidden spawn points, mini-bosses, and surprise ambushes—is eliminated before the end of an Intermission. If even one enemy remains, the opportunity is lost. The window is tight, typically lasting 45–60 seconds depending on difficulty, and shrinks further on higher stages.
The reward structure makes Obliteration essential for high-level play:
- Tripled Item Drops: Every chest opened yields three items instead of one.
- Doubled Experience Gain: Character levels accelerate dramatically.
- Increased Teleporter Damage: Up to +3x damage dealt during the boss phase.
These bonuses compound over successive Obliterations. A player who achieves four consecutive Obliterations can enter the final stage with godlike stats, turning what would be a grueling fight into a decisive victory.
Advanced Enemy Control and Map Clearing Tactics
Efficient enemy clearing is the foundation of successful Obliteration. Many players rush through stages, assuming they’ve cleared everything—only to miss a single hidden spawn. Here’s how to eliminate that risk.
Use Predictive Spawning Knowledge
Enemy spawns in Risk of Rain 2 follow semi-predictable patterns based on stage type and difficulty. Memorizing common spawn locations gives you a critical edge.
| Stage | Common Hidden Spawn Locations | Recommended Clearing Method |
|---|---|---|
| Gilded Coast | Behind waterfall, under docks | Frostbite AoE or explosive shots |
| Sirens Call | Underwater tunnels, cliffside caves | Railgunner snipe or Commando grenades |
| Bazaar Between Time | Alleyways, rooftops | Mage firewalls or Huntress dash-clears |
| Artifact of Doom | Behind monoliths, side chambers | Loader ground pounds or charge attacks |
Exploit Crowd Control and Area Denial
Characters with wide-area abilities can lock down zones while you verify clearance. For example:
- MUL-T with Triple Strike can cover multiple paths simultaneously.
- Engineer turrets can hold chokepoints and auto-fire on late-spawning enemies.
- Void Fiend’s singularity pulls stragglers into view.
“Obliteration isn’t about speed—it’s about precision. The best players move slow, check twice, and never assume.” — Kael Vire, Top 100 Survivor Leaderboard
Character-Specific Strategies for Guaranteed Obliteration
Not all characters are equally suited for Obliteration runs. Some excel at rapid area denial, others at scouting or burst damage. Choosing the right survivor—and building them correctly—can make or break your run.
Top Performers for Obliteration Efficiency
- Railgunner: Long-range sniping allows safe elimination of distant enemies without triggering new spawns.
- Huntress: Dash attacks and homing projectiles ensure no enemy escapes detection.
- Bandit: Smoke Bomb lets you scout danger zones safely; dual pistols shred clusters.
- Mage: Firewall traps prevent enemy movement and reveal stealth units.
Step-by-Step: Executing a Flawless Obliteration Run
Follow this sequence to maximize your chances of success on every Intermission:
- Pause at Intermission Start: Don’t rush. Take 5 seconds to assess map layout and recall known spawn zones.
- Deploy Surveillance: Use drones, turrets, or scanning tools to monitor blind spots.
- Clear in Zones: Divide the map into quadrants. Clear one at a time systematically.
- Verify with AoE: Drop splash damage (grenades, shockwaves) in suspicious areas—even if nothing appears.
- Wait 3 Seconds: After last kill, wait. New enemies sometimes spawn with a delay.
- Confirm Visual Silence: No red dots on minimap, no audio cues, no movement.
- Proceed Only When Certain: Rushing invalidates the effort. Patience wins runs.
Synergy Stacking: Maximizing the Obliteration Bonus
The true power of Obliteration lies not in the immediate reward, but in how it amplifies your build. Smart players use the tripled item drops to stack game-breaking synergies.
Examples of high-impact combinations:
- Warped Sigil + Chronobauble: Near-instant revival spam during boss fights.
- Stun Grenade + Headstomp: Permanent stagger on elite enemies.
- Ukulele + Paul’s Goat Hoof: Uninterrupted healing and sustain.
During an Obliteration phase, prioritize chests with high-tier or rare drop potential. Use items like Crowbar or Lepton Daisy to manipulate loot tables. Each successful Obliteration should push your build closer to hyper-efficiency.
Mini Case Study: The 4-Obliteration Mithrix Run
Jenna, a veteran player ranked in the top 200 globally, executed a flawless run on Scepter SS+1 using Loader. Her strategy:
- She used Charge Dash to clear elevated platforms in Bazaar Between Time, confirming no Guppies remained.
- On Siren’s Call, she dropped a timed Ice Whip AoE in a submerged tunnel—killing a late-spawn Beetle Guardian.
- After each Obliteration, she focused on stacking Crit, Attack Speed, and Healing synergies.
By the final stage, her telegraph damage exceeded 8,000% base, and she defeated Mithrix in under four minutes. “Three of those kills were invisible enemies I wouldn’t have found without methodical clearing,” she noted in a post-run analysis.
Common Mistakes That Break Obliteration Chances
Even experienced players fall into traps. Avoid these pitfalls:
| Mistake | Consequence | Solution |
|---|---|---|
| Rushing the Intermission | Miss hidden enemies | Adopt a checklist-based approach |
| Ignoring audio cues | Overlook cloaked or silent spawns | Wear headphones; listen for footsteps |
| Over-relying on minimap | Fog-of-war hides units | Physically visit every zone |
| Prioritizing boss prep over clearing | Trigger new spawns mid-clear | Delay buffing until Obliteration is secured |
FAQ
Can Obliteration fail even if I think I’ve killed everything?
Yes. Some enemies spawn with a delay or are hidden beneath terrain. Always wait 3–5 seconds after the last kill and use AoE to test suspicious areas.
Does Symbiote count as an enemy for Obliteration?
No. Friendly summons like Symbiote, turrets, or drones do not prevent Obliteration. Only hostile entities matter.
Is Obliteration possible on Monsoon or higher?
Absolutely. While harder due to faster spawn rates and aggressive elites, skilled teams using coordinated clearing tactics achieve it regularly. Solo players must be even more meticulous.
Final Checklist for Consistent Obliteration
- ✅ Scout all map zones before starting clearance
- ✅ Use AoE or explosives in blind spots
- ✅ Deploy surveillance tools (drones, turrets)
- ✅ Wait 3–5 seconds after last kill
- ✅ Confirm no audio or visual indicators remain
- ✅ Prioritize high-tier chests post-Obliteration
- ✅ Stack synergistic items to amplify gains
Conclusion
Mastering Obliteration transforms your approach to Risk of Rain 2. It shifts the game from reactive survival to proactive domination. With disciplined clearing habits, character-specific optimization, and smart synergy stacking, you’ll unlock a new tier of performance. The difference between a good run and a legendary one often comes down to whether you took those extra few seconds to verify every corner.


 浙公网安备
33010002000092号
浙公网安备
33010002000092号 浙B2-20120091-4
Comments
No comments yet. Why don't you start the discussion?