
Pan-searing fish is one of the most elegant yet accessible techniques in home cooking. When done correctly, it yields a crisp, golden crust and a moist, flaky interior that elevates even the simplest fillet into a restaurant-quality dish. The key lies not in complexity but in precision—controlling heat, moisture, seasoning, and timing. This guide breaks down every element of the process, offering practical insights to help you consistently achieve tender, flavorful results.
Selecting the Right Fish
The foundation of a great pan-seared fish starts at the market. Not all species respond well to high-heat searing. Lean, firm-fleshed fish hold their shape better and develop a superior crust without falling apart.
Ideal candidates include:
- Sablefish (Black Cod): Rich in fat, yielding buttery texture and excellent browning.
- Halibut: Dense and meaty, perfect for achieving a clean sear.
- Sea Bass: Delicate yet sturdy enough for stovetop cooking.
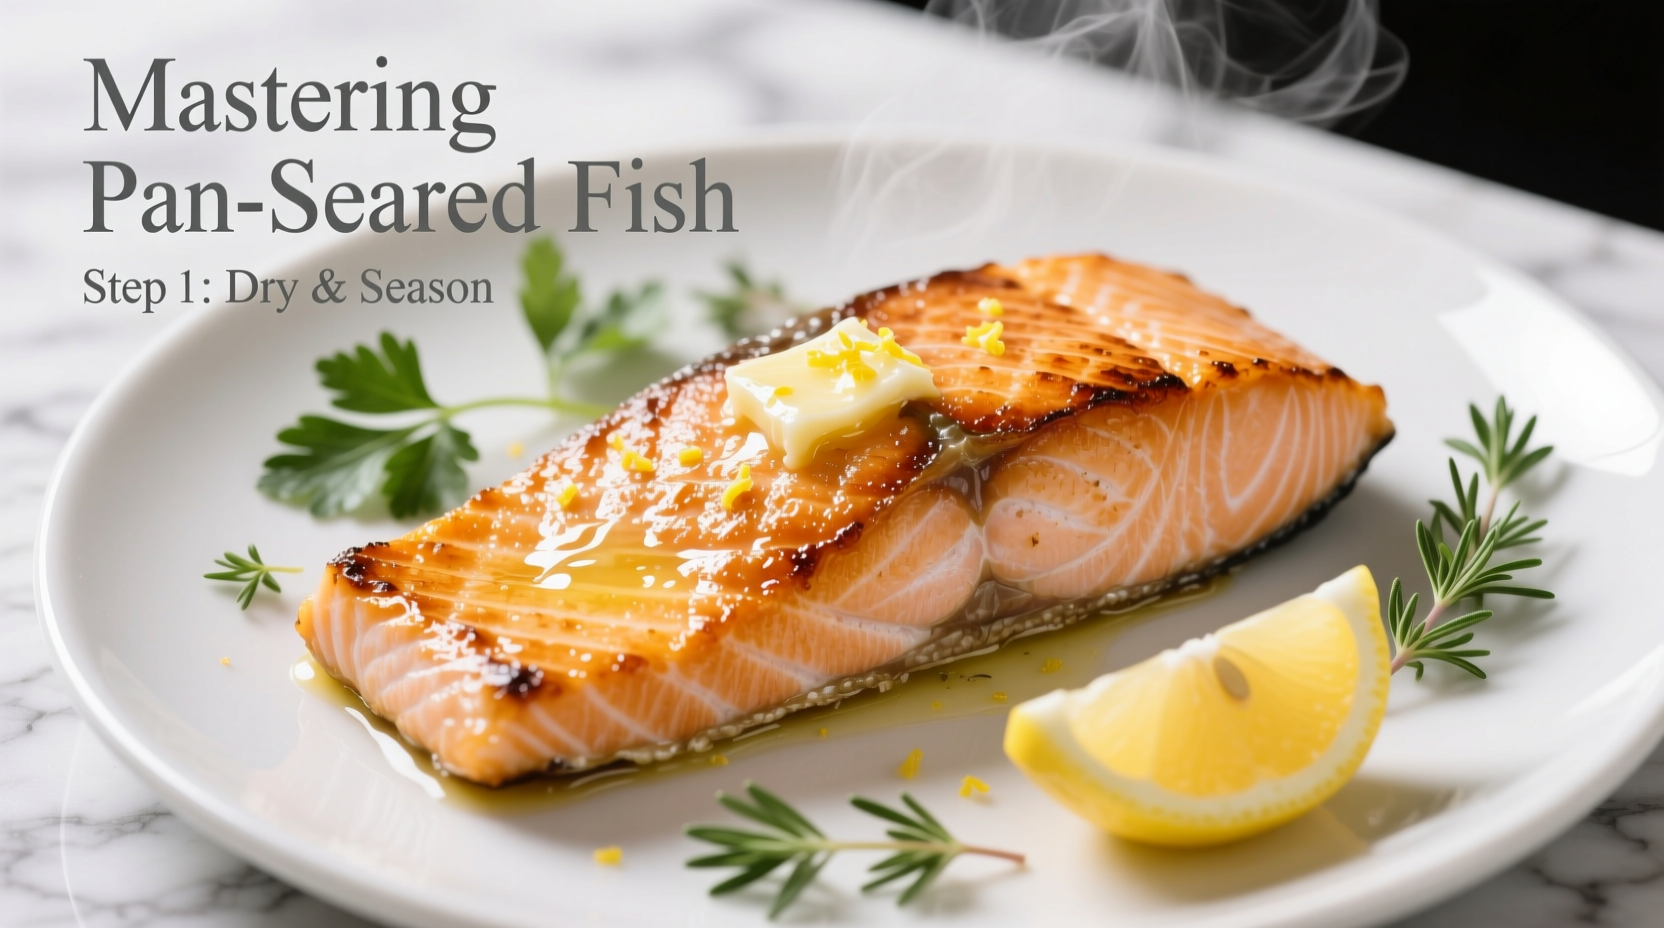
- Salmon: High oil content helps prevent sticking and enhances flavor.
- Tuna: Best when seared rare; develops a deep crust while staying cool inside.
Avoid overly delicate fish like sole or tilapia unless carefully handled—they tend to break during flipping.
Preparation: The Key to Success
Proper preparation ensures even cooking and optimal browning. Moisture is the enemy of searing; excess water causes steaming instead of crisping.
- Pat Dry Thoroughly: Use paper towels to remove surface moisture from both sides of the fillet. This step cannot be rushed.
- Season Just Before Cooking: Salt draws out moisture over time. Season the fish immediately before placing it in the pan to preserve dryness.
- Bring to Room Temperature: Cold fish from the fridge will lower pan temperature too quickly, leading to uneven searing. Let fillets sit out for 10–15 minutes before cooking.
- Skin-On vs. Skin-Off: If your fillet has skin, score it lightly with a knife along the edges to prevent curling. Skin acts as a natural non-stick layer and becomes delightfully crispy when properly seared.
Essential Tools and Pan Choice
Your equipment matters. A heavy-bottomed skillet distributes heat evenly and retains high temperatures crucial for searing.
| Pan Type | Pros | Cons |
|---|---|---|
| Stainless Steel | Excellent browning, durable, oven-safe | Requires proper preheating and oil control |
| Cast Iron | Superior heat retention, naturally non-stick when seasoned | Heavy, requires maintenance |
| Carbon Steel | Lighter than cast iron, heats quickly, develops patina | Sensitive to acidic foods if unseasoned |
| Non-Stick | Easy release, beginner-friendly | Limits browning, degrades at high heat |
For best results, choose stainless steel or carbon steel. Avoid non-stick pans if maximum crust development is your goal.
The Searing Process: Step-by-Step Guide
Follow this sequence for consistent, professional-grade results.
- Preheat the Pan: Place your skillet over medium-high to high heat for 2–3 minutes until hot. Test by flicking a few drops of water—when they skitter and evaporate instantly, the pan is ready.
- Add Oil with High Smoke Point: Use refined avocado, grapeseed, or canola oil. Avoid olive oil (extra virgin burns easily). Add enough to coat the bottom—about 1–2 teaspoons.
- Wait for the Oil to Shine: The oil should shimmer but not smoke excessively. If it smokes heavily, reduce heat slightly.
- Place Fish Skin-Side Down (if applicable): Gently lay the fillet away from you to avoid oil splatter. Press lightly with a spatula for 10 seconds to ensure full contact.
- Resist Moving It: Let the fish cook undisturbed for 75% of the total cook time. This allows the crust to form. For a 1-inch-thick fillet, this is typically 3–5 minutes depending on thickness and heat.
- Flip Once: Slide a thin, flexible spatula under the fish. If it releases easily, it’s ready to flip. If it sticks, give it another 30 seconds. Flip confidently and cook for 1–3 more minutes.
- Check Doneness: Fish is done when it reaches an internal temperature of 125°F–135°F (52°C–57°C) and flakes gently at the thickest part. Carryover cooking will add a few degrees after removal.
- Rest Briefly: Transfer to a warm plate and let rest for 1–2 minutes. This stabilizes texture and redistributes juices.
Real Example: From Overcooked to Perfect
Home cook Maria had struggled with dry, rubbery halibut for months. She used a non-stick pan, seasoned her fish early, and flipped it multiple times—mistakes that sabotaged texture. After switching to a stainless steel pan, patting the fillets dry, and seasoning right before cooking, her results transformed. By letting the fish sear undisturbed for 4 minutes before flipping, she achieved a golden crust and moist center. “I didn’t realize how much timing and dryness mattered,” she said. “Now my family asks for it weekly.”
Common Pitfalls and How to Avoid Them
Even experienced cooks make errors. Awareness is half the battle.
| Mistake | Why It Happens | Solution |
|---|---|---|
| Fish sticks to the pan | Pan not hot enough, moisture on surface, or premature flipping | Preheat thoroughly, dry fish completely, wait for crust formation |
| Burnt exterior, raw interior | Heat too high or fillet too thick | Reduce heat slightly after searing skin side, finish in a 375°F oven if needed |
| Fish falls apart | Overly delicate species or excessive handling | Choose firmer fish and use a wide spatula for support |
| Steamed instead of seared | Crowded pan or covered while cooking | Cook in batches, never cover the pan |
“Pan-searing is about confidence and patience. Let the fish do the work. If you’re constantly poking it, you’ll never get that beautiful crust.” — Chef Rafael Torres, Executive Seafood Instructor at Culinary Institute of the Pacific
Flavor Enhancements and Finishing Touches
A perfectly seared fillet needs little adornment, but thoughtful finishing can elevate the dish.
- Lemon Butter Sauce: After removing the fish, deglaze the pan with white wine, add minced shallots, then whisk in cold butter and lemon juice.
- Herb Crust: Press chopped parsley, capers, and breadcrumbs onto the fish before searing for added texture.
- Acid Balance: A splash of vinegar or citrus zest brightens rich fish like salmon or black cod.
- Sea Salt Finish: A pinch of flaky salt after plating enhances flavor and mouthfeel.
FAQ
Can I pan sear frozen fish?
It’s not recommended. Frozen fish releases too much moisture during thawing, preventing proper browning. Thaw fillets slowly in the refrigerator overnight for best results.
How do I know when the fish is done without a thermometer?
Press the center gently. It should feel slightly firm but still yield. Also, the flesh will turn opaque about two-thirds of the way through. For thicker cuts, cut into the side to check for translucency.
Should I cover the pan while cooking?
No. Covering traps steam, which softens the crust. Keep the pan uncovered to maintain dry heat and promote browning.
Final Checklist for Perfect Pan-Seared Fish
- Choose a firm, fresh fillet (halibut, sea bass, salmon, etc.)
- Pat dry thoroughly with paper towels
- Let come to room temperature (10–15 min)
- Season just before cooking
- Use a stainless steel or carbon steel pan
- Preheat pan until very hot
- Add high-smoke-point oil
- Place fish in pan skin-side down (if applicable), do not move
- Sear 3–5 minutes, then flip once
- Finish cooking, rest 1–2 minutes, serve immediately
Conclusion
Mastering pan-seared fish isn’t about special tools or rare ingredients—it’s about technique, attention to detail, and consistency. With the right fish, a dry surface, proper heat, and minimal intervention, you can create restaurant-worthy meals in your own kitchen. Whether you're cooking for one or hosting a dinner party, a perfectly seared fillet speaks volumes about care and craftsmanship. Apply these principles tonight, and taste the difference precision makes.


 浙公网安备
33010002000092号
浙公网安备
33010002000092号 浙B2-20120091-4
Comments
No comments yet. Why don't you start the discussion?