
Capturing what’s on your screen is a daily necessity for many—whether you're troubleshooting an error, sharing instructions, or saving a moment from a video call. While taking a screenshot might seem straightforward, knowing the full range of tools and methods available in Windows can save time, improve accuracy, and enhance productivity. From quick keyboard shortcuts to advanced annotation features, mastering these techniques ensures you’re always prepared to capture exactly what you need.
The Power of the Print Screen Key
The Print Screen (PrtScn) key has been a staple on PC keyboards for decades. Located typically in the top-right section, this key offers immediate access to basic screenshot functionality. Pressing it copies the entire screen to the clipboard, allowing you to paste it into any application that supports images—like Word, Paint, or email clients.
For more precision, combine PrtScn with other keys:
- PrtScn: Captures the entire screen and copies it to the clipboard.
- Alt + PrtScn: Copies only the active window, ideal when multitasking.
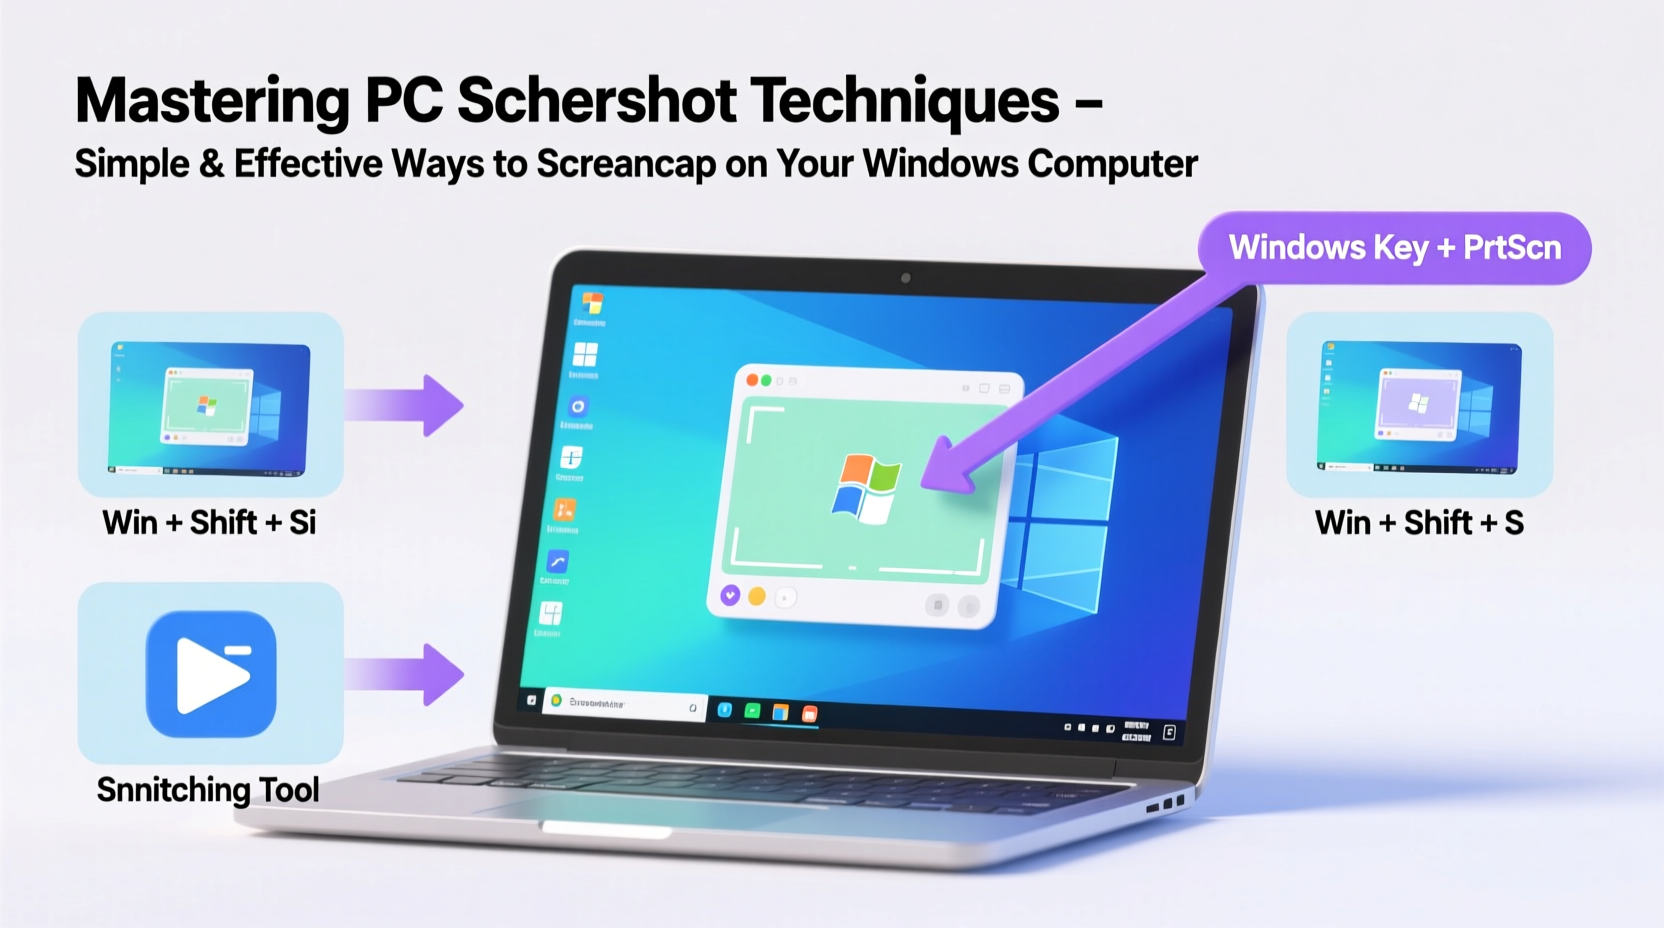
- Windows + PrtScn: Instantly saves a full-screen screenshot as a PNG file in the Screenshots folder (located in Pictures).
Using Snipping Tool and Snip & Sketch
Windows includes two built-in utilities designed specifically for screenshots: Snipping Tool and Snip & Sketch. These offer far more control than the basic Print Screen function.
Snipping Tool allows you to select a portion of the screen using one of four modes:
- Free-form Snip: Draw any shape around the area you want to capture.
- Rectangular Snip: Drag to form a rectangle—most commonly used.
- Window Snip: Click on any open window to capture it individually.
- Fullscreen Snip: Captures everything currently displayed across all monitors.
To launch Snipping Tool quickly, press Windows + S, type “snipping,” and hit Enter. You can also set a delay (up to 5 seconds) to prepare menus or tooltips before capture.
Snip & Sketch, introduced in newer Windows 10 and 11 versions, works similarly but integrates better with modern workflows. Use Windows + Shift + S to activate it instantly—the screen dims, and a toolbar appears at the top, letting you choose snip type without opening the app first.
“Snip & Sketch has become my go-to tool for remote support. The delay timer lets me capture dropdown menus others can’t see otherwise.” — David Lin, IT Support Specialist
Advanced Techniques for Power Users
For professionals who frequently share annotated visuals or create tutorials, leveraging advanced tools within Windows can dramatically streamline workflow.
One such feature is Game Bar, accessible via Windows + G. Originally designed for gamers, it includes a robust screenshot and recording system. Once enabled, press Windows + Alt + PrtScn to take a screenshot of the current application. These are automatically saved in MP4 format under Videos > Captures.
Another powerful option is third-party software like Greenshot or Lightshot, which add instant editing, cloud upload, and OCR capabilities. However, for most users, native tools suffice—especially when combined strategically.
| Method | Best For | Saves Automatically? | Output Location |
|---|---|---|---|
| PrtScn | Quick copy-paste tasks | No | Clipboard only |
| Windows + PrtScn | Full desktop captures | Yes | Pictures > Screenshots |
| Alt + PrtScn | Single-window documentation | No | Clipboard only |
| Snip & Sketch | Precise selections with markup | Optional | Customizable or clipboard |
| Game Bar | Gaming or app-specific clips | Yes | Videos > Captures |
Step-by-Step Guide: Capture a Dropdown Menu
Certain interface elements—like right-click context menus or browser dropdowns—disappear when you press traditional screenshot keys. Here’s how to capture them reliably:
- Open the menu you want to capture (e.g., right-click on desktop).
- Open Snipping Tool.
- Click the Mode dropdown and select Delay.
- Choose 3 or 5 seconds depending on how fast you can re-open the menu.
- Click New, then immediately re-trigger the menu before the timer ends.
- The tool will capture the screen after the delay, including your open menu.
Organizing and Editing Screenshots Efficiently
Capturing the image is just the beginning. How you store, edit, and share it determines its real value.
By default, screenshots taken with Windows + PrtScn are stored in C:\\Users\\[YourName]\\Pictures\\Screenshots. Consider creating subfolders by project or date to maintain order. For example: Screenshots\\ProjectAlpha\\2024-04.
Editing tools matter too. After capturing with Snip & Sketch, you gain immediate access to:
- Pen and highlighter annotations
- Cropping and resizing
- Text addition (useful for labeling diagrams)
- Eraser tool for removing accidental marks
These edits happen inline, reducing the need to switch between apps. For batch processing or high-resolution exports, consider exporting to Paint 3D or using free tools like Paint.NET for sharpening or background removal.
Mini Case Study: Remote Onboarding Made Easy
Sarah, a customer success manager at a SaaS startup, needed to train five new hires spread across different time zones. Instead of scheduling repetitive calls, she recorded step-by-step guides using a combination of Windows + Shift + S and Microsoft OneNote.
She captured each interface element in sequence, added numbered arrows explaining navigation paths, and embedded the images into a shared knowledge base. The result? New employees completed onboarding 40% faster, and support tickets related to basic navigation dropped by half in the following month.
Her secret wasn’t fancy software—it was consistency in formatting and clarity in visual communication, both rooted in efficient screenshot practices.
Essential Checklist for Better Screenshots
Before sharing any screenshot, run through this checklist to ensure professionalism and usability:
- ✅ Is the relevant area clearly visible and not cropped out?
- ✅ Have sensitive data (emails, passwords, personal info) been redacted?
- ✅ Are text labels legible at normal zoom levels?
- ✅ Did you use consistent styling (colors, fonts) if part of a series?
- ✅ Is the file size optimized for sharing (avoid unnecessarily large PNGs)?
- ✅ Have you saved a master copy before editing?
Frequently Asked Questions
Can I take a screenshot of a locked screen or login page?
No—Windows disables screenshot functions on secure screens (like the lock screen or UEFI BIOS) for security reasons. However, some enterprise tools allow this under controlled environments with proper permissions.
Why does my screenshot look blurry?
Blurriness often occurs when capturing high-DPI displays and pasting into low-resolution canvases. Always check display scaling settings (Settings > System > Display > Scale). Using Snip & Sketch usually preserves original quality better than legacy Print Screen.
Is there a way to automate regular screenshots?
Yes, though not natively. Tools like AutoHotkey or PowerShell scripts can trigger periodic captures. Use cautiously and only in non-sensitive environments due to privacy risks.
Mastery Starts with the Basics
Becoming proficient at taking screenshots isn't about memorizing shortcuts—it's about understanding which method fits each situation. Whether you're sending a quick message to a colleague or building a comprehensive user manual, the right technique makes all the difference.
Start by integrating one new method this week. Try using Windows + Shift + S instead of PrtScn. Experiment with delays to capture fleeting menus. Organize your growing library of captures so they remain useful over time.


 浙公网安备
33010002000092号
浙公网安备
33010002000092号 浙B2-20120091-4
Comments
No comments yet. Why don't you start the discussion?