
Pencil sharpening is often treated as a mundane task, quickly forgotten after a few turns of the crank. But for artists, students, engineers, and writers, the quality of a pencil point directly impacts precision, line control, and overall performance. Integrated sharpeners—those compact, built-in tools found on erasers, multi-tools, or desk accessories—are convenient, but underused to their full potential. With the right technique and care, these small devices can deliver consistently sharp, durable points that rival those from high-end electric models.
The Anatomy of an Integrated Sharpener
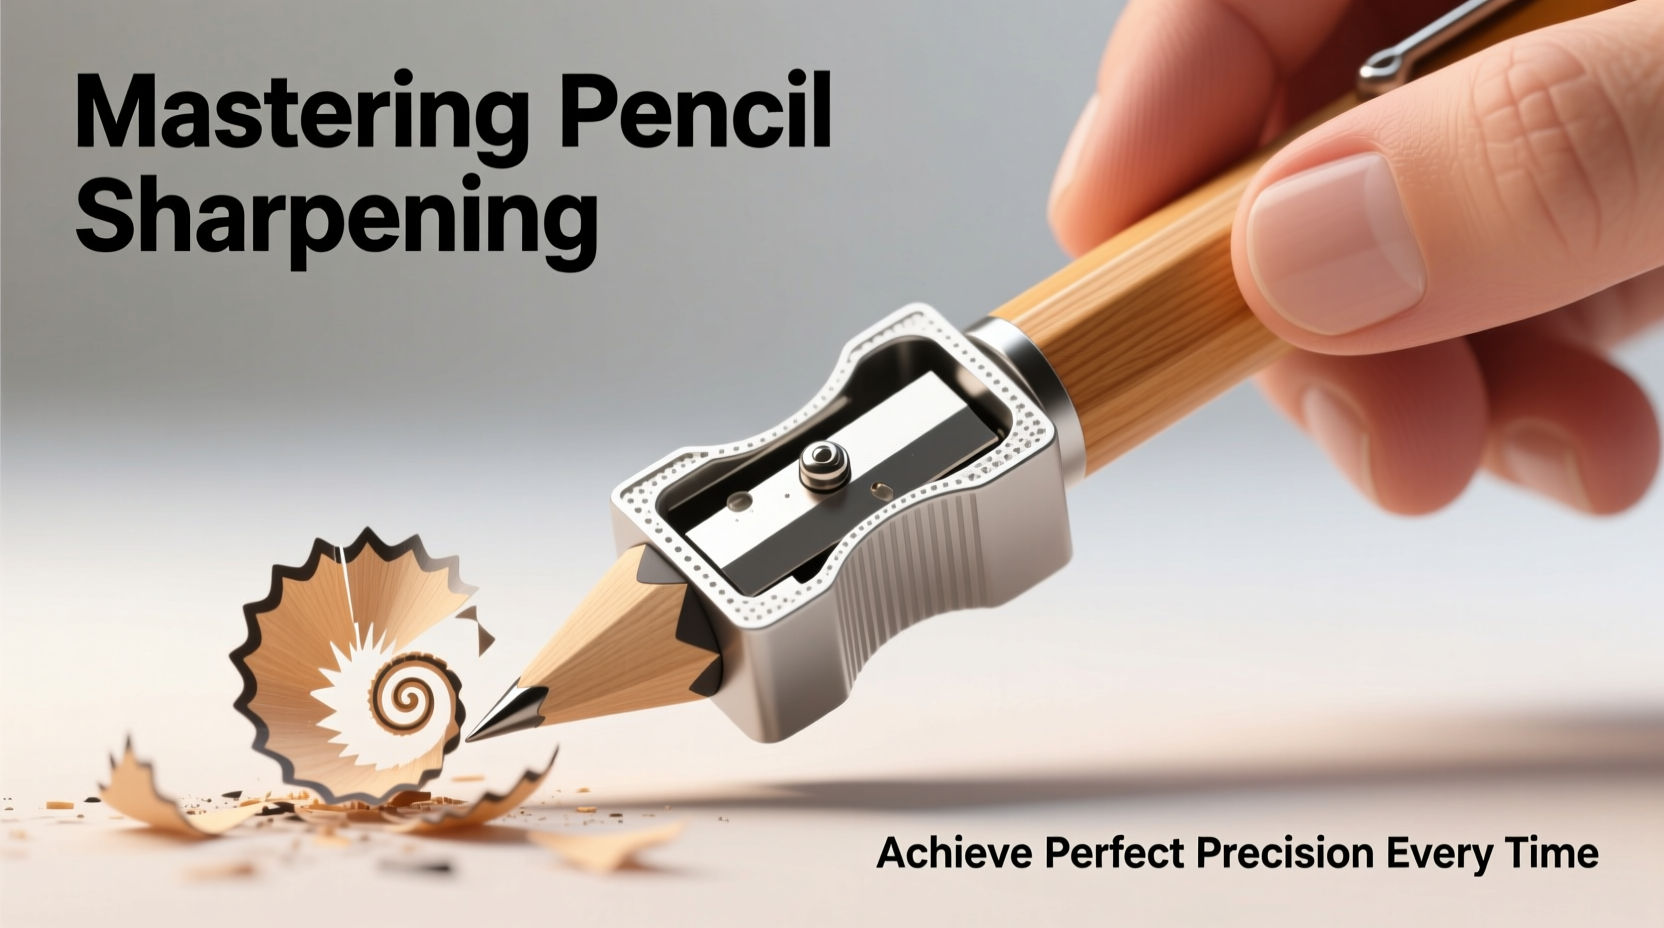
Before mastering sharpening, it’s essential to understand what you're working with. Most integrated sharpeners consist of a small metal blade housed in a plastic or metal casing, designed to rotate around the pencil core. Unlike electric or hand-crank models, they rely entirely on manual pressure and rotation. Their compact size limits the volume of shavings they can hold, but their portability makes them ideal for quick touch-ups.
The blade angle, depth, and alignment determine how efficiently the wood and graphite are removed. A well-machined sharpener produces a symmetrical taper, while poorly aligned ones create uneven points or excessive breakage. Because of their fixed design, users must adapt their technique—not the tool—to achieve optimal results.
Step-by-Step Guide to Perfect Sharpening
Achieving a flawless point with an integrated sharpener isn’t just about turning the pencil—it’s about control, rhythm, and consistency. Follow this sequence to maximize results:
- Inspect the Pencil Tip: Before inserting, check for cracks or splintering. A damaged tip can clog the blade or cause uneven sharpening.
- Align the Pencil Straight: Insert the pencil vertically into the hole. Tilted insertion leads to asymmetrical points and wasted material.
- Apply Gentle, Consistent Pressure: Use your fingers to guide the pencil downward while rotating it clockwise. Avoid forcing it—let the blade do the work.
- Rotate Smoothly: Make 6–8 full rotations. Stop if you feel resistance or hear scraping; this may indicate dullness or misalignment.
- Check the Point: Remove the pencil and examine the tip. It should be centered, smooth, and tapered to a fine point without jagged edges.
- Clean the Shavings: Tap out excess debris after each use to prevent buildup that can interfere with future sharpening.
This method ensures minimal graphite waste and reduces the risk of breakage during use.
Maintenance for Long-Term Performance
An integrated sharpener only performs well if maintained properly. Over time, graphite dust and wood fibers accumulate around the blade, reducing efficiency and increasing friction. A neglected sharpener can dull pencils instead of sharpening them.
Weekly cleaning preserves cutting precision. Use a small brush—like a clean toothbrush or artist’s brush—to dislodge debris from the blade housing. For stubborn residue, gently wipe the blade with a cotton swab dampened with rubbing alcohol. Let it dry completely before reuse.
| Maintenance Task | Frequency | Tools Needed |
|---|---|---|
| Remove shavings | After every 3–5 uses | Fingers or small pick |
| Brush out debris | Weekly | Toothbrush or detail brush |
| Clean blade with alcohol | Monthly or when dull-feeling | Cotton swab, isopropyl alcohol |
| Test sharpness | Bi-weekly | Scrap paper, visual inspection |
Common Mistakes and How to Avoid Them
Even experienced users fall into habits that degrade sharpener performance and shorten pencil life. Recognizing these pitfalls is half the battle.
- Over-sharpening: Continuing past the ideal point wastes graphite and weakens the tip. Stop when the taper reaches 6–8 mm.
- Using Excessive Force: Pressing too hard can bend the blade or crack the pencil core. Let rotational motion do the cutting.
- Ignoring Blade Dullness: A blunt blade mashes rather than cuts, producing ragged points. Replace the unit or upgrade if cleaning doesn’t restore performance.
- Sharpening Too Frequently: Constant sharpening shortens pencil life. Reshape only when necessary, not after every few minutes of writing.
“Most people ruin more pencils trying to sharpen them perfectly than from actual use. Control and moderation matter more than speed.” — Daniel Reyes, Industrial Design Instructor and Drafting Specialist
Real-World Example: The Architect’s Field Kit
Consider Maria, a landscape architect who relies on mechanical and wooden pencils during site visits. Her portable toolkit includes a clipboard with an integrated sharpener mounted on the side. Initially frustrated by frequent breakage and inconsistent points, she began timing her sharpening process and adjusting her pressure. She also started carrying a micro-brush to clean the sharpener daily.
Within two weeks, her pencil tips lasted longer, required fewer touch-ups, and produced cleaner lines on sketch paper. By treating the sharpener as a precision instrument rather than a convenience, she improved both workflow efficiency and drawing accuracy.
Do’s and Don’ts at a Glance
| Do | Don’t |
|---|---|
| Insert pencil straight and rotate smoothly | Tilt the pencil or force it in |
| Clean shavings regularly | Let debris build up over time |
| Stop when the point feels sharp | Keep rotating “just to be sure” |
| Use light pressure with even motion | Press down aggressively |
| Replace the sharpener when dull | Try to sharpen broken or overly soft pencils |
FAQ
Can I sharpen colored pencils with an integrated sharpener?
Yes, but proceed with caution. Colored pencil cores are softer and more prone to breakage. Use lighter pressure and fewer rotations. Some integrated sharpeners have smaller holes better suited for standard #2 pencils, so test compatibility first.
Why does my pencil keep breaking during sharpening?
Frequent breakage usually stems from misalignment, excessive pressure, or a dull blade. Ensure the pencil is centered, reduce downward force, and clean or replace the sharpener if needed. Also, avoid sharpening pencils that were dropped or exposed to temperature extremes, as internal cracks weaken the graphite.
How long should an integrated sharpener last?
With regular use and proper maintenance, most last between 6 months and a year. High-quality models with hardened steel blades can exceed two years. Replace when you notice increased effort, jagged points, or visible blade wear.
Final Thoughts and Call to Action
Mastering pencil sharpening with an integrated sharpener transforms a routine chore into a moment of precision and care. It’s not about the tool’s complexity, but the user’s attention to detail. Whether you’re drafting technical drawings, sketching ideas, or taking notes, a well-sharpened pencil enhances clarity and confidence in every stroke.
Start today: pull out your current pencil and sharpener. Apply the rotation technique, clean the housing, and assess the result. Small adjustments compound into better tools, longer-lasting supplies, and improved work quality. Share your sharpening tips or challenges in the comments—let’s refine this overlooked craft together.


 浙公网安备
33010002000092号
浙公网安备
33010002000092号 浙B2-20120091-4
Comments
No comments yet. Why don't you start the discussion?