
Capturing high-quality images of phone screens—whether for social media, product reviews, or e-commerce—is more challenging than it appears. Reflections, glare, inconsistent brightness, and color distortion can ruin even the most visually appealing content displayed on a smartphone. Yet, with the right techniques, tools, and attention to detail, you can produce crisp, accurate, and professional-looking device photos that showcase both the screen and the device itself in the best possible light.
This guide breaks down the essential principles, equipment, and post-processing methods needed to master phone screen photography. Whether you're a content creator, marketer, or tech enthusiast, these strategies will help you consistently capture flawless shots.
Understanding the Challenges of Screen Photography
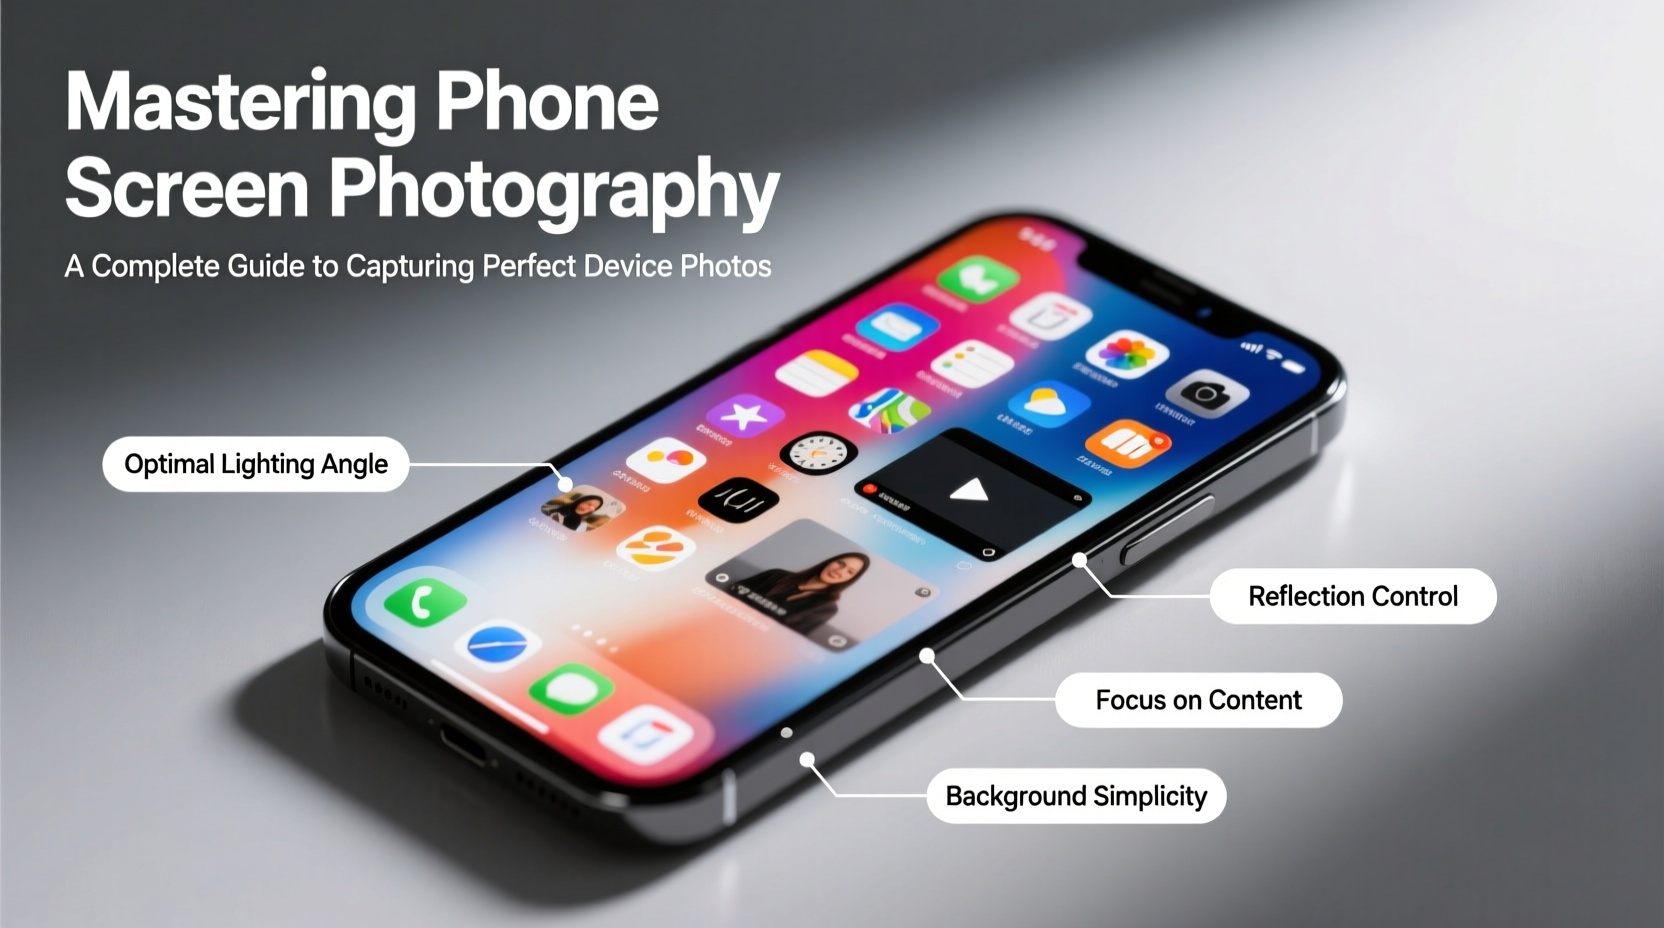
Photographing a phone screen introduces unique technical hurdles. Unlike static objects, screens emit their own light, which interacts unpredictably with ambient lighting. This often results in washed-out areas, hotspots, or reflections that obscure the displayed content. Additionally, camera sensors may struggle to accurately reproduce colors and contrast as seen by the human eye.
One major issue is motion blur caused by screen refresh rates. Most smartphone screens operate at 60Hz, 90Hz, or 120Hz, meaning they refresh multiple times per second. If your camera’s shutter speed isn’t synchronized properly, banding or flickering lines can appear across the image.
Essential Equipment and Setup
You don’t need a professional studio to take great screen photos, but certain tools significantly improve results. Start with a stable foundation: a tripod eliminates hand movement and allows consistent framing across multiple shots.
A remote shutter or timer prevents vibrations when pressing the capture button. For lighting, softbox lights or LED panels with adjustable color temperature provide even illumination without harsh shadows. Avoid fluorescent or mixed lighting, which can cause color casts.
To minimize reflections, shoot in a dimly lit room and position lights off-axis from the camera and screen. A polarizing filter on your lens can further reduce glare, especially when photographing glossy displays.
“Screen photography is less about the camera and more about controlling light. Master the environment, and the image quality follows.” — Jordan Lee, Tech Photographer & Content Creator
Recommended Gear Checklist
- DSLR or mirrorless camera (or high-end smartphone with Pro mode)
- Sturdy tripod
- Remote shutter release or timer
- Two soft LED lights (adjustable color temperature preferred)
- Polarizing filter (for DSLR/mirrorless lenses)
- Matte screen protector (reduces reflections during shoots)
- Device stand or clamp to hold the phone at a fixed angle
Optimal Camera Settings for Screen Capture
Using automatic settings often leads to overexposed screens or incorrect white balance. Switch to manual mode for full control. Key settings include:
| Setting | Recommended Value | Why It Matters |
|---|---|---|
| Shutter Speed | 1/60s or 1/120s | Matches screen refresh rate; avoids flicker bands |
| Aperture | f/5.6 – f/8 | Balances depth of field and sharpness |
| ISO | 100–200 | Minimizes noise in low-light conditions |
| White Balance | Manual (set to 5500K–6500K) | Ensures accurate color representation |
| Focus | Manual focus on screen center | Prevents autofocus hunting on reflective surfaces |
If using a smartphone, download a camera app that supports manual controls, such as ProCam (iOS) or Open Camera (Android). Enable grid lines to align the frame precisely with the screen edges.
Step-by-Step Guide to Capturing the Perfect Shot
Follow this sequence to consistently produce clean, professional screen photos:
- Prepare the Environment: Turn off overhead lights and close blinds. Use only controlled artificial lighting placed at 45-degree angles to the screen.
- Set Up the Device: Clean the screen thoroughly. Set display brightness to 80–100% and disable auto-brightness. Choose a high-contrast wallpaper or interface to test clarity.
- Mount the Phone: Secure it on a stand at eye level. Tilt slightly upward (10–15 degrees) to reduce ceiling reflections.
- Frame the Shot: Position the camera so the lens is perpendicular to the screen. Use live view zoom to ensure all edges are parallel.
- Adjust Lighting: Illuminate the phone’s body evenly without spilling light onto the screen surface. Diffuse lights with translucent panels if needed.
- Configure Camera Settings: Apply the recommended manual settings. Take a test shot and review for flicker, color cast, or blur.
- Capture Multiple Exposures: Shoot a bracketed series (underexposed, correct, overexposed) to select the best version or blend later.
- Review and Refine: Zoom in on the image to check for pixelation, banding, or reflection artifacts. Adjust positioning or lighting as necessary.
Real-World Example: E-Commerce Product Shoot
Sarah runs an online store selling custom phone cases. She struggled with customer complaints that the screen previews didn’t match the real design. After investing in two LED panels and a tripod, she restructured her workflow.
She now shoots each case with the phone displaying a vibrant animated wallpaper. Using a shutter speed of 1/60s and manual white balance, she eliminated flicker and color shifts. The result? A 40% drop in return requests and higher engagement on social media ads featuring her updated images.
Post-Processing Best Practices
Even well-shot screen photos benefit from subtle editing. Use software like Adobe Lightroom or Affinity Photo to fine-tune exposure, contrast, and color accuracy. Avoid oversharpening, which exaggerates pixel structure.
Correct minor perspective distortions using lens correction tools. If reflections remain visible, use healing or clone tools sparingly—over-editing can make the screen look unrealistic.
Common Mistakes and How to Avoid Them
| Mistake | Consequence | Solution |
|---|---|---|
| Using flash | Harsh glare and blown-out highlights | Use continuous soft lighting instead |
| Auto white balance | Inaccurate screen colors | Set manual white balance using a gray card |
| Handheld shooting | Blur and inconsistent framing | Always use a tripod |
| High ISO in dark rooms | Noisy, grainy images | Add more light rather than increasing ISO |
| Shooting at odd angles | Distorted screen geometry | Keep camera parallel to screen plane |
Frequently Asked Questions
Can I use my smartphone to photograph another phone’s screen?
Yes, but only if your camera supports manual mode. Use a third-party app to lock focus, exposure, and white balance. Mount the phone on a mini tripod for stability.
Why do black bars or stripes appear in my screen photos?
This is screen flicker caused by mismatched refresh rates and shutter speed. Use a shutter speed of 1/60s, 1/120s, or 1/180s to synchronize with the display cycle.
How can I show interactive content like videos or scrolling feeds?
For still photography, freeze the action at a visually balanced moment. For dynamic content, consider short video clips or GIFs instead of static images.
Final Thoughts and Call to Action
Mastering phone screen photography is a blend of technical precision and creative control. By understanding display behavior, optimizing lighting, and refining your process, you can produce images that accurately reflect digital content while maintaining visual appeal.
The difference between amateur and professional screen photos lies not in expensive gear, but in attention to detail—consistent angles, proper exposure, and thoughtful composition. These skills elevate your work whether you're documenting apps, reviewing devices, or showcasing digital art.


 浙公网安备
33010002000092号
浙公网安备
33010002000092号 浙B2-20120091-4
Comments
No comments yet. Why don't you start the discussion?