
In an age where storytelling happens in seconds and visuals dominate communication, the ability to record high-quality video on your smartphone is no longer optional—it’s essential. Whether you're documenting life’s moments, building a personal brand, or creating content for social media, your phone holds the power to produce cinematic results. The key lies not in the device itself, but in how you use it. With deliberate technique, thoughtful preparation, and smart post-recording practices, anyone can elevate their mobile videography from amateur to exceptional.
Understand Your Phone’s Camera Capabilities
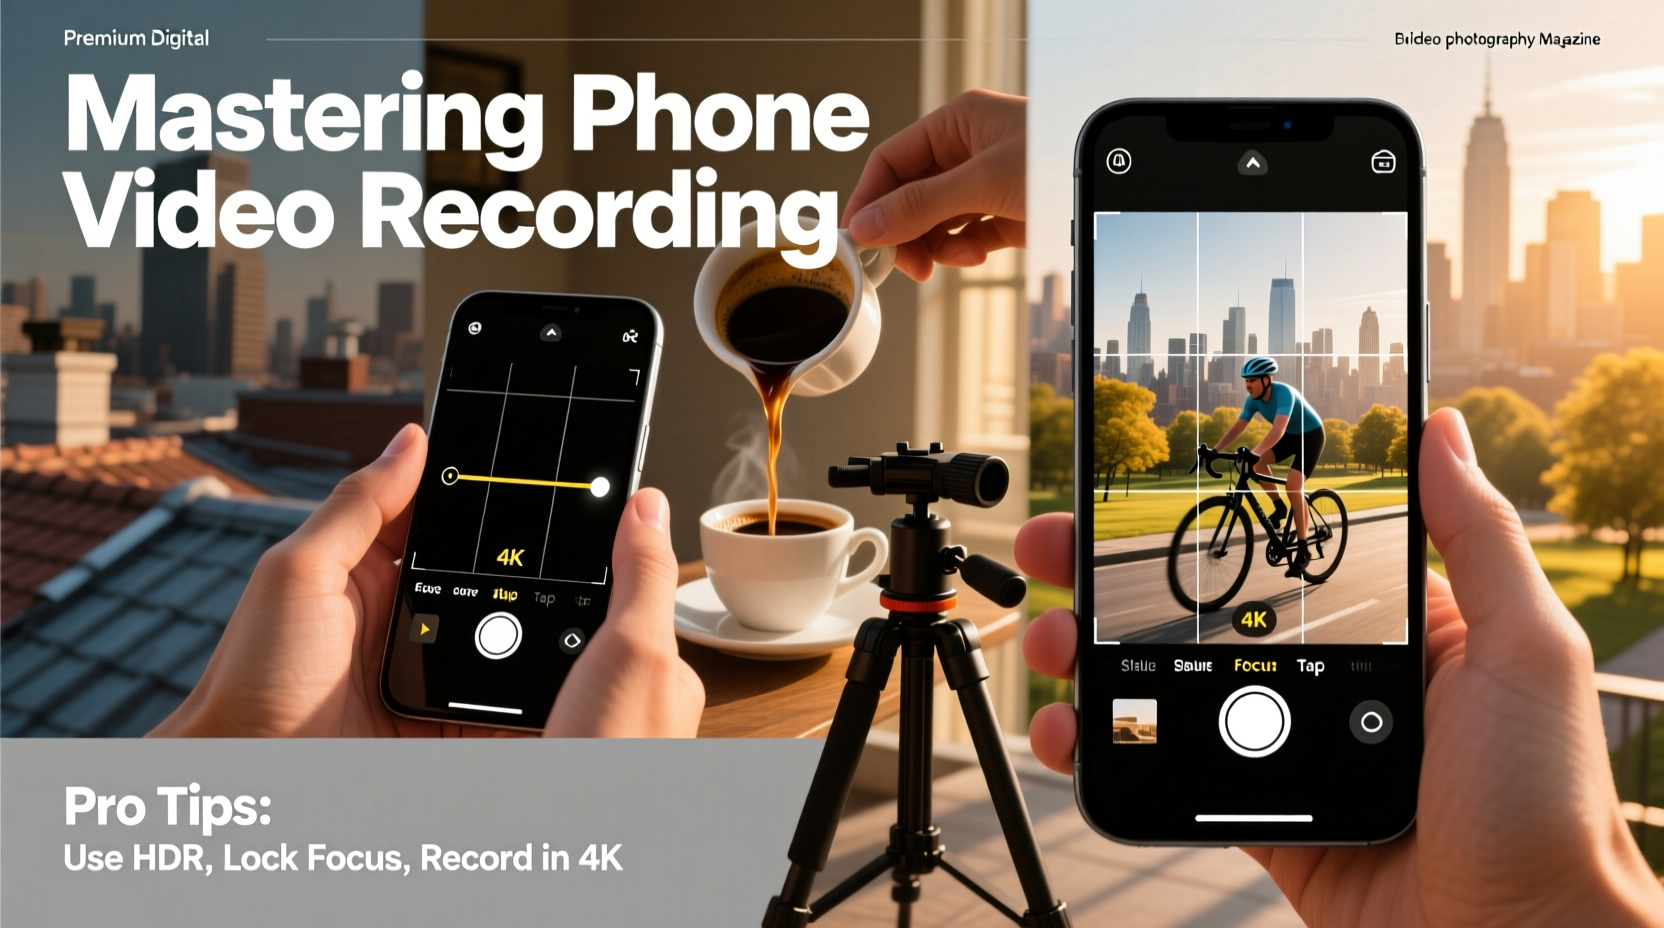
Modern smartphones are equipped with advanced camera systems capable of recording in 4K resolution, slow motion, and even log profiles for enhanced dynamic range. Before diving into creative techniques, take time to explore your phone’s native camera app and understand its settings. Look for options like resolution (1080p vs. 4K), frame rate (24fps for cinematic look, 60fps for smooth motion), and stabilization modes. Some phones offer manual controls through third-party apps such as Filmic Pro or Moment, giving you greater control over focus, exposure, ISO, and white balance.
Knowing the limitations of your device is just as important. Most phone cameras struggle in low light due to small sensor sizes. Wide-angle lenses may introduce distortion at the edges. Awareness of these constraints allows you to work around them creatively—positioning subjects centrally, avoiding dimly lit environments, or using external lighting when possible.
Lighting: The Foundation of Visual Quality
No amount of editing can compensate for poor lighting. Natural light remains the most flattering and cost-effective option. Position your subject facing a window or shoot during golden hour—the period shortly after sunrise or before sunset—when sunlight is soft and warm. Avoid harsh midday sun, which creates unflattering shadows and blown-out highlights.
When natural light isn’t available, consider affordable artificial sources. LED panels, ring lights, or even a simple desk lamp with a daylight-balanced bulb can dramatically improve image quality. Place lights strategically: one key light in front, and optionally a fill light or reflector to soften shadows. Backlighting can add depth and separation between subject and background.
“Light shapes emotion in video. A well-lit face tells a story before a word is spoken.” — Lena Torres, Mobile Cinematographer & Director
Stabilization and Movement Techniques
Shaky footage instantly degrades professionalism. While digital stabilization has improved, it often comes at the cost of cropped framing and reduced sharpness. For truly stable shots, physical support is best. Use a compact tripod, grip handle, or smartphone gimbal. Gimbals like the DJI OM series allow for smooth pans, tilts, and tracking shots—even while walking.
If gear isn’t available, improvise. Rest your phone on a table, stack of books, or lean against a wall. When handheld shooting is unavoidable, brace your elbows against your body, breathe steadily, and move slowly. For dynamic movement, practice the “triangle technique”: hold the phone with both hands, arms forming a triangle with your chest, minimizing wobble.
| Movement Type | Best Tool | Tips |
|---|---|---|
| Static Shot | Mini Tripod | Use timer or remote to avoid shake when pressing record |
| Smooth Pan/Tilt | Gimbal | Move slowly; speed affects perceived professionalism |
| Walking Shot | Grip Handle + Stabilization Mode | Bend knees slightly to absorb impact |
| Aerial Effect | Slider or Dolly (DIY: skateboard + box) | Keep motion subtle for cinematic effect |
Sound Matters More Than You Think
Most viewers will forgive slightly imperfect visuals if the audio is clear. Unfortunately, built-in phone microphones pick up ambient noise, wind, and handling sounds. To improve audio quality, use an external microphone. Lavalier mics clip onto clothing and deliver crisp voice capture, ideal for interviews or vlogs. Shotgun mics attach to your phone’s cold shoe or case and focus on frontal sound.
Record in quiet environments whenever possible. Turn off fans, silence notifications, and close windows to reduce background noise. If filming outdoors, use a foam windscreen or “dead cat” cover. Never rely solely on your phone’s internal mic for important recordings.
Step-by-Step Guide to Filming a High-Quality Scene
Follow this sequence to ensure consistency and efficiency when recording any video scene:
- Plan the shot: Decide on composition, lighting setup, and movement required.
- Set up lighting: Use natural or artificial sources to evenly illuminate the subject.
- Mount the phone: Secure it on a tripod or gimbal to eliminate shake.
- Frame the shot: Apply the rule of thirds, leave headroom, and check for distractions in the background.
- Adjust camera settings: Set resolution to 1080p or 4K, choose appropriate frame rate, lock focus and exposure if needed.
- Connect external audio: Plug in a lavalier or shotgun mic and test levels.
- Do a test recording: Review playback for focus, lighting, sound, and stability.
- Record multiple takes: Capture at least three usable versions to increase editing options.
- Label clips mentally or verbally: Say “Scene 1, Take 2” at the start to simplify organization later.
A Real-World Example: From Idea to Final Clip
Sophia, a travel blogger, wanted to create a compelling Instagram reel showcasing her morning in Kyoto. She began by identifying the story arc: waking up, enjoying matcha, exploring a temple. Using her iPhone 14 Pro, she set up her tripod by the window for soft morning light. She clipped a Rode Wireless GO II lav mic to her shirt for clear voiceover narration.
For each scene, she applied the rule of thirds—placing herself on the left third of the frame while the traditional tatami mat filled the right. She used a gimbal for a smooth walk toward Kinkaku-ji Temple, moving at a steady pace. After recording, she edited the clips in DaVinci Resolve, color-corrected using a preset, and added subtle music. The final video received 3x more engagement than her previous posts, proving that thoughtful execution pays off.
Essential Pre-Shoot Checklist
- ✅ Charge phone and backup battery
- ✅ Clear storage space (video files are large)
- ✅ Clean lens with microfiber cloth
- ✅ Enable grid lines in camera settings
- ✅ Test audio levels with external mic
- ✅ Confirm lighting setup and eliminate backlighting
- ✅ Frame shot and check for cluttered background
- ✅ Lock focus and exposure if subject remains still
- ✅ Start recording a few seconds before action begins
Frequently Asked Questions
Can I achieve a blurred background (bokeh) effect with my phone?
Yes. Many modern phones have portrait mode for video or simulate depth through software. For better results, get physically close to your subject and keep the background far away. Using a clip-on lens like a macro or anamorphic adapter can also enhance depth effects.
Should I shoot in landscape or portrait mode?
It depends on distribution. Landscape (horizontal) is standard for YouTube, websites, and TV. Portrait (vertical) works best for Instagram Stories, TikTok, and Snapchat. However, always prioritize versatility—shooting in landscape gives you more flexibility to crop later.
How do I prevent my phone from overheating during long recordings?
Limit continuous recording to under 10 minutes when possible. Close unused apps, disable unnecessary connectivity (Bluetooth, GPS), and avoid direct sunlight. Consider using a passive cooling case or recording in shorter segments.
Final Thoughts and Next Steps
Mastering phone video recording isn’t about having the latest device—it’s about mastering fundamentals: light, stability, sound, and intention. Every great filmmaker started with limited tools and grew through practice. The camera in your pocket is more powerful than the equipment many professionals used just a decade ago.
Start small. Shoot a one-minute scene today using proper lighting and a tripod. Record clean audio. Edit it thoughtfully. Share it. Then do it again tomorrow. Skill compounds with repetition. The more you understand your phone’s behavior in different conditions, the more confidently you’ll create compelling visual stories.


 浙公网安备
33010002000092号
浙公网安备
33010002000092号 浙B2-20120091-4
Comments
No comments yet. Why don't you start the discussion?