
Editing photos on an iPhone has evolved from basic cropping to advanced manipulations—all without needing a desktop. One of the most useful skills you can develop is cutting and pasting parts of images seamlessly. Whether removing distractions, combining memories, or creating social media content, mastering this technique gives you full creative control. The good news? You don’t need professional software. With native iOS features and a few smart strategies, you can achieve clean, natural-looking edits in minutes.
Understanding the Tools at Your Disposal
The iPhone’s Photos app has quietly become one of the most capable mobile editors available. Since iOS 16, Apple introduced enhanced object selection and copy-paste functionality that allows users to isolate subjects from backgrounds with just a tap. This feature leverages machine learning to detect edges accurately, making manual tracing almost obsolete for many use cases.
In addition to built-in tools, third-party apps like Pixelmator Photo, Adobe Photoshop Express, and Snapseed offer more precision when dealing with complex selections—such as hair strands, transparent objects, or overlapping elements. Knowing which tool to use when is key to efficient editing.
Step-by-Step: How to Cut and Paste a Subject on iPhone
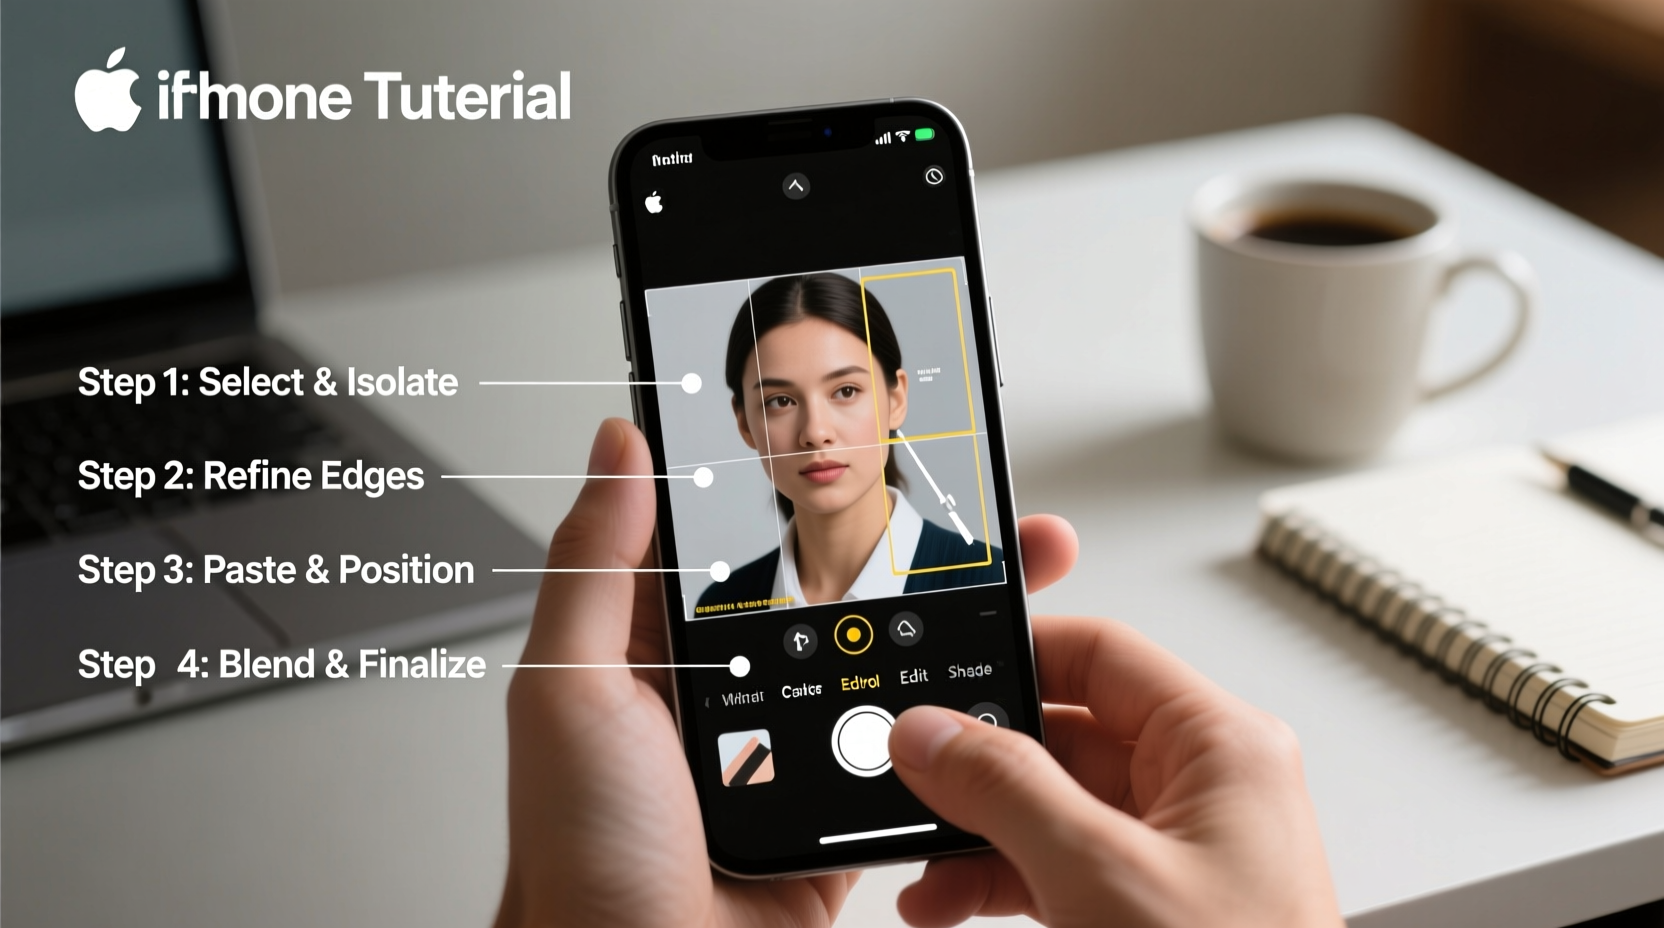
This guide walks through the entire process using only your iPhone’s native capabilities—no downloads required. Follow these steps carefully for best results.
- Open the Photos app and select the image containing the subject you want to cut out.
- Press and hold on the subject (person, animal, object). After a moment, the outline will highlight, indicating successful detection.
- Lift your finger. A pop-up menu appears with options including “Copy,” “Share,” and “Add to Shared Album.” Tap “Copy.”
- Navigate to another photo where you’d like to paste the subject, or open a blank canvas via Notes or Markup.
- Tap and hold on the target area, then choose “Paste” from the context menu.
- Adjust size and position using pinch gestures or drag handles. For finer control, double-tap the pasted image to enter edit mode.
- Use Markup tools (available after pasting into Notes or Messages) to refine edges, erase overlaps, or add shadows for realism.
The result is a cleanly transferred element that blends naturally into its new environment—provided lighting and perspective are consistent.
When Built-In Tools Fall Short: Using Third-Party Apps
While Apple’s object selection works well for clear subjects against contrasting backgrounds, it struggles with fine details like frizzy hair, glass, or motion blur. In such cases, dedicated apps provide better accuracy and flexibility.
| App | Best For | Key Feature |
|---|---|---|
| Pixelmator Photo | Precise masking and layering | Magnetic lasso and AI-powered cutout |
| Adobe Photoshop Express | Quick background removal | One-tap cutout with refine brush |
| Snapseed | Subtle blending and color matching | Healing tool and selective adjustments |
For example, in Pixelmator Photo, you can import an image, use the “Cutout” tool to define foreground and background, then export the masked subject directly to the clipboard. From there, paste it into any other app just like with the native method—but with far greater edge fidelity.
“Modern smartphones have democratized photo editing. What once required hours in Photoshop now takes seconds on an iPhone.” — Lena Torres, Mobile Photography Instructor at Digital Lens Academy
Real-World Example: Creating a Family Reunion Collage
Sarah wanted to create a reunion photo featuring relatives who couldn’t attend in person. She had individual portraits taken on different days and lighting conditions. Using her iPhone, she followed these steps:
- Copied each person from their respective photos using the long-press selection tool.
- Pasted them onto a high-resolution beach scene stored in her Notes app.
- Resized and rotated each figure to simulate natural positioning.
- Used the Markup eraser to soften harsh edges and adjusted brightness to match ambient light.
The final collage looked cohesive enough to fool guests at the event. Sarah completed the project in under 20 minutes—entirely on her phone.
Avoiding Common Editing Mistakes
Even with powerful tools, poor technique can ruin an otherwise great edit. Here are frequent pitfalls and how to sidestep them:
- Ignoring scale and perspective: A child pasted next to a building should reflect realistic proportions. Use reference points in the background to gauge size.
- Mismatched lighting: If the original photo was taken midday but the destination scene shows golden hour, the pasted object will look flat. Adjust exposure and warmth accordingly.
- Overlooking shadows: Objects cast shadows based on light direction. Adding a soft black oval beneath a pasted subject enhances realism.
- Using low-resolution sources: Zoomed-in or compressed images produce pixelated cutouts. Always start with the highest quality version available.
Pro Checklist for Flawless Photo Edits
Before sharing your edited image, run through this checklist to ensure quality:
- ✅ Is the subject fully detached from its original background?
- ✅ Are edges smooth and free of jagged artifacts?
- ✅ Does the size and angle match the scene’s perspective?
- ✅ Is the lighting and color tone consistent across all elements?
- ✅ Have I added subtle shadows or reflections if needed?
- ✅ Did I review the image at full zoom to catch imperfections?
Frequently Asked Questions
Can I cut out text or logos from a photo?
Yes, but results vary. Simple, high-contrast text may be selectable with long-press, though complex fonts or curved surfaces often require third-party apps with advanced selection brushes.
Why does my pasted image look blurry?
This usually happens when the source photo lacks resolution or was heavily compressed. Try using the original, unedited version from your camera roll. Also, avoid excessive resizing after pasting.
Is it possible to undo a paste action?
Yes. Immediately after pasting, shake your iPhone to trigger the “Undo” prompt. Alternatively, tap and hold to bring up the menu and select “Undo Paste.” Some apps also support multi-level undo history.
Final Thoughts: Elevate Your Mobile Editing Game
Cutting and pasting photos on an iPhone is no longer a workaround—it's a legitimate creative technique embraced by photographers, marketers, and casual users alike. By combining Apple’s intelligent selection with thoughtful composition and attention to detail, you can produce edits that rival desktop-grade work.
Don’t wait for special occasions to practice. Start small: extract your pet from a cluttered photo, place a favorite landmark behind a selfie, or design custom greeting cards. Each attempt sharpens your eye and builds confidence.


 浙公网安备
33010002000092号
浙公网安备
33010002000092号 浙B2-20120091-4
Comments
No comments yet. Why don't you start the discussion?