
Capturing a compelling portrait goes beyond pressing a shutter button. It’s about storytelling, emotion, and connection—between subject and photographer, and between image and viewer. A great portrait reveals character, evokes mood, and lingers in memory. Whether you’re using a DSLR, mirrorless camera, or even a high-end smartphone, the principles of powerful portraiture remain consistent. This guide breaks down the essential steps, tools, and mindset needed to elevate your portrait photography from ordinary to extraordinary.
Understanding the Essence of a Strong Portrait
A technically perfect photograph isn’t always a great portrait. The most memorable images succeed because they convey something deeper than clarity or exposure—they reveal personality, vulnerability, confidence, or quiet introspection. To achieve this, shift your focus from gear to intention. Ask yourself: What story does this person carry? What emotion do I want to highlight?
Successful portrait photographers act as visual psychologists, observing body language, facial expressions, and environmental cues. They don’t just take pictures—they collaborate with their subjects to co-create an authentic moment frozen in time.
“Portrait photography is not about how someone looks, but who they are.” — Steve McCurry, Photographer
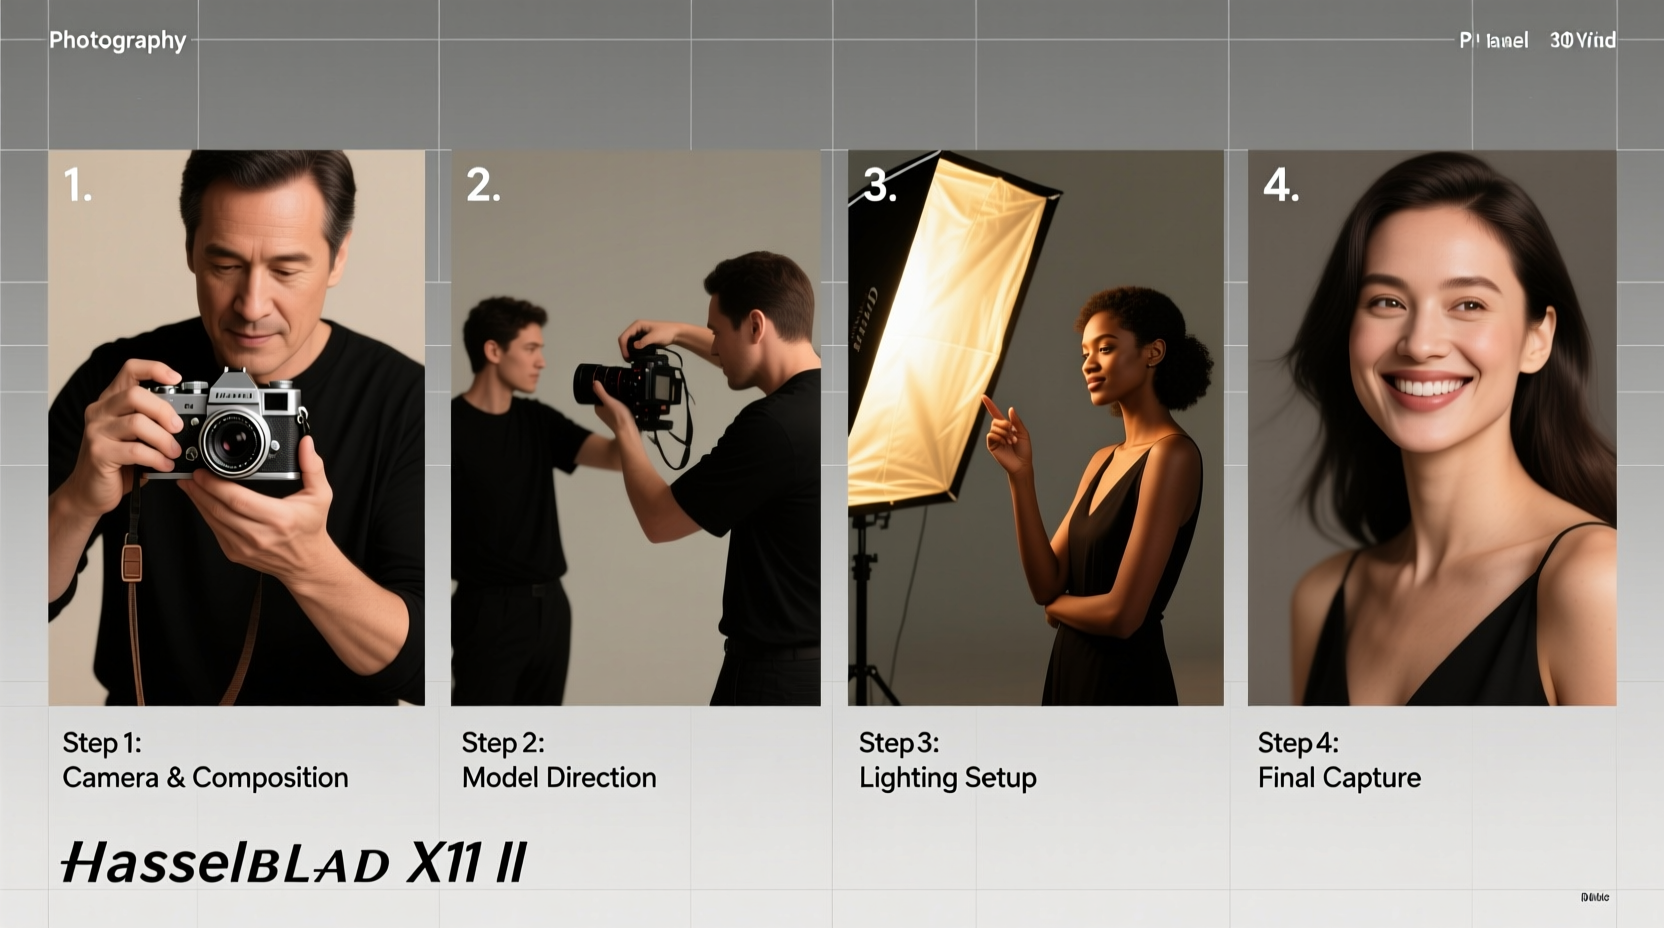
Step-by-Step Guide to Capturing Stunning Portraits
Creating impactful portraits follows a structured process. Master each phase to build consistency and confidence in your results.
- Preparation & Planning: Define the purpose of the portrait—editorial, commercial, personal, or artistic. Choose a location that complements the subject’s identity. Scout lighting conditions and background elements in advance.
- Engage with Your Subject: Spend time building rapport before lifting your camera. A relaxed subject translates into natural expressions. Simple conversation, humor, or shared silence can ease tension.
- Choose the Right Lens: Prime lenses like 50mm or 85mm on full-frame cameras are ideal for flattering facial proportions and achieving soft background blur (bokeh). Avoid wide-angle lenses up close—they distort features.
- Master Lighting Setup: Natural light near a large window often produces the most flattering results. For controlled environments, use a single key light with a reflector or softbox to minimize harsh shadows.
- Compose with Intention: Apply the rule of thirds, but don’t be afraid to break it. Position eyes along the upper third line for impact. Use negative space to emphasize solitude or contemplation.
- Capture Multiple Expressions: Shoot continuously during peak moments—laughter, thoughtful pauses, glances away. These fleeting seconds often yield the most genuine frames.
- Review and Refine: Check focus and exposure after initial shots. Adjust white balance, aperture, or position as needed. Encourage subtle shifts in posture or expression for variety.
Lighting Techniques That Transform Portraits
Light shapes mood. Harsh midday sun creates dramatic contrasts, while golden hour glow wraps faces in warmth. Understanding light quality—its direction, intensity, and color—is crucial.
Four classic lighting patterns used in studio and natural settings include:
- Rembrandt Lighting: A triangle of light appears on the shadowed cheek. Ideal for adding depth and drama.
- Butterfly Lighting: Light source directly in front and above the subject, casting a butterfly-shaped shadow under the nose. Common in beauty photography.
- Split Lighting: Half the face is illuminated, the other half in shadow. Creates strong contrast and intensity.
- Loop Lighting: A small shadow of the nose falls toward the cheek. Flattering and versatile for most face shapes.
| Light Source | Best For | Tips |
|---|---|---|
| Natural Window Light | Soft, emotional portraits | Use sheer curtains to diffuse; position subject at 45° to window |
| Golden Hour Sunlight | Outdoor lifestyle portraits | Shoot with sun behind subject for rim lighting; use reflector to fill face |
| On-Camera Flash (Diffused) | Quick indoor sessions | Bounce flash off ceiling; never point directly at face |
| Studio Softbox | Professional headshots | Position at eye level, 45° angle for even illumination |
Post-Processing: Enhancing Without Overdoing
Editing should refine, not reconstruct. Over-sharpening, excessive skin smoothing, or aggressive filters strip authenticity. Instead, follow a minimalist approach focused on balance and subtlety.
A professional post-processing workflow includes:
- Adjusting exposure and contrast to match the intended mood.
- Correcting white balance to ensure natural skin tones.
- Removing minor distractions (e.g., stray hairs, sensor dust) with clone stamp.
- Enhancing eyes subtly—brighten whites, deepen iris contrast slightly.
- Exporting in appropriate resolution: 72 dpi for web, 300 dpi for print.
Mini Case Study: The Power of Simplicity
Jamie, a freelance photographer, was hired to shoot a local author for a book cover. Initially, Jamie planned a complex setup with multiple lights and props. But during their conversation, the author mentioned feeling “most like herself” when reading in her sunlit study.
Instead of staging, Jamie opted for a natural approach: one window, no flash, a 50mm lens, and a wooden chair. The resulting portrait showed the author mid-sentence, sunlight catching her silver hair, eyes alight with passion. The publisher chose it immediately, calling it “intimate and honest.”
The lesson? Sometimes the best portraits emerge not from elaborate setups, but from attentive observation and restraint.
Essential Portrait Photography Checklist
Before every session, run through this checklist to ensure nothing is overlooked:
- ✅ Camera batteries charged and backup available
- ✅ Memory cards formatted and sufficient storage
- ✅ Lens clean and appropriate focal length selected
- ✅ Tripod or stabilizing tool if shooting long exposures
- ✅ Lighting assessed (natural or artificial)
- ✅ Background free of distracting elements
- ✅ Subject briefed on concept and expectations
- ✅ Consent form signed if usage extends beyond personal portfolio
- ✅ Backup plan for weather (if outdoors)
- ✅ Post-shoot editing timeline established
Frequently Asked Questions
What is the best aperture for portrait photography?
For most portraits, an aperture between f/1.8 and f/4 creates a pleasing depth of field—sharp on the eyes, softly blurred in the background. Wider apertures (like f/1.4) require precise focus on the nearest eye to avoid softness.
How do I make my subject feel comfortable in front of the camera?
Start with casual conversation. Avoid technical talk during the shoot. Give gentle, positive feedback (“That smile was perfect—can we try one more like that?”). Let them see a few good shots early to build confidence.
Can I take professional portraits with a smartphone?
Absolutely. Modern smartphones offer excellent portrait modes, high dynamic range, and advanced sensors. Use natural light, keep the lens clean, and leverage editing apps like Snapseed or Lightroom Mobile for refinement. The key is composition and timing, not just hardware.
Conclusion: Your Lens, Your Voice
Mastering portrait photography isn’t about accumulating gear or mimicking trends. It’s about developing your vision, refining your technique, and learning to see people with empathy and curiosity. Every face tells a story—if you’re patient, observant, and intentional, you have the power to reveal it.


 浙公网安备
33010002000092号
浙公网安备
33010002000092号 浙B2-20120091-4
Comments
No comments yet. Why don't you start the discussion?