
Selective blurring in Adobe Photoshop is more than just an aesthetic flourish—it’s a foundational skill for photographers, retouchers, and digital artists who want to direct attention, enhance depth, and refine composition. Unlike global blurs that affect the entire image, selective softening allows you to control focus, reduce distractions, and create natural-looking transitions between subject and background. Whether you're enhancing portraits, crafting composites, or preparing visuals for web and print, mastering these techniques elevates your work from amateur to professional.
Understanding Selective Blur: Why It Matters
Blurring isn’t just about making parts of an image fuzzy. When applied selectively, it becomes a storytelling tool. A softly blurred background isolates a sharp subject, guiding the viewer’s eye exactly where you want it. This mimics the shallow depth of field achieved with high-end camera lenses, but with far greater control.
The key lies in precision. Over-blurring can make an image look artificial or sloppy. Under-blurring fails to achieve separation. The goal is subtlety—softening without losing context. Selective blur also helps correct imperfections, such as harsh lighting edges or distracting textures, without resorting to heavy-handed masking or cloning.
“Blur, when used intentionally, is one of the most powerful tools for visual hierarchy in digital imaging.” — Daniel Park, Senior Photo Editor at *Visual Craft Magazine*
Core Blur Tools in Photoshop
Photoshop offers several blur filters, each suited to different purposes. Knowing which to use—and when—is essential for clean, realistic results.
| Blur Tool | Best For | Limitations |
|---|---|---|
| Gaussian Blur | Uniform softening, background isolation | Can look flat if overused |
| Motion Blur | Simulating movement, directional effects | Limited to linear direction |
| Field Blur | Gradual, adjustable blur with on-image controls | Requires layer duplication for non-destructive use |
| Iris Blur | Circular focus areas, simulating lens bokeh | Less effective for irregular shapes |
| Blur Tool (Brush) | Manual, localized softening (e.g., skin touch-ups) | Risk of overuse; hard to undo |
For selective softening, Gaussian Blur combined with layer masks is often the most reliable method. Field and Iris Blur, accessible through the *Blur Gallery*, offer real-time previews and are excellent for creative depth effects.
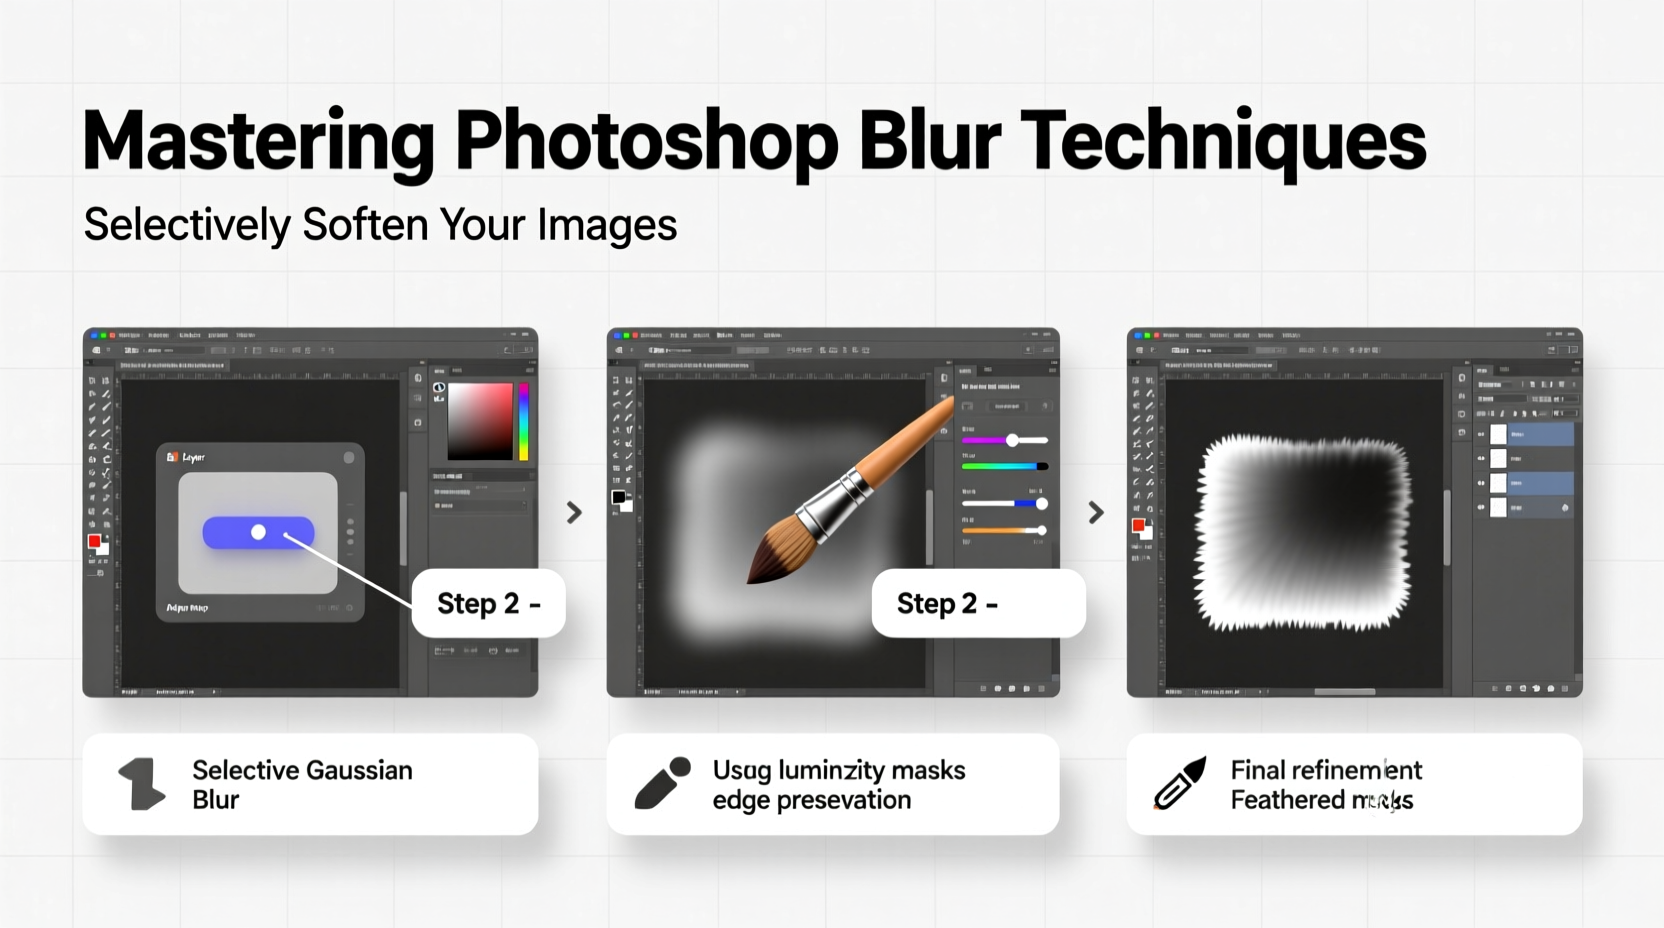
Step-by-Step: Applying Selective Blur with Layer Masks
This method gives full control and is ideal for portraits, product shots, or any image requiring precise focus management.
- Duplicate the Background Layer: Press Ctrl+J (or Cmd+J on Mac) to create a copy of your image layer.
- Apply Gaussian Blur: With the duplicated layer selected, go to Filter > Blur > Gaussian Blur. Adjust the radius (start with 5–15 pixels depending on image size) until the background appears softly diffused.
- Add a Layer Mask: Click the “Add Layer Mask” icon at the bottom of the Layers panel. This attaches a white mask to the blurred layer.
- Invert the Mask: Press Ctrl+I (Cmd+I) to turn the mask black. This hides the blur completely, revealing only the sharp original below.
- Paint Back the Blur: Select the Brush Tool (B), set hardness to 0%, and choose a soft round brush. Use white paint to brush over areas you want blurred—typically backgrounds or peripheral distractions.
- Refine Edges: Zoom in and use a smaller brush with lower opacity (30–50%) near subject edges to blend smoothly and avoid halos.
This technique ensures that only specific regions are softened while preserving critical detail. You can adjust brush opacity for gradual transitions or use multiple blur layers for varying intensities.
Advanced Technique: Using the Blur Gallery for Creative Depth
For dynamic compositions, the Blur Gallery provides interactive controls that simulate optical effects.
- Go to Filter > Blur Gallery.
- Choose Field Blur to place multiple blur pins across the image. Each pin controls blur intensity at that point.
- Add a central pin on your subject with 0% blur, then place others in the background with increasing values (e.g., 10–20%).
- Use Iris Blur to create an elliptical focus area, adjusting the outer ring to define the transition zone.
- Click Show Overlay to visualize the blur gradient and fine-tune falloff.
This approach is particularly effective for simulating tilt-shift photography or creating dreamy, out-of-focus atmospheres in landscape or lifestyle imagery.
Mini Case Study: Portrait Enhancement for a Lifestyle Brand
A freelance photographer was hired to shoot a series of indoor portraits for a wellness brand. The studio lighting created sharp, even illumination, but the plain backdrop lacked depth. To add dimension without reshooting, the editor applied selective blur using the layer mask method.
After duplicating the layer and applying a 12-pixel Gaussian Blur, a reversed mask was painted around the model’s silhouette with a soft brush. Slight blur was allowed to creep into distant clothing folds to maintain realism. The result was a subtle depth effect that made the subject pop, aligning with the brand’s premium aesthetic. Client feedback praised the “cinematic quality” achieved through what appeared to be advanced lens work—though it was entirely post-processed.
Common Mistakes and How to Avoid Them
Even experienced editors can fall into traps that degrade image quality. Awareness prevents errors.
- Over-blurring backgrounds: Excessive blur makes scenes look fake. Stick to moderate radii and preview at 100% zoom.
- Hard transitions: Abrupt shifts from sharp to blurred areas create unnatural halos. Use soft brushes and low-opacity strokes for blending.
- Ignoring lighting direction: Blur should follow the logic of light and space. Shadows and highlights in blurred zones should still align with the scene’s light source.
- Using blur to fix poor focus: If the subject itself is out of focus, no amount of background blur will salvage it. Always start with a sharp base image.
Checklist: Mastering Selective Blur in 7 Steps
- ✅ Start with a high-resolution, sharply focused image
- ✅ Duplicate the layer before applying any blur
- ✅ Choose the right blur type (Gaussian for general use, Field/Iris for creative depth)
- ✅ Use layer masks for non-destructive, reversible edits
- ✅ Paint with soft brushes and low opacity for smooth transitions
- ✅ Zoom in to check edges and prevent halos
- ✅ Compare before/after views frequently to assess impact
Frequently Asked Questions
Can I apply selective blur to only part of a person, like softening skin while keeping eyes sharp?
Yes. Use a layer mask to protect areas you want to remain sharp. Apply blur to the entire duplicated layer, then paint back clarity over the eyes, lips, or hair details using a black brush on the mask.
Is there a way to automate selective blurring based on depth?
Photoshop’s *Select Subject* and *Depth Map* features (in newer versions) can help. After making a selection, invert it and apply blur to the background. Some workflows integrate AI-powered plugins like Topaz Gigapixel or Adobe’s own Neural Filters for enhanced depth detection.
Why does my blurred image look pixelated?
This usually happens when blurring low-resolution images or using excessively high blur radii. Work at 100% document size and downsample only after editing. Blurring magnifies compression artifacts, so start with the highest quality source possible.
Conclusion: Sharpen Your Vision Through Controlled Softness
Mastering selective blur isn’t about hiding flaws—it’s about guiding perception. With deliberate application, you transform flat images into layered, immersive visuals that breathe with depth and intention. The techniques outlined here form a foundation that scales from simple social media edits to high-end commercial work. What separates good editing from great is restraint, precision, and a clear purpose behind every pixel softened.


 浙公网安备
33010002000092号
浙公网安备
33010002000092号 浙B2-20120091-4
Comments
No comments yet. Why don't you start the discussion?