
Adding handmade charm to your living space doesn’t require years of crafting experience. Plush pillow covers with floral designs offer an elegant yet approachable way to personalize your home decor. Whether you're new to sewing or exploring textile artistry, creating a custom floral pillow cover allows you to blend creativity with functionality. This guide walks through the essentials—from selecting materials to stitching your first design—with clear, practical steps that ensure success even for absolute beginners.
Choosing the Right Materials for Your Project
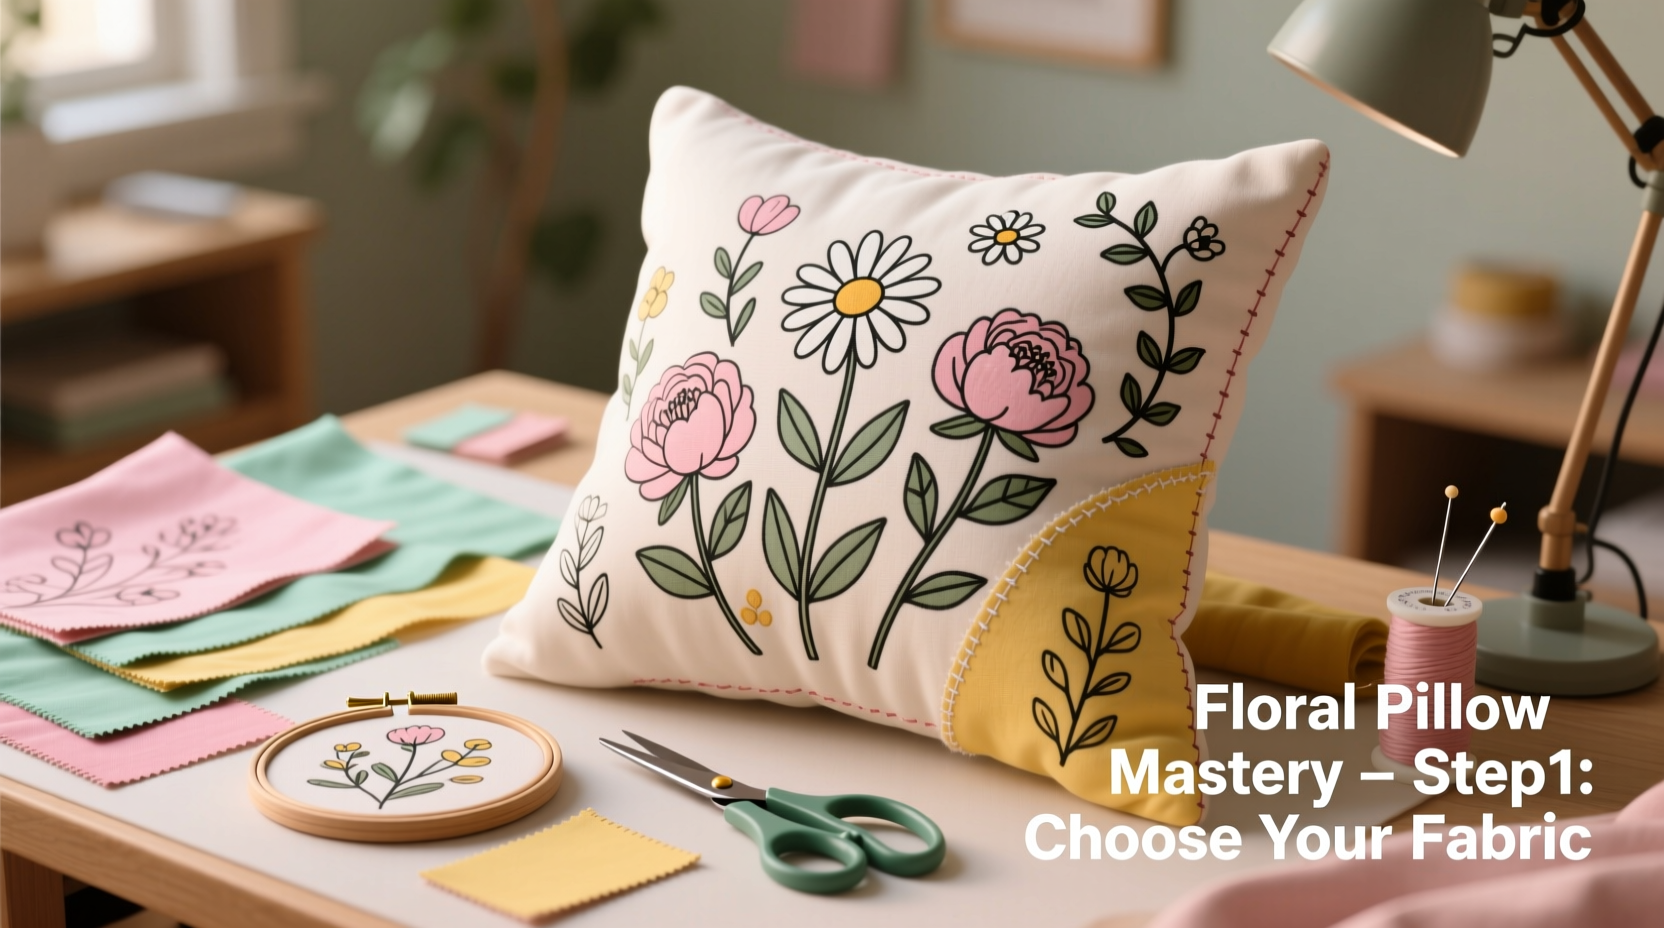
The foundation of any great pillow cover lies in the materials. Softness, durability, and visual appeal all depend on thoughtful selection. For plush covers, fabrics like velvet, minky, or cotton flannel provide comfort while holding intricate designs well. When working with floral patterns, consider how color, texture, and print scale affect the final look.
Cotton blends are ideal for beginners due to their stability and ease of handling. If you’re printing your own floral pattern, use fabric-safe transfer paper or opt for pre-printed floral fabric from craft stores. Always pre-wash your fabric to prevent shrinkage after completion.
| Fabric Type | Best For | Beginner-Friendly? |
|---|---|---|
| Cotton Blend | Bright prints, easy sewing | Yes |
| Velvet | Luxurious texture, rich colors | Moderate (nap direction matters) |
| Minky | Ultra-soft touch, cozy feel | Slightly challenging (slippery) |
| Linen | Natural look, breathable | Yes, but wrinkles easily |
Designing Your Floral Pattern: Simplicity Meets Creativity
You don’t need advanced drawing skills to create a beautiful floral motif. Start by sketching basic shapes—circles for flower centers, teardrops for petals, and curved lines for stems. Arrange them into a repeating pattern or a single focal bloom. Grid paper helps maintain alignment and spacing.
For digital designs, free tools like Inkscape or Canva allow you to experiment with layouts before transferring to fabric. Alternatively, trace real flowers from botanical illustrations or use stencils available at craft shops. The goal is not perfection but personal expression.
“Floral design in textiles isn’t about replicating nature exactly—it’s about capturing its rhythm and emotion.” — Lena Torres, Textile Artist & Educator
Step-by-Step Guide to Creating a Custom Floral Pillow Cover
- Measure your pillow insert. Add one inch to both length and width for seam allowance.
- Cut two fabric panels using your measurements. Use sharp fabric scissors for clean edges.
- Transfer your floral design onto one panel using washable fabric markers or iron-on transfer sheets.
- Embellish if desired. Use embroidery floss for raised details, or fabric paint for bold color fills.
- Place panels together, right sides facing inward. Pin around the edges.
- Sew three sides with a ½-inch seam allowance using a straight stitch.
- Leave the fourth side open for inserting the pillow form.
- Clip corners, then turn the cover right-side out.
- Insert the pillow, then hand-stitch the opening closed with a ladder stitch for invisibility.
- Press gently with a low-heat iron (use a pressing cloth on delicate fabrics).
A Real Example: Sarah’s First Floral Pillow
Sarah, a college student with no prior sewing experience, wanted to refresh her dorm room on a budget. She bought a $7 pillow insert and repurposed a soft cotton blouse she no longer wore. Using a daisy stencil from a dollar store, she traced a simple flower near the corner of the fabric. With fabric paint, she filled in yellow centers and white petals, letting each layer dry before adding outlines.
She followed a basic sew-and-turn method, using her roommate’s sewing machine. After some frustration with puckered seams, she re-sewed slowly and clipped the corners—resulting in crisp edges. The finished pillow became a centerpiece on her bed, earning compliments from friends. More importantly, it sparked her interest in textile crafts, leading her to join a campus DIY group.
Common Pitfalls and How to Avoid Them
- Misaligned seams: Pin generously and check alignment before sewing.
- Fraying edges: Use pinking shears or apply a narrow zigzag stitch along raw edges.
- Distorted designs: Avoid stretching fabric while painting or embroidering.
- Visible closure: Learn the ladder stitch—it takes five minutes to master and makes seams disappear.
“Many beginners overcomplicate their first project. Start small. One flower. One color. Finish it. That sense of completion builds confidence faster than any tutorial.” — Marcus Reed, Craft Workshop Instructor
Checklist: Your First Floral Pillow Cover in 10 Steps
- ☐ Measure pillow insert and cut two fabric pieces with seam allowance
- ☐ Choose a simple floral design (hand-drawn, printed, or stenciled)
- ☐ Transfer design onto fabric safely (no permanent marks)
- ☐ Embellish with embroidery, paint, or appliqué if desired
- ☐ Place fabric panels right sides together
- ☐ Pin edges securely, especially corners and curves
- ☐ Sew three sides with ½-inch seam allowance
- ☐ Clip corners to reduce bulk
- ☐ Turn cover right-side out and insert pillow
- ☐ Hand-stitch closure and press lightly
Caring for Your Finished Pillow Cover
To preserve both the plush texture and the floral design, proper maintenance is key. Most handmade covers should be spot-cleaned rather than machine-washed. Use a mild detergent diluted in water and a soft cloth to dab stains gently. Avoid scrubbing, which can damage embroidery or fade prints.
If machine washing is necessary, place the cover in a mesh laundry bag and use cold water on a gentle cycle. Air dry flat to maintain shape. Store away from direct sunlight to prevent color fading, especially in vibrant floral hues.
FAQ
Can I make a pillow cover without a sewing machine?
Absolutely. Hand-sewing works perfectly for beginners. Use a backstitch for strong seams and the ladder stitch for closing the last side. It takes more time but offers greater control and portability.
How do I choose floral colors that match my room?
Start with one dominant color already present in your space—like a shade from your curtains or artwork. Build your floral palette around it using complementary or analogous colors. A simple trick: hold fabric swatches next to your walls under natural light to see true tones.
What if my design looks uneven or messy?
Imperfections add character to handmade items. If you're concerned, embrace the look by adding more elements—like leaves or vines—to balance asymmetry. Remember, handmade means human-made, and that’s what makes it special.
Final Thoughts and Creative Encouragement
Creating a plush pillow cover with a floral design is more than just a craft—it's an act of personal storytelling. Every stitch, brushstroke, or petal placement reflects your taste and mood. You don’t need expensive tools or formal training to begin. What matters most is the willingness to try, learn, and enjoy the process.
As you complete your first cover, notice how the tactile experience—the soft fabric, the scent of thread, the quiet focus—becomes part of the reward. Let this project be the start of a larger journey into textile creativity. Try bolder colors, experiment with mixed fabrics, or gift a handmade pillow to someone you care about.


 浙公网安备
33010002000092号
浙公网安备
33010002000092号 浙B2-20120091-4
Comments
No comments yet. Why don't you start the discussion?