
Capturing what’s on your screen is one of the most practical digital skills you can master. Whether you're troubleshooting an error, sharing instructions, or saving visual information, knowing how to take and edit screenshots efficiently saves time and improves communication. Windows offers several built-in tools that make this process seamless—once you know how to use them properly.
Many users still rely on basic Print Screen usage without realizing the full potential of their system. From full-screen captures to selective snips and quick annotations, Windows has evolved far beyond simple clipboard copying. This guide walks through the most effective ways to harness these tools, streamline your workflow, and produce polished visuals in seconds.
Understanding the Print Screen Key and Its Variants
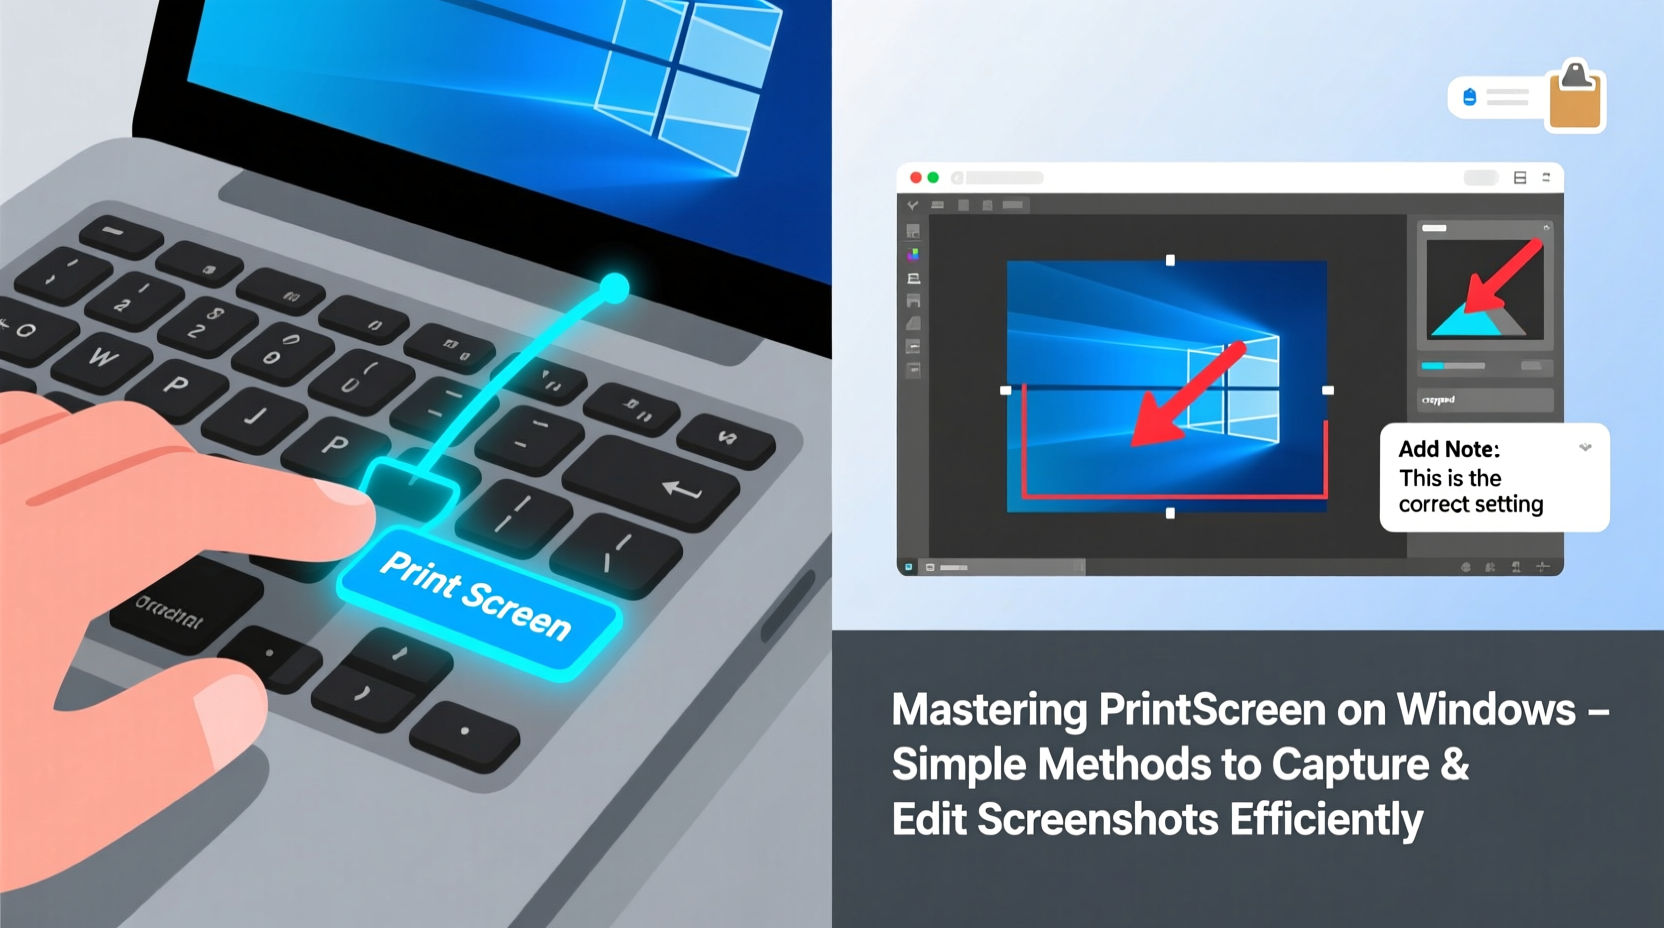
The Print Screen (PrtScn) key has been a staple on PC keyboards for decades. Located typically in the top-right section, it serves as the primary gateway to screenshot functionality. However, its behavior changes depending on how it's used in combination with other keys.
Here’s a breakdown of common Print Screen combinations:
| Key Combination | Action | Output Location |
|---|---|---|
| PrtScn | Captures entire screen | Copies to clipboard |
| Alt + PrtScn | Captures active window only | Copies to clipboard |
| Win + PrtScn | Takes full-screen screenshot | Saves automatically to Pictures\\Screenshots |
| Win + Shift + S | Opens Snip & Sketch tool | Copies selection to clipboard |
Each method suits different scenarios. For example, when reporting a bug, capturing just the active window with Alt + PrtScn avoids unnecessary desktop clutter. If you need to save multiple screenshots quickly, Win + PrtScn bypasses manual saving steps entirely.
Using Snip & Sketch for Advanced Control
Introduced in Windows 10 and refined in Windows 11, Snip & Sketch replaces the older Snipping Tool with enhanced features and better integration. Activated via Win + Shift + S, it allows four types of snips:
- Rectangular Snip: Drag to select any area.
- Freeform Snip: Draw around irregular shapes.
- Window Snip: Click any open window to capture it.
- Fullscreen Snip: Grab everything currently displayed.
Once captured, a notification appears in the corner. Click it to open the editor, where you can annotate, crop, highlight, or erase parts of the image. The editing suite includes a pen, marker, and eraser with adjustable thickness and color options.
“We’ve seen a 40% increase in productivity among remote support teams after standardizing on Snip & Sketch for documentation.” — Daniel Reeves, IT Operations Manager at NexaSupport Inc.
The real power lies in speed and simplicity. You don’t need to open a separate app; the tool overlays directly onto your workspace. After editing, simply copy and paste into emails, documents, or messaging platforms.
Step-by-Step: Capturing and Annotating a Screenshot
Follow this sequence to capture, edit, and share a professional-quality screenshot using native Windows tools:
- Prepare the screen: Arrange windows so the content you want is visible and uncluttered.
- Press Win + Shift + S: The screen dims and the toolbar appears at the top.
- Select snip type: Choose rectangular, freeform, window, or fullscreen.
- Capture your selection: Drag or click to take the snapshot.
- Edit in Snip & Sketch: When the preview notification appears, click it to open the editor.
- Add annotations: Use the pen or highlighter to draw attention to key areas. Blur sensitive data with the pen set to black and high opacity.
- Save or share: Click the disk icon to save, or use Ctrl+C to copy and paste directly into another application.
This workflow takes less than 30 seconds once practiced and ensures clarity in shared visuals—especially useful for training materials or technical reports.
Do’s and Don’ts of Screenshot Management
To maintain efficiency and professionalism, follow best practices when handling screenshots:
| Do’s | Don’ts |
|---|---|
| Use consistent naming when saving files (e.g., ProjectX_Error_01.png) | Take blurry or cropped screenshots that miss critical context |
| Blur personal info like passwords, emails, or account numbers | Store dozens of unorganized screenshots in one folder |
| Leverage keyboard shortcuts to reduce mouse dependency | Rely solely on third-party apps when built-in tools suffice |
| Organize screenshots in dated subfolders (e.g., 2025-04-BugReports) | Forget to check file size before sending via email |
Real-World Example: Resolving a Software Issue Remotely
Sarah, a customer support agent at a mid-sized SaaS company, regularly assists clients with interface navigation. One user reported being unable to locate the export button in a dashboard. Instead of describing the path verbally, Sarah asked the client to press Win + Shift + S, capture the screen, and paste it into the chat.
Within seconds, she received the image, opened Paint, circled the hidden menu toggle, added an arrow pointing to the export option, saved the edited version, and sent it back. The issue was resolved in under two minutes. Without efficient screenshot handling, the same exchange could have taken ten minutes or more through verbal description alone.
This scenario highlights how mastering screenshot techniques enhances not only personal productivity but also team responsiveness and client satisfaction.
Frequently Asked Questions
Where does Print Screen save images by default?
Pressing PrtScn alone copies the image to the clipboard—you must paste it into an app like Paint or Word to save it. However, Win + PrtScn automatically saves screenshots in C:\\Users\\[YourName]\\Pictures\\Screenshots.
Can I change the default save location for screenshots?
Windows doesn’t offer a direct setting for changing the Screenshots folder, but you can relocate it manually. Right-click the Screenshots folder in File Explorer > Properties > Location tab > Move, then choose a new path. This redirects all future saves.
Is there a way to add a delay before taking a screenshot?
Yes. Open the Snipping Tool (not Snip & Sketch), click “Mode,” then select “Delay” and set up to 5 seconds. This is helpful for capturing dropdown menus or tooltips that disappear when you click away.
Checklist: Optimize Your Screenshot Workflow
- ✅ Learn and memorize key shortcuts: PrtScn, Alt+PrtScn, Win+Shift+S
- ✅ Use Snip & Sketch for quick edits and annotations
- ✅ Always blur sensitive or private information before sharing
- ✅ Save screenshots in organized folders with descriptive names
- ✅ Use delayed snips for capturing transient UI elements
- ✅ Avoid overusing full-screen captures when a small region suffices
- ✅ Test your workflow monthly to ensure consistency and speed
Conclusion: Turn Screenshots Into a Productivity Superpower
Mastering print screen on Windows isn’t about memorizing obscure functions—it’s about integrating fast, reliable habits into your daily computing routine. With minimal effort, you can transform chaotic explanations into clear visual guidance, accelerate problem-solving, and communicate more effectively across teams and devices.
The tools are already on your machine. No downloads, no subscriptions. Just smart use of what’s available. Start applying these techniques today, refine your process, and turn every screenshot into a precise, purposeful asset.


 浙公网安备
33010002000092号
浙公网安备
33010002000092号 浙B2-20120091-4
Comments
No comments yet. Why don't you start the discussion?