
Puff pastry is one of the most elegant yet intimidating elements in baking. Its delicate, airy layers rise dramatically in the oven, creating a crisp, golden shell that shatters with each bite. While traditionally associated with French patisseries, perfect puff pastry isn’t reserved for professionals. With patience, technique, and attention to detail, you can achieve bakery-quality results in your own kitchen. This guide walks you through every stage—understanding ingredients, mastering the fold, avoiding common pitfalls, and baking with confidence.
The Science Behind the Layers
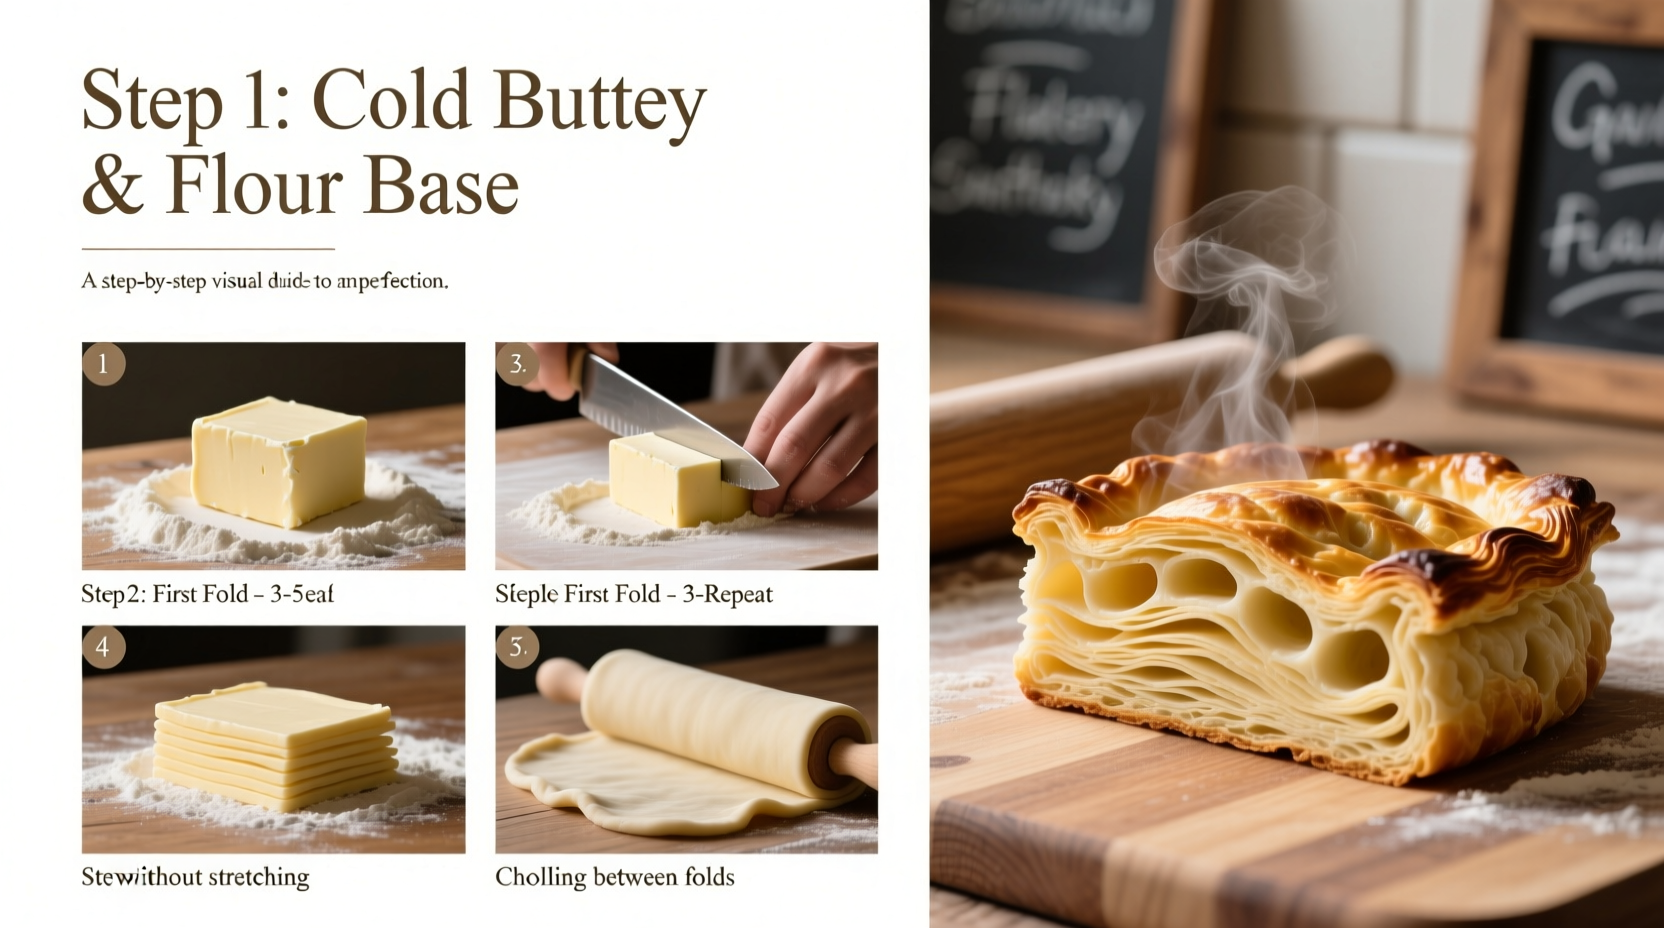
Puff pastry’s magic lies in its structure: hundreds of alternating layers of dough and butter. When exposed to heat, the water in the butter turns to steam, lifting the dough layers apart. As the dough sets, these separated sheets become crisp and golden. The key is maintaining distinct layers throughout preparation and baking.
Unlike pie crust or shortcrust pastry, puff pastry contains no leavening agents like baking powder. Its rise comes entirely from steam generated during baking. This means temperature control—of both ingredients and environment—is critical. Too warm, and the butter melts into the dough; too cold, and the dough cracks during folding.
“Puff pastry is less about recipe and more about rhythm. It’s a dance between time, temperature, and touch.” — Chef Léa Moreau, Pastry Instructor at Le Cordon Bleu Paris
Essential Ingredients and Equipment
High-quality ingredients and proper tools set the foundation for success. You don’t need many components, but each plays a vital role.
Ingredients
- All-purpose flour: Provides structure. Bread flour can be used for slightly stronger gluten development, but all-purpose yields a more tender result.
- Unsalted butter: Must be high-fat (at least 82%). European-style butter works best due to lower moisture content.
- Ice-cold water: Hydrates the dough without warming the butter.
- Salt: Enhances flavor and controls gluten development.
Equipment Checklist
- Large mixing bowl
- Pastry scraper
- Rolling pin (preferably marble or chilled)
- Plastic wrap
- Baking sheet lined with parchment
- Ruler (for consistent folds)
- Parchment paper and baking weights (optional, for blind baking)
Step-by-Step Guide to Homemade Puff Pastry
Traditional puff pastry requires six “turns” or folds, each followed by chilling. This process builds up 728 distinct layers. While it takes time, the method is precise and repeatable.
- Make the détrempe (dough base): Mix 250g flour, 1/2 tsp salt, and 120ml ice water until a shaggy dough forms. Knead briefly into a smooth rectangle, wrap, and chill for 30 minutes.
- Prepare the butter block: Take 200g cold butter and pound it between parchment into a 7x7 inch square. It should be pliable but not soft. Chill again until firm.
- Encase the butter: Roll the chilled dough into a 10x10 inch square. Place the butter block diagonally in the center, then fold the dough corners over it like an envelope. Seal edges gently with the rolling pin.
- First turn (single fold): Roll the dough into a long rectangle, about 15 inches long and 5 inches wide. Fold one-third of the dough toward the center, then fold the opposite third over it like a letter. This is a single fold, or “book fold.” Wrap and chill for 30 minutes.
- Repeat five more times: Perform five additional single folds, chilling the dough for 30 minutes between each. Rotate the dough 90 degrees before each roll to maintain even thickness.
- Final rest: After the sixth fold, wrap and refrigerate the dough for at least 4 hours or overnight before using.
Avoiding Common Mistakes: Do’s and Don’ts
Even experienced bakers stumble when making puff pastry. These guidelines help prevent frequent errors.
| Do’s | Don’ts |
|---|---|
| Keep everything cold—especially butter and workspace. | Don’t skip chilling steps between folds. |
| Use flour sparingly when rolling to avoid dry, tough patches. | Don’t rush the rolling process; apply even pressure. |
| Work on a lightly floured surface and rotate the dough properly. | Don’t let the butter melt into the dough—this kills layering. |
| Preheat your oven thoroughly (minimum 400°F / 200°C). | Don’t open the oven door during the first 20 minutes of baking. |
Baking and Using Your Puff Pastry
Once your dough has rested, it’s ready to be shaped and baked. Roll it to a uniform 1/8-inch thickness unless a recipe specifies otherwise. Use a sharp knife or pizza cutter to make clean cuts—pressing dull tools can seal layers together and inhibit rise.
Egg wash (1 egg + 1 tbsp water, beaten) applied before baking gives a deep golden shine and helps toppings adhere. For best results, bake on a preheated baking sheet or stone to ensure immediate bottom heat.
Puff pastry shines in both sweet and savory applications:
- Classic vol-au-vent: Hollow cases filled with creamy chicken or mushroom duxelles.
- Apple turnovers: Diced apples tossed with cinnamon and sugar, folded and glazed.
- Cheese straws: Cut into strips, twisted, and sprinkled with parmesan and herbs.
- Tart shells: Blind-baked and filled with custard, lemon curd, or fresh fruit.
Mini Case Study: Sarah’s First Puff Pastry Attempt
Sarah, an enthusiastic home baker, tried puff pastry for the first time to impress guests at a brunch. She skipped chilling after the third fold, eager to finish. In the oven, her pastry spread sideways instead of rising. Upon cutting, she found dense, greasy streaks—signs the butter had melted prematurely. She repeated the process a week later, strictly following chill times and monitoring kitchen temperature. The second batch rose nearly 2 inches, with audible crackles as it baked. Her guests were stunned. “I didn’t realize how much discipline it required,” she said. “But now I feel like I’ve cracked the code.”
Frequently Asked Questions
Can I freeze homemade puff pastry?
Yes. Wrap the finished dough tightly in plastic and store in a freezer bag for up to 3 months. Thaw overnight in the refrigerator before use. Baked pastries can also be frozen and re-crisped in a 350°F oven for 5–8 minutes.
Why did my pastry not rise?
Lack of rise usually stems from butter melting before baking, inadequate oven temperature, or sealing cut edges. Ensure butter stays cold throughout prep, preheat your oven fully, and never press down on the edges of shapes.
Can I reduce the number of folds?
You can, but fewer folds mean fewer layers. Four turns yield 256 layers—still impressive. However, skipping below four may result in a flat, bready texture rather than true flakiness.
Conclusion: Elevate Your Baking with Confidence
Mastering puff pastry is a milestone in any home baker’s journey. It demands focus and timing, but the payoff—a golden, ethereal crust that lifts with steam and dissolves on the tongue—is unmatched. Each successful batch builds intuition: recognizing the right consistency, respecting the chill, and trusting the process. Whether you’re crafting elegant hors d'oeuvres or weekend breakfast treats, this foundational skill opens doors to countless recipes.


 浙公网安备
33010002000092号
浙公网安备
33010002000092号 浙B2-20120091-4
Comments
No comments yet. Why don't you start the discussion?