
Puff pear pastries are a delicate fusion of flaky, buttery puff pastry and the soft sweetness of ripe pears—a dessert that looks elegant but can be surprisingly accessible when approached with the right technique. While many home bakers hesitate at the thought of working with laminated dough, modern YouTube tutorials have demystified the process, making it easier than ever to achieve professional-quality results in your own kitchen. This guide walks you through everything you need to know—from selecting ingredients to baking with precision—so you can master puff pear creations with confidence.
Understanding the Elements of a Perfect Puff Pear Pastry
The magic of a puff pear creation lies in the balance between texture and flavor. The puff pastry must rise into crisp, airy layers, while the pear filling should be tender without turning mushy. Achieving this requires understanding both components deeply.
Puff pastry relies on repeated folding and chilling to create hundreds of thin layers of butter and dough. When baked, the water in the butter turns to steam, lifting each layer apart and creating that signature flakiness. Fresh, firm pears—such as Bosc or Anjou—are ideal because they hold their shape during baking and offer a subtle floral sweetness that complements the richness of the pastry.
Essential Tools and Ingredients Checklist
Before diving into a YouTube tutorial, ensure you have the right tools and ingredients on hand. Preparation is key to smooth execution, especially when following visual guides where timing matters.
Checklist: What You’ll Need
- Ready-made or homemade puff pastry (thawed if frozen)
- 2–3 firm-ripe pears
- Unsalted butter (for sautéing pears)
- Granulated sugar or brown sugar
- Ground cinnamon or vanilla extract (optional)
- Egg (for egg wash)
- Pastry brush
- Sharp knife and cutting board
- Baking sheet lined with parchment paper
- Rolling pin
- Piping bag (optional, for precise jam or custard placement)
“Success in pastry begins before the oven—even the best technique fails without proper mise en place.” — Chef Lila Nguyen, Pastry Instructor at Paris Culinary Atelier
Step-by-Step Guide: From Screen to Oven
A high-quality YouTube tutorial breaks down complex processes into manageable steps. Here’s how to follow along effectively and adapt the video instructions for your kitchen setup.
- Choose the Right Video: Look for creators who show close-ups of dough texture, explain why certain steps matter, and include common mistakes. Channels like “Bake with Emma” or “Pastry Lab” often provide detailed commentary beyond just demonstration.
- Prep Before Playing: Gather all ingredients and tools. Rewatch the first 30 seconds of the video to confirm prep requirements.
- Prepare the Pears: Sauté sliced pears in a pan with a tablespoon of butter and a sprinkle of sugar until lightly caramelized—about 5–7 minutes. Let cool completely before use.
- Roll and Cut the Pastry: On a floured surface, roll the puff pastry sheet slightly thinner (about ⅛ inch) for even baking. Cut into rectangles or squares, depending on desired shape.
- Assemble with Care: Place a small spoonful of cooled pear mixture near one end of each piece. Avoid overfilling—too much moisture can prevent proper rising.
- Fold and Seal: Fold the pastry over the filling to form a triangle or rectangle. Press edges with a fork to seal and prevent leakage.
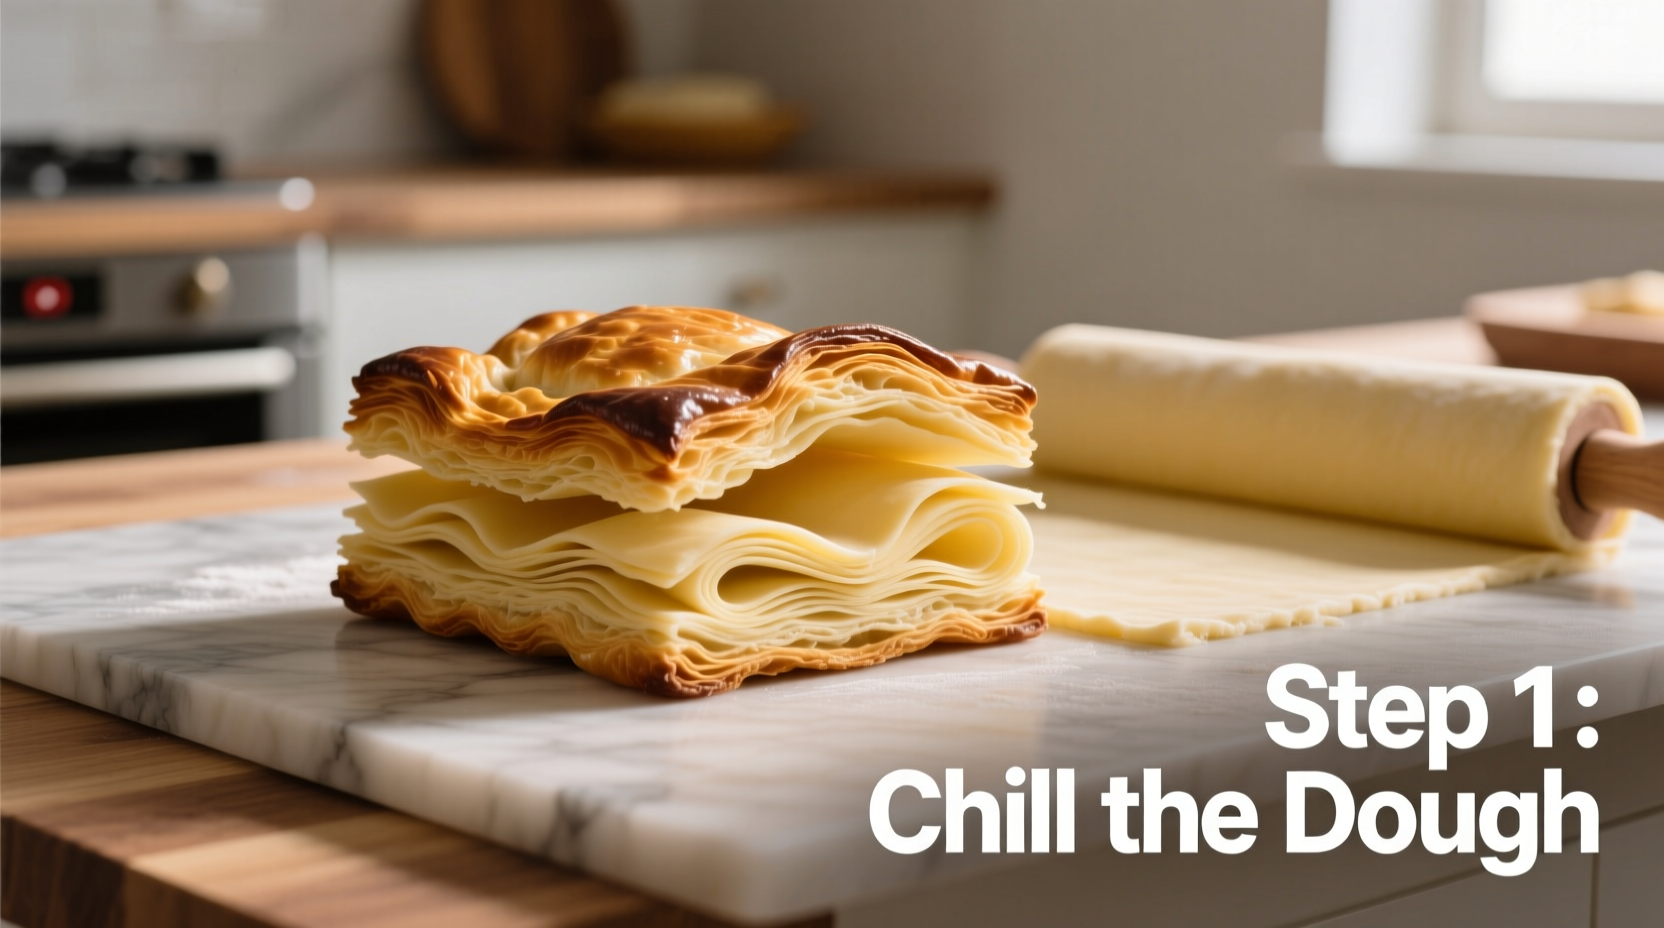
- Chill Before Baking: Refrigerate assembled pastries for 15–20 minutes. This firms up the butter, ensuring maximum lift during baking.
- Egg Wash and Score: Brush tops with beaten egg for a golden shine. Lightly score the top with a knife (without cutting through) to allow steam to escape evenly.
- Bake at High Heat: Preheat oven to 400°F (200°C). Bake for 20–25 minutes, rotating the tray halfway, until deeply golden and puffed.
- Cool and Serve: Let rest for 5 minutes before serving. The interior will continue to set slightly as it cools.
Common Pitfalls and How to Avoid Them
Even with a clear YouTube guide, issues can arise. Understanding why problems occur helps you troubleshoot in real time.
| Issue | Possible Cause | Solution |
|---|---|---|
| Pastry doesn’t rise | Oven not hot enough; butter melted before baking | Preheat thoroughly; chill pastries before baking |
| Soggy bottom | Wet filling; underbaked base | Sauté pears to reduce moisture; bake on preheated tray |
| Cracked edges | Dough too cold or overworked | Let pastry warm slightly before folding; handle gently |
| Bland flavor | Under-seasoned filling; no finishing touch | Add cinnamon or cardamom; dust with powdered sugar post-bake |
Real Example: From First Attempt to Showstopper
Sophia, a home baker from Portland, watched a popular 12-minute YouTube tutorial titled “Easy Puff Pear Turnovers in Under 30 Minutes.” Her first batch collapsed and leaked filling. She revisited the video, paused at critical points, and noticed the creator emphasized cooling the pear mixture completely. She also realized her oven ran 25 degrees low. After adjusting both factors—chilling the filling and calibrating her oven—her second attempt rose beautifully and earned praise at a weekend brunch. “I didn’t change the recipe,” she said. “I just followed the details more closely.”
Enhancing Your Learning from YouTube Content
YouTube is powerful, but passive watching isn’t enough. To truly master puff pear creations, engage actively with the content.
- Pause and Reflect: After each step, ask: Why is the baker doing this? What would happen if I skipped it?
- Take Notes: Jot down timings, visual cues (e.g., “golden bubbles forming”), and ingredient amounts shown on screen.
- Compare Multiple Videos: Watch three different creators making similar pastries. Note variations in technique—some may fold differently or use a custard base.
- Replay in Real Time: On your second attempt, play the video at half speed while baking alongside it.
Frequently Asked Questions
Can I use canned pears instead of fresh?
Canned pears are already soft and high in moisture, which can make the pastry soggy. If using them, drain thoroughly and pat dry. Fresh pears give better texture and flavor control.
Is it okay to freeze puff pear pastries before baking?
Yes. Assemble and freeze unbaked pastries on a tray, then transfer to a bag. Bake from frozen, adding 5–8 minutes to the baking time. This is ideal for meal prep or last-minute entertaining.
Why did my pastry shrink during baking?
Shrinking usually happens when the dough was stretched during shaping or not rested after rolling. Always handle puff pastry gently and let it relax for 5–10 minutes after cutting.
Final Tips for Consistent Success
Mastering puff pear creations isn’t about perfection on the first try—it’s about learning through repetition and attention to detail. Prioritize consistency: use the same brand of pastry if possible, keep your oven calibrated, and record notes after each bake. Over time, you’ll develop an instinct for when the dough is properly chilled or when the pears are caramelized just enough.
Don’t rush the cooling phase—both the filling and the baked pastry benefit from a short rest. And remember, even imperfect pastries taste delicious. The goal is progress, not flawlessness.
Conclusion: Start Baking, Keep Learning
With the wealth of expert-led YouTube tutorials available today, mastering puff pear creations is within reach for any motivated home baker. By combining visual guidance with hands-on practice and mindful adjustments, you can turn a simple pastry into a stunning dessert that impresses family and friends. Don’t wait for the perfect moment—pull out a sheet of puff pastry, slice a pear, and begin. Every great baker started exactly where you are now.


 浙公网安备
33010002000092号
浙公网安备
33010002000092号 浙B2-20120091-4
Comments
No comments yet. Why don't you start the discussion?