
Navigating your iPhone efficiently begins with mastering its most frequently used tools—especially the Control Center. Whether you're adjusting brightness, toggling Airplane Mode, or starting a screen recording, having instant access to these functions saves time and enhances usability. Yet many users still struggle with inconsistent swipes or accidental closures. Understanding how to reliably open, customize, and use the Control Center can transform your daily interaction with your device.
The Control Center is more than just a menu—it’s a productivity hub designed for speed and simplicity. With the right techniques, you can reduce taps, streamline tasks, and keep your focus where it matters. This guide breaks down everything from basic gestures to advanced customization, ensuring you’re not just accessing the Control Center, but using it effectively.
Understanding How the Control Center Works
The Control Center was introduced in iOS 7 as a centralized panel for quick access to commonly used settings. Over the years, Apple has refined its design and functionality across iPhone models, particularly adapting gesture-based navigation after the removal of the Home button in iPhone X and later devices.
Unlike traditional menus, the Control Center doesn’t require unlocking your phone or opening apps. It floats above active screens, allowing immediate adjustments without disrupting your current task. However, its accessibility depends heavily on correct gesture execution and proper device configuration.
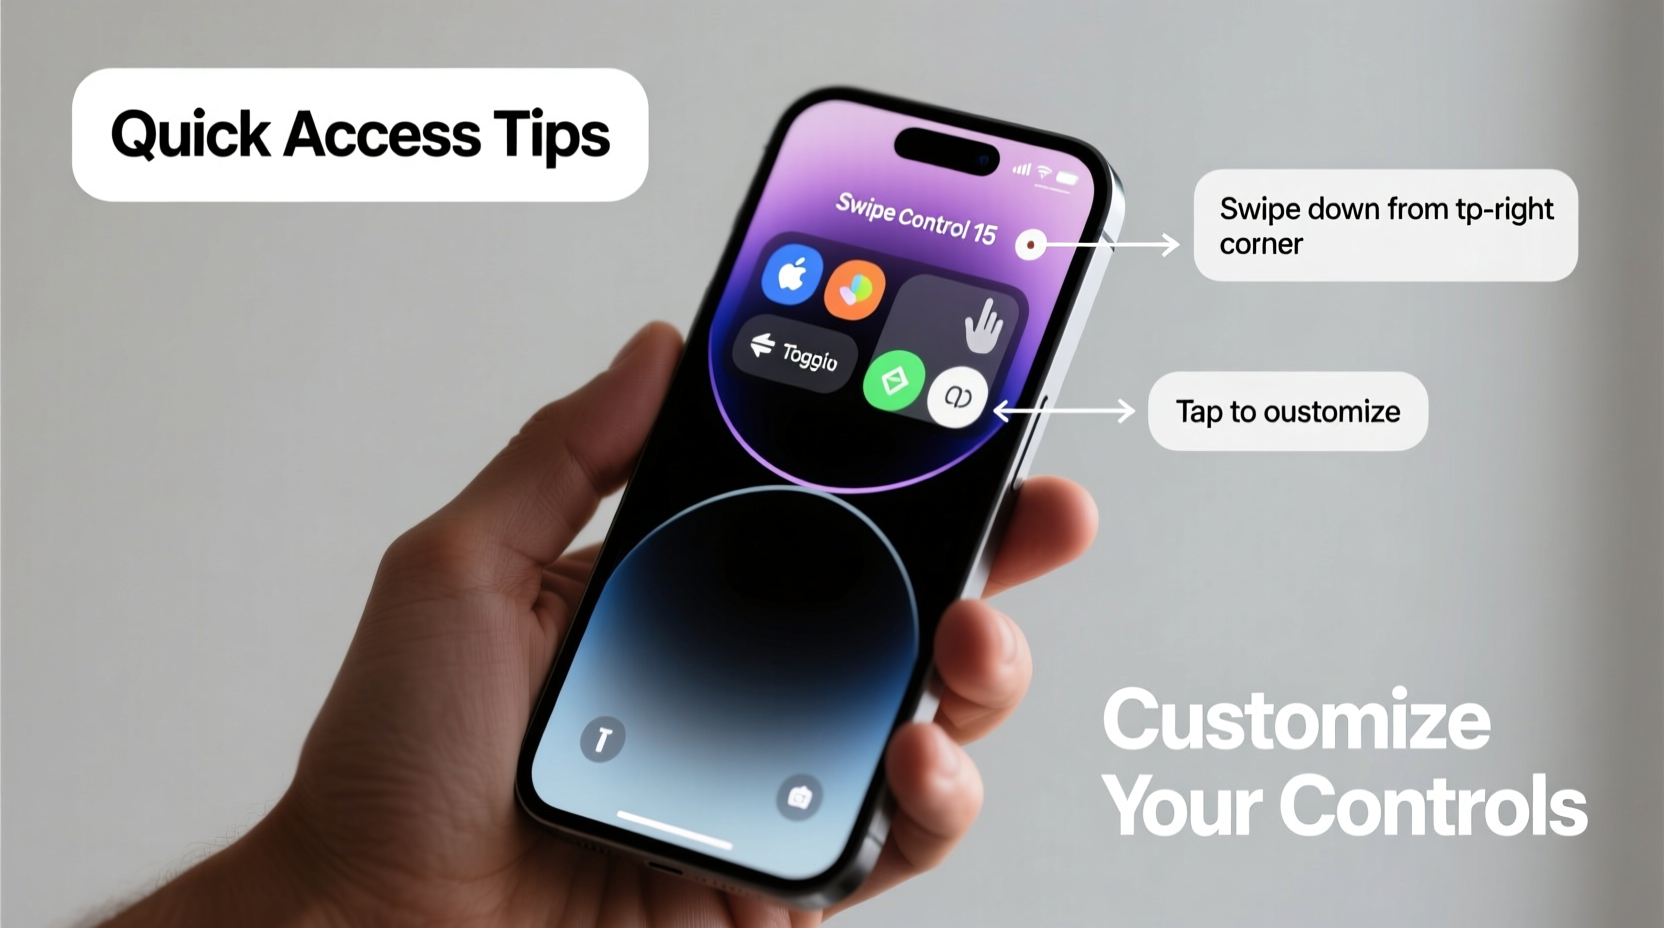
On iPhones with Face ID (iPhone X and newer), you summon the Control Center by swiping down from the top-right corner of the screen. For devices with a Home button (iPhone 8 and earlier), swipe up from the bottom edge. These subtle differences often trip up users switching between models or sharing devices.
Step-by-Step Guide to Accessing the Control Center
Follow this precise sequence to consistently open the Control Center regardless of your iPhone model:
- Identify your iPhone model: Check whether your device uses Face ID (no Home button) or Touch ID (with Home button).
- Position your finger correctly:
- Face ID models: Place your finger in the top-right corner, just below the camera notch.
- Touch ID models: Start at the very bottom edge of the screen.
- Swipe downward (or upward):
- On Face ID devices, swipe straight down.
- On Touch ID devices, swipe up smoothly without pausing.
- Hold briefly if needed: On locked screens, you may need to hold slightly longer to allow full expansion.
- Tap to interact: Once open, tap any icon to activate features like flashlight, Do Not Disturb, or volume control.
A common mistake is swiping too quickly or from an incorrect starting point. The system requires a deliberate motion within specific zones. Practice slowly at first to build muscle memory.
Customizing Your Control Center for Faster Access
Apple allows deep customization so you can prioritize the controls you use most. By default, only a handful of options appear, but you can add timers, magnifiers, translation, and even third-party app integrations.
To personalize your Control Center:
- Open Settings > Control Center.
- Browse the list of available controls such as Screen Recording, Low Power Mode, or Voice Memos.
- Tap the green + next to any feature to add it to your panel.
- Drag controls vertically to reorder them—frequently used items should be near the top.
You can also remove unused icons by tapping the red − and confirming deletion. Keep the layout clean; overcrowding defeats the purpose of rapid access.
| Control | Use Case | Recommended? |
|---|---|---|
| Flashlight | Quick illumination in dark environments | ✅ Yes – always useful |
| Screen Recording | Capturing tutorials or gameplay | ✅ Yes – great for creators |
| Low Data Mode | Extending cellular data during travel | 🟡 Optional – situational |
| Magnifier | Reading small text or labels | ✅ Yes – underused but helpful |
| Music Recognition | Identifying songs playing nearby | ✅ Yes – works silently in background |
“Personalizing the Control Center reduces friction in everyday interactions. Users who tailor it report faster task completion and less reliance on Settings.” — Jordan Lee, iOS Usability Analyst
Real-World Example: Emergency Access During Travel
Consider Sarah, a frequent traveler relying on her iPhone during international flights. Mid-flight, she needs to enable Airplane Mode quickly but fumbles with the Settings app. After learning how to access the Control Center with one hand while holding her bag, she adds Airplane Mode, Wi-Fi, and Bluetooth to her custom layout.
Now, when boarding, she simply swipes down from the top-right corner and disables cellular instantly. She also keeps the flashlight readily accessible for navigating dim cabin aisles. What once took 15 seconds now takes two. That efficiency compounds over dozens of flights per year.
This scenario illustrates how mastering Control Center access isn’t about novelty—it’s about practical gains in real-life situations where speed and reliability matter.
Troubleshooting Common Issues
Even experienced users encounter hiccups. Here are frequent problems and their solutions:
- Swiping doesn’t open Control Center: Ensure you're using the correct gesture for your model. Also, check if Guided Access or Screen Time restrictions are limiting functionality.
- Control Center appears grayed out: This often happens on restricted screens (e.g., during emergency calls). Wait until the restriction lifts.
- Icons don’t respond: Restart your iPhone or force-close unresponsive apps that might interfere with system overlays.
- Can’t edit controls: Verify that Screen Time content & privacy restrictions aren’t blocking changes in Settings.
Essential Checklist for Optimal Control Center Use
Before concluding, run through this checklist to ensure peak performance:
- ✅ Confirm your iPhone model and correct swipe direction
- ✅ Add at least three high-use controls (e.g., flashlight, airplane mode, screen recorder)
- ✅ Reorder controls by frequency of use
- ✅ Test access from both locked and unlocked states
- ✅ Disable rarely used modules to reduce clutter
- ✅ Practice the gesture daily until it becomes instinctive
Frequently Asked Questions
Can I access the Control Center from the lock screen?
Yes, you can access the Control Center from the lock screen on all iPhone models. However, for security reasons, certain actions like initiating payments via Apple Pay or interacting with notifications are disabled unless you unlock the device.
Why did Apple change the swipe direction between iPhone models?
The change aligns with gesture-based navigation introduced with Face ID. Since the Home button was removed, Apple redesigned core gestures: swiping up returns to the home screen, leaving the top corners free for notifications and Control Center respectively. This prevents conflicts between system-level actions.
Can I use the Control Center while using another app?
Absolutely. One of the Control Center’s key advantages is its ability to overlay any active app. Whether you’re browsing Safari, watching a video, or navigating with Maps, a single swipe gives you access to essential tools without interrupting your workflow.
Take Control of Your iPhone Experience
Mastering quick access to the Control Center isn’t just about convenience—it’s about reclaiming seconds throughout your day, reducing frustration, and interacting with your iPhone more intuitively. From adjusting audio levels during a call to activating Focus modes before a meeting, these small efficiencies accumulate into meaningful improvements in digital well-being.
The techniques outlined here work across all modern iOS versions. Now that you understand the mechanics, customization options, and troubleshooting steps, apply them deliberately. Refine your setup, practice the gestures, and make the Control Center truly yours.


 浙公网安备
33010002000092号
浙公网安备
33010002000092号 浙B2-20120091-4
Comments
No comments yet. Why don't you start the discussion?