
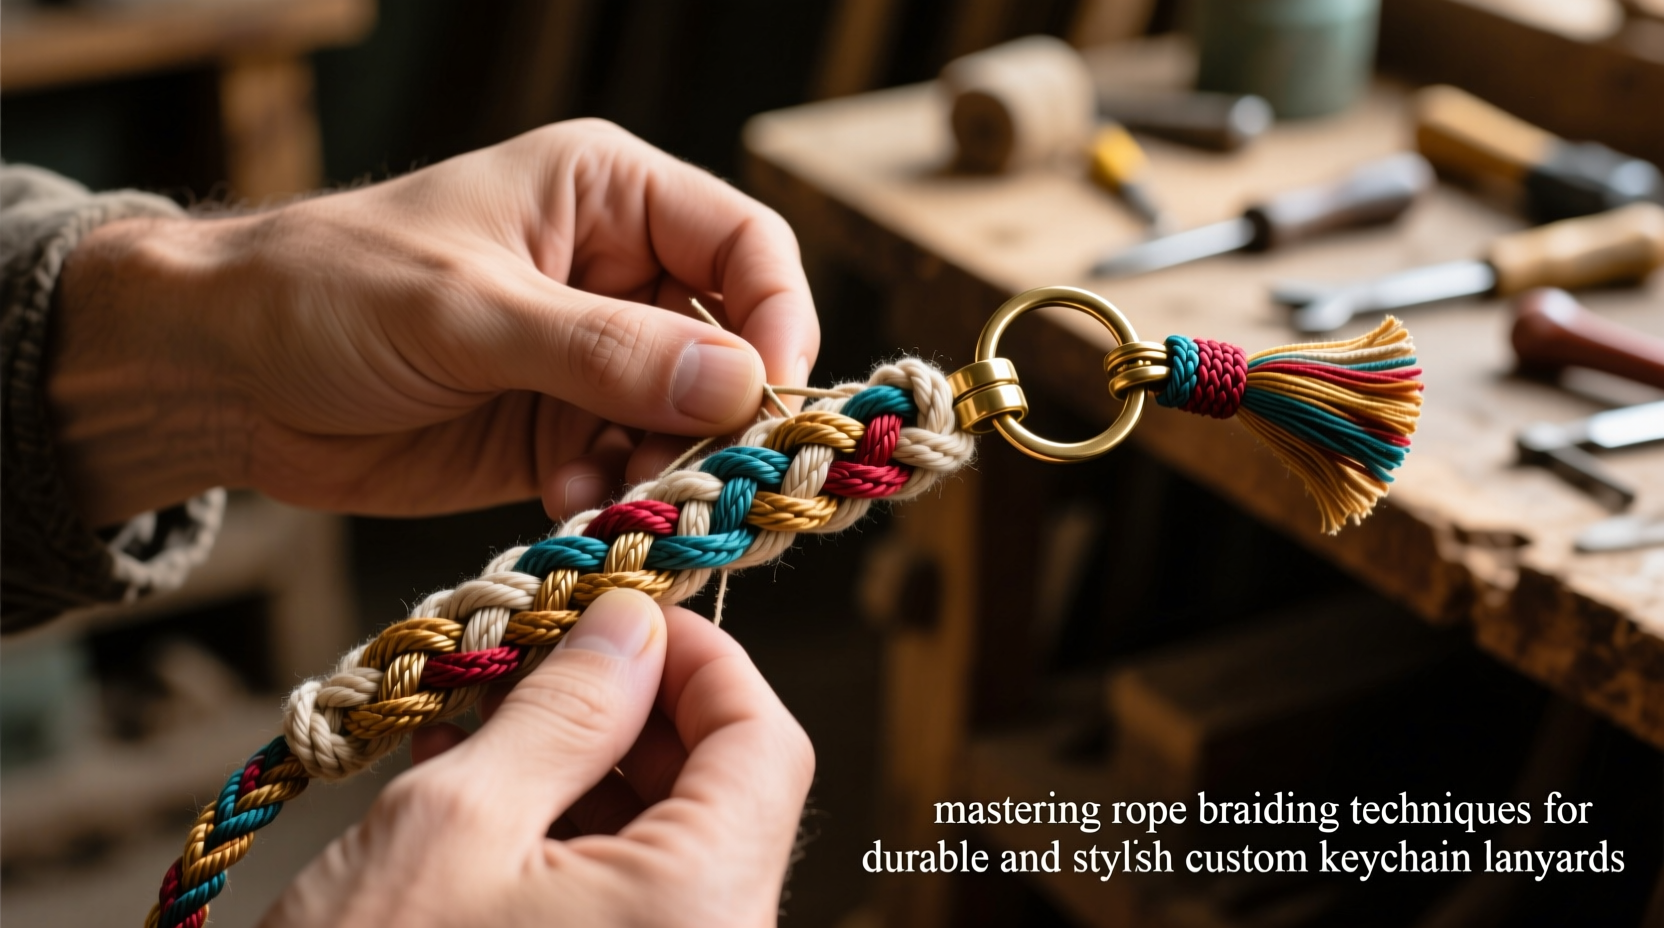
Creating custom keychain lanyards isn’t just a craft—it’s an expression of personal style and practical ingenuity. While store-bought options are convenient, hand-braided lanyards made from quality rope offer unmatched durability, texture, and individuality. Whether you're crafting for daily use, as thoughtful gifts, or even launching a small accessory line, mastering rope braiding techniques elevates your results from simple to exceptional. With the right materials, methods, and attention to detail, anyone can produce lanyards that are both functional and visually striking.
Selecting the Right Rope Material
The foundation of any well-made lanyard lies in the choice of rope. Not all cords behave the same—some fray easily, others lack grip, and many don’t hold knots securely. The ideal rope balances strength, flexibility, and aesthetic appeal.
Natural fibers like cotton or hemp provide a classic, earthy look and are easy to work with for beginners. However, they may degrade faster when exposed to moisture or heavy use. Synthetic options such as nylon or paracord (commonly known as 550 cord) offer superior tensile strength, resistance to abrasion, and longevity. Paracord, in particular, is favored for its seven internal strands, which can be unraveled for emergency uses—a bonus feature appreciated by outdoor enthusiasts.
| Material | Pros | Cons | Best For |
|---|---|---|---|
| Cotton | Soft, easy to dye, beginner-friendly | Frays easily, less durable | Decorative lanyards |
| Hemp | Eco-friendly, sturdy, textured appearance | Stiff initially, harder to braid tightly | Rustic or minimalist designs |
| Nylon | Durable, weather-resistant, smooth finish | Can be slippery, harder to knot | Functional, everyday carry |
| Paracord | Extremely strong, UV-resistant, multi-use core | Bulkier, requires heat-sealing ends | Tactical or outdoor lanyards |
Essential Braiding Techniques for Lanyard Construction
Three core braiding styles form the backbone of most custom lanyards: the square braid, the round braid, and the fishtail braid. Each produces a distinct profile and feel, allowing for creative variation while maintaining structural integrity.
- Square Braid (4-Strand): Offers a flat, interwoven surface that lies neatly against surfaces. Ideal for lanyards that need to slide smoothly through belt loops or bags. Requires four equal-length strands anchored at one end.
- Round Braid (3-Strand): Classic and symmetrical, this braid forms a cylindrical shape that resists twisting under tension. It’s the fastest to execute and excellent for beginners.
- Fishtail Braid (2-Part Flat Weave): Though typically associated with hair, adapted versions using two doubled strands create a sleek, patterned effect. Best suited for decorative ends or accent sections.
To maintain consistency, always braid under moderate tension. Too loose, and the lanyard will sag; too tight, and it becomes rigid and difficult to finish. Rotate your wrists evenly and periodically check alignment to prevent spiraling.
Step-by-Step: Creating a Square Braid Lanyard
A square braid produces a dense, stable structure perfect for carrying keys without stretching.
- Cut four strands of paracord, each 120 cm long. Fold them in half and secure the looped end with a metal keyring using a lark’s head knot.
- Arrange the strands so two are on the left (L1, L2) and two on the right (R1, R2).
- Cross R1 over R2 to become the new outer right strand.
- Take L1 and cross it over L2, then pass it under R1 and over R2—feeding it diagonally across.
- Repeat symmetrically on the opposite side: L2 crosses over L1, then R1 crosses over R2 and under L1.
- Continue alternating sides until the braid reaches 25–30 cm in length.
- Secure the end with a whipping knot or heat-seal the tips after trimming.
Reinforcement and Finishing Touches
A beautifully braided lanyard can still fail if not properly finished. The weakest points are typically the ends and attachment loops, where stress concentrates. Reinforce these areas using double knots, epoxy drops, or metal crimp beads.
For a polished look, melt the cut ends of synthetic rope carefully with a lighter—just enough to fuse the fibers without burning. Wipe away excess with a brass brush or folded paper towel. Natural fibers benefit from a drop of clear nail polish or fabric glue to seal ends.
Consider adding functional elements: a sliding knot allows adjustable length, while a secondary bead or toggle clasp prevents keys from slipping off. Some artisans incorporate leather tags or stamped metal charms for branding or personalization.
“Durability in handcrafted lanyards comes not just from the braid, but from how every junction is secured. A single weak knot compromises the whole piece.” — Rafael Nguyen, Tactical Gear Artisan & Instructor
Mini Case Study: From Hobby to Handmade Business
Jamie Torres began making lanyards as a way to organize her climbing gear. Frustrated with flimsy commercial options, she experimented with paracord braiding techniques learned from survival forums. After refining a hybrid square-and-fishtail design, she gifted a few to friends at a local climbing gym. Within weeks, requests poured in.
She launched an Etsy shop focused on “adventure-ready” lanyards, offering customizable colors and engraved hardware. By emphasizing craftsmanship and including care cards with each order, Jamie built a loyal customer base. Two years later, her brand supplies outdoor retailers and corporate clients with branded safety lanyards. Her success stemmed not from complexity, but from consistent execution of fundamental braiding principles.
Checklist: Building a Professional-Quality Keychain Lanyard
- ☐ Choose a durable, appropriate rope material (e.g., paracord or waxed cotton)
- ☐ Cut strands to consistent length with sealed or taped ends
- ☐ Anchor securely using a lark’s head or cobra knot
- ☐ Maintain even tension throughout the braid
- ☐ Incorporate reinforcement at stress points (knots, joints)
- ☐ Finish ends cleanly with melting, glue, or crimping
- ☐ Test functionality by attaching keys and simulating daily use
- ☐ Add personalized touches: color patterns, tags, or clasps
Frequently Asked Questions
How long should a keychain lanyard be?
A standard wearable lanyard ranges from 25 to 35 cm in length, allowing it to hang comfortably from a belt loop or bag strap. Adjustable versions with sliding knots can extend usability across different scenarios.
Can I wash a braided rope lanyard?
Yes, but gently. Hand wash with mild soap and lukewarm water, especially for natural fibers. Avoid machine washing, which can loosen knots. Let air dry completely before reuse. Synthetic ropes tolerate more rigorous cleaning but should still be kept away from harsh detergents.
What’s the strongest braid for holding weight?
The diamond braid (a variation of the square braid using more strands) and the cobra stitch (a type of square knot weave) are among the strongest. These distribute load evenly across multiple interlocked segments, minimizing strain on individual fibers.
Conclusion: Craft with Confidence
Mastering rope braiding is more than learning patterns—it’s about understanding how materials behave, how tension affects structure, and how small details define quality. A well-crafted keychain lanyard reflects patience, precision, and purpose. Whether you’re making one for yourself or hundreds for others, the techniques outlined here ensure your creations are not only stylish but built to endure daily wear.


 浙公网安备
33010002000092号
浙公网安备
33010002000092号 浙B2-20120091-4
Comments
No comments yet. Why don't you start the discussion?