
Rope harnesses are more than just tools of restraint—they’re expressions of trust, communication, and artistry in consensual power exchange. Whether you're exploring Shibari, Kinbaku, or Western-style bondage, mastering the fundamentals of rope harness techniques ensures safety, comfort, and emotional connection. This guide focuses on practical application, anatomical awareness, and structured progression to help practitioners tie securely while prioritizing well-being.
Anatomy of a Safe Rope Harness
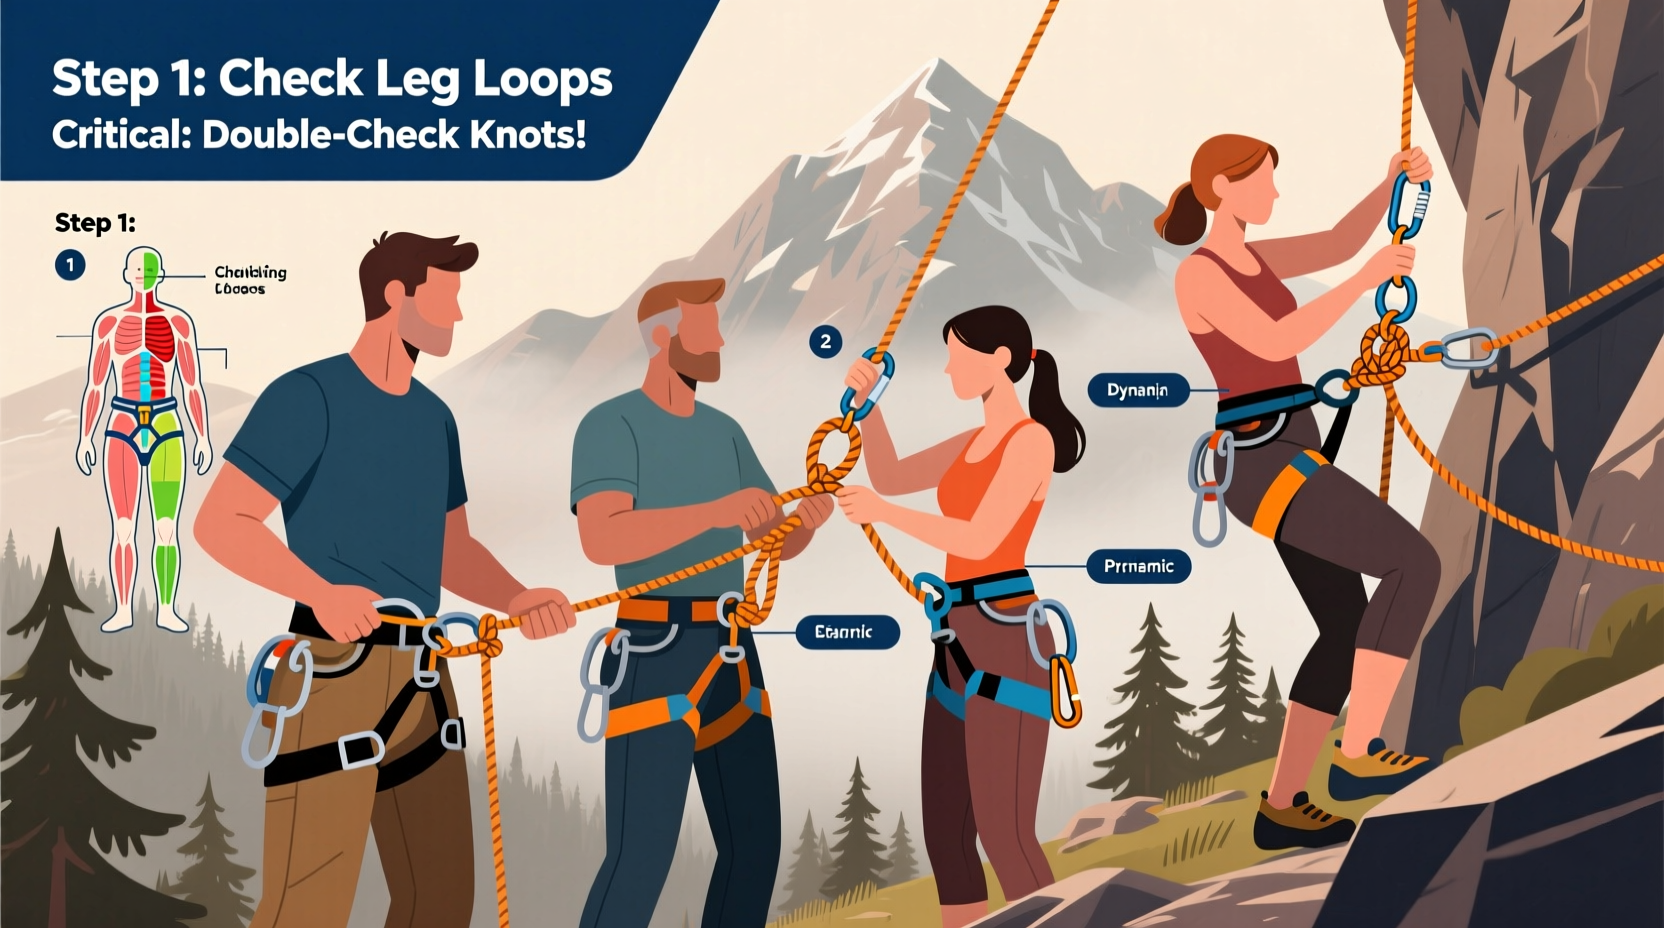
A successful rope harness distributes weight and pressure across non-critical areas of the body, avoiding nerves, arteries, and joints. The goal is not merely to restrain but to support—physically and emotionally. Key zones to understand include:
- Shoulder girdle: Avoid compressing the brachial plexus near the collarbone and neck.
- Upper arms: Ideal for load-bearing when tied correctly; avoid the radial nerve along the humerus.
- Waist and hips: Stable anchor points when used in tandem with chest harnesses.
- Ribs and sternum: Sensitive areas; never apply direct pressure during suspension.
Tension should be firm enough to hold structure but allow full range of motion and circulation. Always check for finger-width space under ropes and confirm sensation in extremities throughout the session.
Essential Knots and Hitches for Harness Building
Reliable knots form the foundation of any secure harness. Mastery begins with consistency and muscle memory. Below are the most critical knots for harness work:
| Knot | Purpose | Key Benefit |
|---|---|---|
| Square Knot (Reef Knot) | Joining two ropes of equal thickness | Secure when loaded, easy to untie |
| Clove Hitch | Anchoring rope to limbs or frame | Adjustable under tension, quick release |
| Double Half Hitch | Finishing off bights or securing wraps | Prevents slippage without jamming |
| Fixed Loop (Bowline) | Creating permanent loops for attachment | Holds shape under load, doesn’t tighten |
Practice tying each knot one-handed and blindfolded to build confidence. A well-tied knot should sit flat, align fibers smoothly, and resist twisting.
Step-by-Step: Constructing a Basic Chest Harness
The chest harness is a cornerstone of upper-body bondage. When properly executed, it supports posture, enables movement control, and serves as an anchor for additional ties. Follow these steps using 6–8 meters of 6mm natural jute or cotton rope:
- Start at the back: Place the center of the rope at the base of the neck, letting equal lengths fall down the back.
- Wrap around shoulders: Bring both ends forward over the shoulders, crossing them diagonally across the chest.
- Create X-crossing: Pull ropes under the armpits and back to the starting point, forming an X on the chest.
- Secure with clove hitch: Tie a clove hitch at the nape of the neck, adjusting tension evenly.
- Add waist tie: Use a separate rope to wrap the waist, connecting to the chest harness via lark’s foot knots on each side.
- Test stability: Gently pull upward on the chest loop to verify no slippage or pinching.
This configuration allows standing, kneeling, or light suspension if anchored safely above. Never suspend from the neck or upper chest alone.
“Safety isn’t just about technique—it’s embedded in communication. Every rope should carry consent, clarity, and care.” — Lena Torres, Certified Bondage Safety Instructor
Common Mistakes and How to Avoid Them
Even experienced riggers can fall into patterns that compromise safety. Awareness prevents accidents. Here are frequent errors and their solutions:
| Mistake | Risk | Solution |
|---|---|---|
| Over-tightening chest wraps | Restricted breathing, rib strain | Leave room for full inhalation; monitor breathing rhythm |
| Using synthetic rope on skin | Heat buildup, friction burns | Opt for breathable natural fibers like hemp or jute |
| Ignoring nerve pathways | Numbness, long-term damage | Learn anatomy; avoid inner arms, back of knees, groin |
| Skipping aftercare planning | Emotional drop, physical discomfort | Prepare water, blankets, and quiet time post-scene |
Real-World Scenario: A Beginner’s First Suspension Attempt
Mark, a novice rigger with six months of floor tying experience, wanted to attempt a brief seated suspension using a hip harness. He studied tutorials, practiced anchoring, and selected pre-cut 8-meter ropes. During the session, he focused so much on symmetry that he overlooked tension balance. After five minutes, his partner reported tingling in her left leg.
Mark immediately lowered her, checked circulation, and discovered uneven pressure on the femoral nerve due to a twisted thigh wrap. They paused, discussed sensations, and re-tied with slower precision. On the second attempt, with verbal check-ins every two minutes, the suspension lasted 12 minutes with no adverse effects.
The lesson? Technical accuracy matters, but continuous feedback matters more. No aesthetic gain outweighs neurological risk.
Checklist: Pre-Tie Safety Protocol
Before every rope session, complete this checklist to ensure preparedness:
- ✅ Confirm informed, enthusiastic consent
- ✅ Inspect all ropes for frays, knots, or moisture
- ✅ Set up emergency shears within arm’s reach
- ✅ Agree on verbal and non-verbal safewords
- ✅ Test anchor points for structural integrity
- ✅ Hydrate both partners and clear the space of tripping hazards
- ✅ Discuss medical conditions (e.g., circulatory issues, Ehlers-Danlos)
This routine takes less than five minutes but dramatically reduces preventable incidents.
Frequently Asked Questions
Can I use nylon rope for body harnesses?
Nylon and other synthetics generate more heat and don’t absorb sweat, increasing the risk of rope burn. Natural fibers like jute, hemp, or cotton are preferred for skin contact. If using synthetic rope, limit duration and avoid friction-heavy ties.
How long is it safe to maintain a harness tie?
For non-suspension ties, 30–60 minutes is generally safe with monitoring. For partial or full suspension, limit initial sessions to 5–15 minutes. Prolonged immobilization increases risks of compartment syndrome or nerve compression. Always prioritize comfort over duration.
What should I do if my partner loses sensation?
Lower or loosen the tie immediately. Elevate affected limbs slightly if circulation is impaired. Most numbness resolves within minutes. If sensation doesn’t return in 15 minutes, seek medical advice. Document the incident to avoid recurrence.
Conclusion: Tying with Intention and Integrity
Mastering rope harness techniques transcends knot proficiency. It demands empathy, discipline, and a commitment to safety at every stage. Each tie is a collaboration—one that deepens trust when approached with respect and preparation. Whether you're crafting an intricate pattern or a simple restraint, let intention guide your hands.


 浙公网安备
33010002000092号
浙公网安备
33010002000092号 浙B2-20120091-4
Comments
No comments yet. Why don't you start the discussion?