
Dental plaque is a natural byproduct of eating and drinking, but when it hardens into tartar, brushing alone can’t remove it. While professional cleanings are ideal, many people turn to at-home tooth scalers for convenience and cost savings. However, improper use can lead to gum injury, enamel scratches, or even infection. Understanding how to use a tooth scaler safely and effectively is essential for maintaining oral health between dental visits.
This guide provides a detailed, step-by-step approach to using a manual or ultrasonic scaler at home, emphasizing safety, hygiene, and technique. Whether you're considering trying one for the first time or refining your current routine, this information will help you avoid common mistakes and protect your smile.
Understanding Tartar and Why It Matters
Tartar, also known as calculus, forms when plaque—a sticky film of bacteria—mineralizes due to saliva minerals. Once hardened, it adheres firmly to teeth, especially near the gumline and between teeth. Unlike plaque, tartar cannot be removed by brushing or flossing.
If left untreated, tartar buildup contributes to gum disease, bad breath, tooth discoloration, and cavities. The only way to remove it is through scaling—either professionally at a dentist’s office or carefully at home with the right tools and knowledge.
“Tartar removal requires precision. Even slight pressure in the wrong area can damage delicate gum tissue.” — Dr. Lena Patel, Dental Hygienist and Educator
Types of Tooth Scalers: Choosing the Right Tool
Not all scalers are created equal. Selecting the appropriate tool affects both effectiveness and safety. Here are the most common types available for home use:
| Type | How It Works | Best For | Risks if Misused |
|---|---|---|---|
| Manual Scaler (Handheld) | Metal probe used to chip away tartar manually | Small, visible deposits above the gumline | Gum cuts, enamel scratching |
| Ultrasonic Scaler (Home-Use Models) | Vibrating tip disrupts tartar with high-frequency pulses | Moderate buildup; less physical force needed | Gum irritation, overheating if used too long |
| Dental Pick / Curette | Curved or pointed tool for precision work | Hard-to-reach areas like molars | Puncturing gums, pushing bacteria deeper |
For beginners, a manual scaler with a curved tip (like a sickle scaler) offers better control. More experienced users may prefer an ultrasonic device for efficiency, though these require careful handling to prevent thermal injury from prolonged contact.
Step-by-Step Guide to Safe At-Home Scaling
Using a tooth scaler at home should never replace regular dental visits, but it can supplement care when done correctly. Follow this timeline to minimize risk and maximize results:
- Wash Hands and Sterilize Tools: Clean your hands thoroughly. Boil the scaler tip for 5–10 minutes or wipe with 70% isopropyl alcohol to disinfect.
- Brush and Floss First: Remove loose debris so you can clearly see where tartar has formed.
- Use a Mirror and Good Lighting: Sit comfortably in front of a well-lit mirror. A magnifying mirror helps spot small deposits.
- Locate Tartar Buildup: Run a dental pick or clean finger along the gumline. Tartar feels rough and chalky, often yellow or brown. Focus on areas behind lower front teeth and around molars.
- Hold the Scaler Correctly: Grip it like a pencil, keeping your hand steady. Use your free hand to pull your lip or cheek outward for better access.
- Angle the Tip Properly: Position the scaler at a 45–80 degree angle to the tooth surface. Never go below the gumline unless trained—this risks damaging connective tissue.
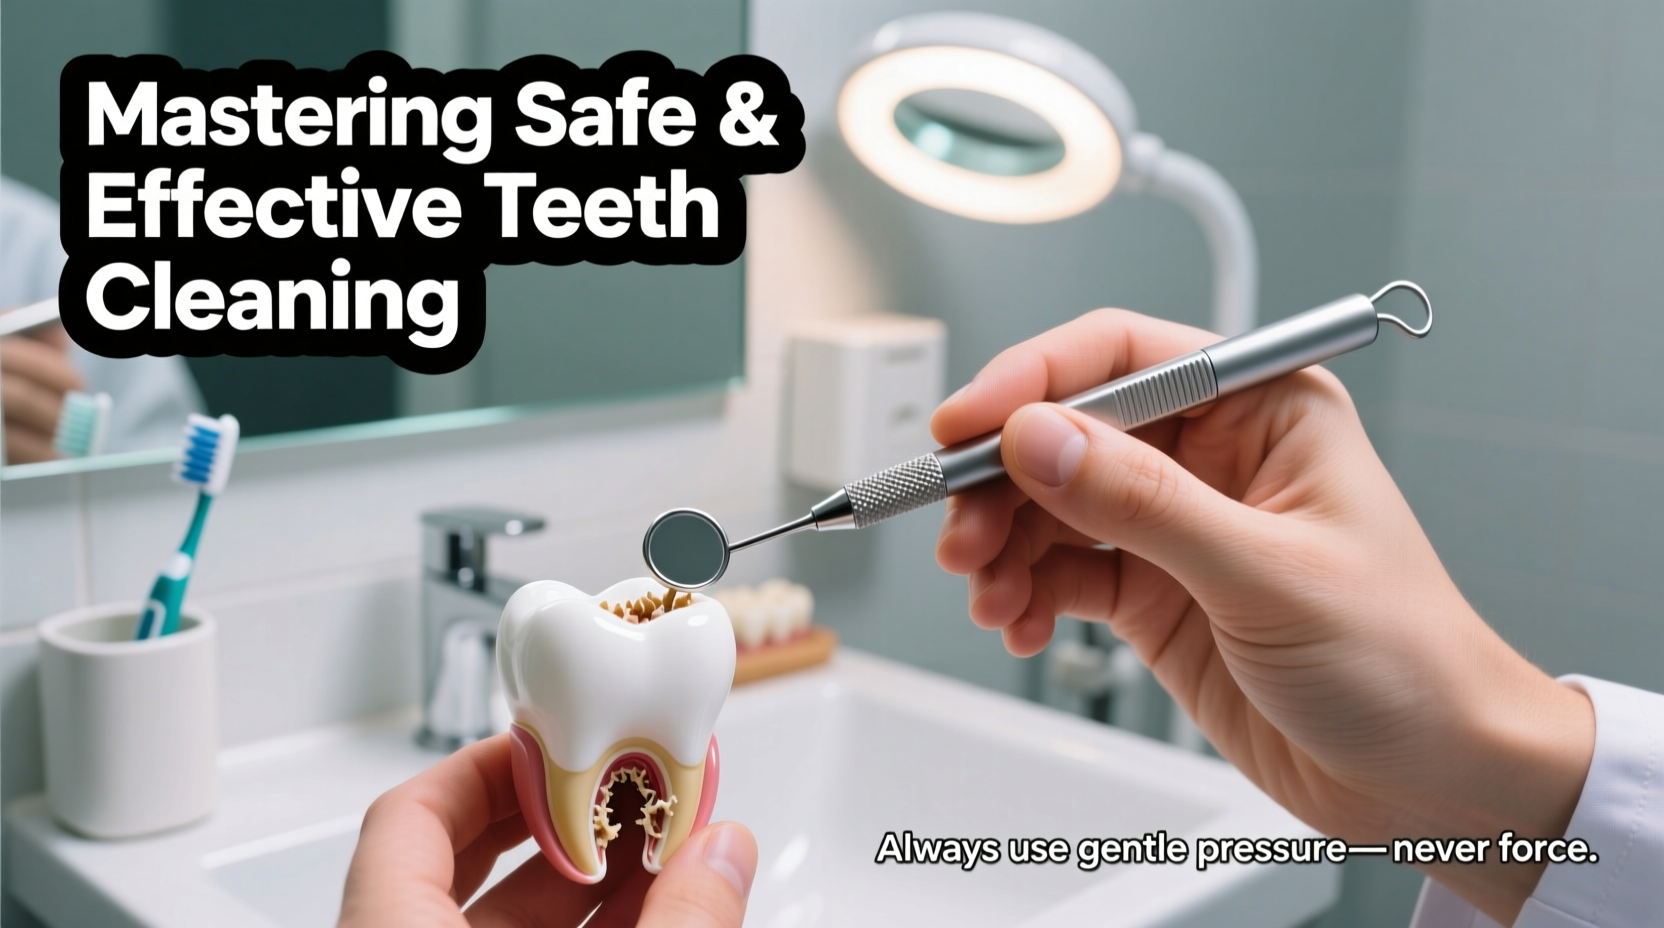
- Apply Gentle Pressure: Use short, controlled strokes upward or outward. Let the tool do the work—do not press hard. If resistance is high, stop and reassess.
- Rinse Frequently: Spit and rinse with water every few minutes to clear debris and check progress.
- Finish with Antiseptic Rinse: After scaling, swish with an alcohol-free antibacterial mouthwash to reduce post-procedure bacteria.
- Clean and Store Tools Safely: Wash the scaler again, dry completely, and store in a clean case away from contaminants.
Limit sessions to once every 4–6 weeks. Overuse wears down enamel and irritates gums. If bleeding persists beyond a few minutes, discontinue use and consult a dentist.
Common Mistakes and How to Avoid Them
- Scaling Below the Gumline: This should only be done by professionals. Doing so at home can introduce bacteria into the bloodstream or cause gum recession.
- Using Excessive Force: Aggressive scraping damages enamel and increases tooth sensitivity. Tartar breaks off with minimal pressure when approached correctly.
- Neglecting Hygiene: Using unsterilized tools risks infection. Always clean before and after each use.
- Ignoring Pain or Bleeding: Mild irritation is normal, but sharp pain or heavy bleeding means you’ve gone too deep. Stop immediately.
- Replacing Dental Visits: At-home scaling is preventive maintenance, not a substitute for professional cleaning and evaluation.
“Some patients come in with self-inflicted gum damage because they thought they were doing themselves a favor. Technique matters more than frequency.” — Dr. Aaron Kim, Periodontist
Real Example: Learning the Hard Way
Jamie, a 34-year-old teacher, bought a budget tooth scaler online after noticing yellow buildup behind her lower incisors. Excited to save money, she began using it weekly without researching proper technique. She pressed hard to “get it all off,” often causing her gums to bleed.
After three months, she developed increased sensitivity and noticed her gums were receding. A dental visit revealed enamel scratches and early-stage gingival recession. With guidance, Jamie learned correct usage and now scales only every six weeks—gently and above the gumline. Her gums have improved, and she schedules biannual cleanings to stay on track.
Her experience underscores a key truth: intention isn’t enough. Technique, timing, and restraint are what make at-home scaling safe.
Frequently Asked Questions
Can I use a tooth scaler every day?
No. Daily use causes irreversible damage to enamel and gums. Limit scaling to once every 4–6 weeks, and only when visible tartar is present.
Is it safe to use an ultrasonic scaler at home?
Yes, if you follow manufacturer instructions and avoid prolonged contact on one spot. These devices generate heat and vibration—overuse can inflame gum tissue.
What does tartar feel like?
Tartar feels rough or gritty compared to the smooth surface of clean enamel. It’s often visible as yellow or brown patches near the base of teeth, especially on the inside of lower front teeth.
Final Checklist Before You Begin
- ✅ Sterilized scaler and clean workspace
- Ensure your tool is disinfected and your hands are washed.
- ✅ Visible tartar above the gumline
- Only scale where you can clearly see hardened deposits.
- ✅ Good lighting and mirror
- Proper visibility prevents accidental slips.
- ✅ Gentle touch and patience
- Use light pressure and short strokes—don’t rush.
- ✅ Post-care routine ready
- Have mouthwash and a soft toothbrush nearby for aftercare.
Conclusion: Empowerment Through Knowledge
Using a tooth scaler at home can be a valuable addition to your oral care routine—if done responsibly. The goal isn’t perfection, but prevention. With the right tool, proper technique, and respect for your mouth’s delicate tissues, you can manage minor tartar buildup safely between professional cleanings.
Remember, your long-term dental health depends not just on what you do at home, but on partnering with professionals who can catch issues early. Stay informed, stay cautious, and take pride in a cleaner, healthier smile.


 浙公网安备
33010002000092号
浙公网安备
33010002000092号 浙B2-20120091-4
Comments
No comments yet. Why don't you start the discussion?