
Capturing your screen is one of the most frequent tasks in modern computing—whether you're troubleshooting an error, sharing instructions, or preserving digital content. Windows 11 offers a range of built-in and third-party-compatible methods to take screenshots efficiently. While many users rely on the Print Screen key alone, mastering the full suite of shortcuts and tools can dramatically improve productivity, accuracy, and workflow speed.
This guide explores every practical way to capture your screen on Windows 11, from basic keystrokes to advanced features like Snipping Tool enhancements and Game Bar integration. By understanding when and how to use each method, you’ll save time and avoid unnecessary post-capture editing.
Understanding Built-In Screenshot Tools
Windows 11 integrates several native tools that make screen capture fast and flexible. The two primary utilities are the Snipping Tool and the legacy Print Screen (PrtScn) functionality, now enhanced with clipboard automation and delayed captures.
The modern Snipping Tool combines the best features of the old Snipping Tool and Snip & Sketch, offering timed snips, freeform selections, and direct annotation. It's accessible via search, Start menu, or keyboard shortcut—and it replaces the older version completely in Windows 11.
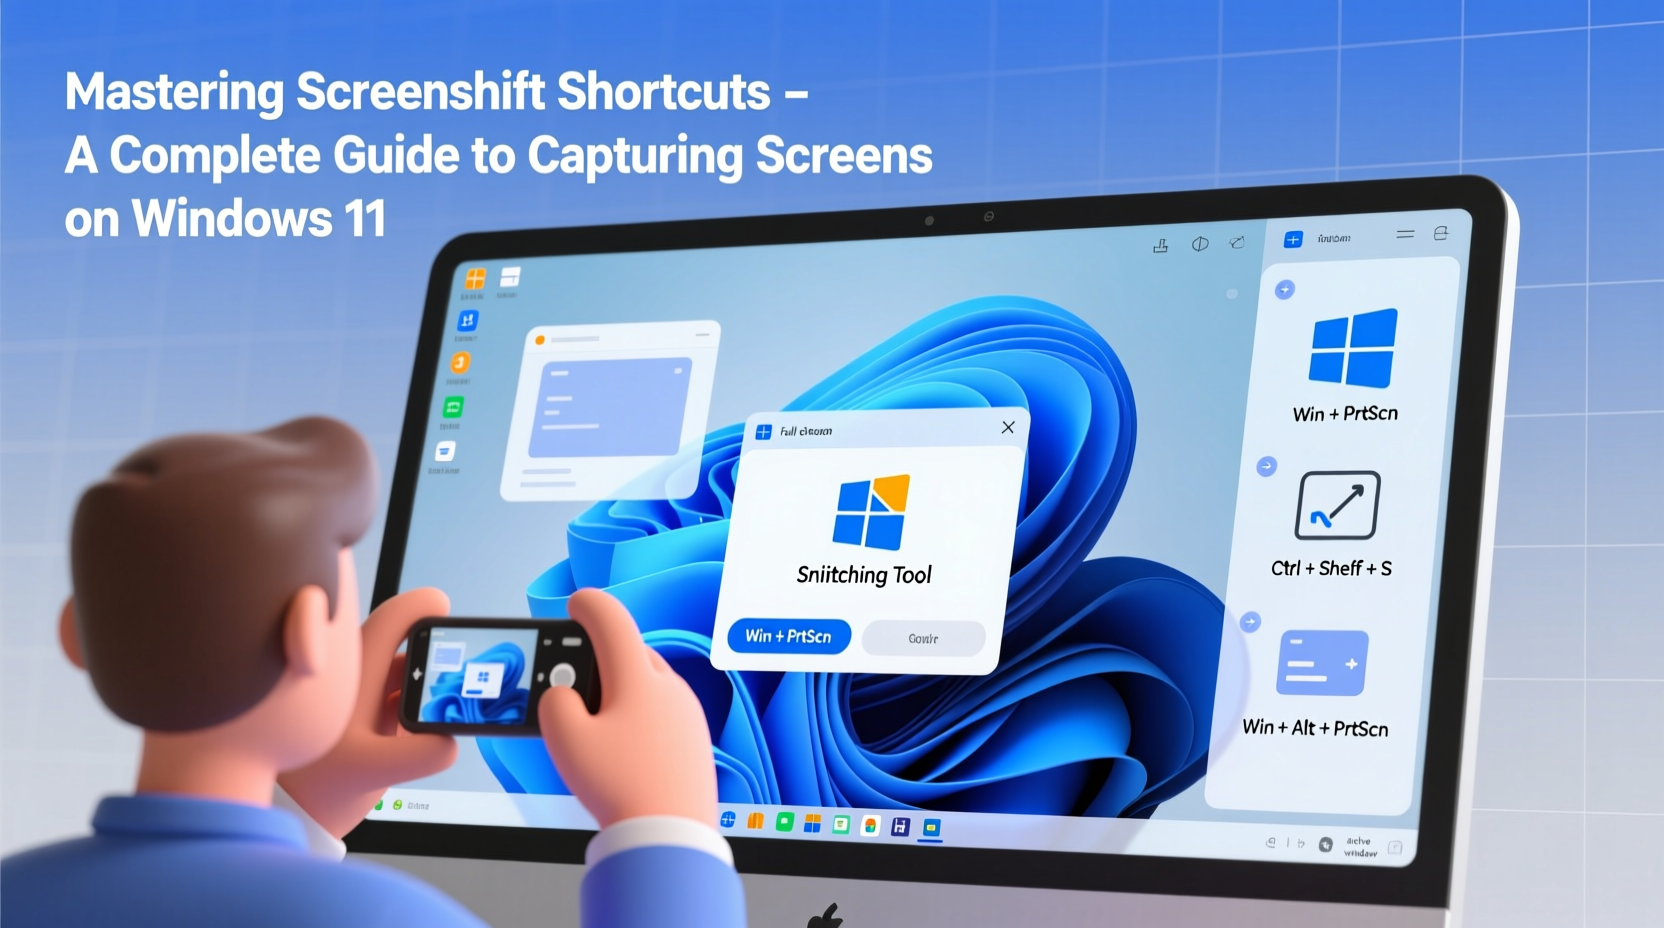
Common Keyboard Shortcuts at a Glance
| Shortcut | Action | Saves To |
|---|---|---|
| PrtScn | Captures entire screen | Clipboard only |
| Win + PrtScn | Takes full-screen screenshot and saves automatically | Screenshots folder (Pictures library) |
| Alt + PrtScn | Copies active window to clipboard | Clipboard only |
| Win + Shift + S | Opens snip bar for partial, rectangular, freeform, or window snips | Clipboard only |
| Win + Alt + PrtScn | Captures last recorded game clip using Game Bar (if enabled) | Video folder > Captures |
Step-by-Step: How to Use Each Screenshot Method
1. Full-Screen Capture with Auto-Save
- Press Win + PrtScn.
- The screen dims briefly to confirm capture.
- Open File Explorer and navigate to Pictures > Screenshots.
- Your image will be saved as \"Screenshot (X).png\", where X is the next available number.
2. Selective Snipping Using Win + Shift + S
- Press Win + Shift + S. The screen grays out, and a toolbar appears at the top.
- Choose a snip type:
- Rectangular: Drag to select a box-shaped area.
- Freeform: Draw any shape around irregular content.
- Window Snip: Click on any open window to capture just that app.
- Fullscreen: Captures all monitors instantly.
- After releasing the mouse, the snip copies to the clipboard.
- Paste (Ctrl + V) into email, document, or image editor.
3. Capturing Just the Active Window
To copy only the currently focused application window:
- Click on the window to ensure it’s active.
- Press Alt + PrtScn.
- Paste the image wherever needed.
This avoids cropping later and keeps backgrounds clean.
Advanced Features: Delayed Snips and Game Bar
For situations where menus disappear on click or tooltips vanish too quickly, Windows 11’s Snipping Tool supports delayed captures—up to five seconds.
How to Take a Delayed Screenshot
- Open the Snipping Tool from Start or press Win + Shift + S, then click the timer icon in the toolbar.
- Select a delay: 3 or 5 seconds.
- Choose your snip type (rectangular, freeform, etc.).
- Trigger the UI element you want to capture (e.g., right-click context menu).
- Wait for the countdown—the tool will capture exactly what’s visible after the delay.
This feature is especially useful for developers, support agents, and educators who need to document transient interface states.
Using Xbox Game Bar for App & Game Screenshots
If you frequently use apps in full-screen mode or play games, Game Bar offers seamless screenshot capture without interrupting performance.
- Ensure Game Bar is enabled: Go to Settings > Gaming > Game Bar and toggle it on.
- Launch the app or game.
- Press Win + G to open Game Bar.
- Click the camera icon or press Win + Alt + PrtScn to take a screenshot.
- Find captures in Videos > Captures as MP4 video thumbnails or PNG stills.
“Delayed snipping has become essential in technical documentation. It allows us to capture hover effects and dropdowns accurately.” — Daniel Reeves, Senior UX Documentation Lead at TechFlow Inc.
Pro Tips and Optimization Checklist
Maximize efficiency by combining shortcuts with smart habits. Here’s a checklist to refine your screenshot workflow:
- ✅ Organize screenshots: Use descriptive filenames instead of default “Screenshot (1)” naming.
- ✅ Enable Automatically save screenshots in Snipping Tool settings to reduce manual steps.
- ✅ Use Win + Shift + S for quick annotations—paste directly into Microsoft Whiteboard or Teams.
- ✅ Assign custom shortcuts via PowerToys if default keys conflict with other software.
- ✅ Clear clipboard history regularly (Win + V) to maintain privacy.
- ✅ Disable unnecessary notifications before recording or snipping sensitive workflows.
Real-World Example: Troubleshooting with Precision
Sarah, a remote IT support specialist, receives a ticket about a recurring pop-up error in a financial application. The user can’t describe it clearly. Instead of asking them to fumble through steps, Sarah guides them to press Win + Shift + S, select “Window Snip,” and capture just the error dialog. Within seconds, she receives a clear image showing a certificate expiration alert—something easily resolved with a backend update. Without selective snipping, the user might have sent a cluttered full-screen shot requiring extra analysis.
This scenario highlights how precise, fast screenshot tools reduce resolution time and improve communication—especially in high-pressure environments.
Frequently Asked Questions
Where do my screenshots go in Windows 11?
If you press Win + PrtScn, screenshots are saved automatically to C:\\Users\\[YourName]\\Pictures\\Screenshots. If you use PrtScn or Win + Shift + S, they only go to the clipboard unless manually pasted and saved.
Can I change the default screenshot format?
By default, Windows uses PNG for lossless quality. There’s no built-in option to switch to JPG or WebP, but you can convert images afterward using Paint or Photos. Third-party tools like ShareX offer format customization.
Why doesn’t Win + Shift + S work?
This usually happens if the Snipping Tool isn’t responding or background services are disabled. Try restarting the tool via Task Manager, or run sfc /scannow in Command Prompt to repair system files. Also, check for conflicting apps like screen recorders or clipboard managers.
Conclusion: Elevate Your Digital Workflow
Mastery of screenshot shortcuts isn’t just about pressing keys—it’s about choosing the right method for the task, minimizing post-processing, and communicating more effectively. Whether you’re creating tutorials, reporting bugs, or collaborating remotely, knowing how to capture exactly what you need—quickly and cleanly—gives you a distinct advantage.
Start integrating these techniques today. Experiment with delayed snips, leverage Game Bar for immersive apps, and build muscle memory around Win + Shift + S. Over time, these small efficiencies compound into significant gains in clarity and productivity.


 浙公网安备
33010002000092号
浙公网安备
33010002000092号 浙B2-20120091-4
Comments
No comments yet. Why don't you start the discussion?