
Capturing the right moment on your screen is more than just pressing a button—it’s about precision, speed, and knowing the tools at your disposal. Windows 11 has evolved far beyond the basic Print Screen key, offering a suite of powerful screenshot tools that blend simplicity with advanced functionality. Whether you're troubleshooting, creating tutorials, or sharing ideas, mastering these features can save time and elevate your workflow.
1. The Essential Keyboard Shortcuts You Should Know
Windows 11 retains and enhances classic keyboard combinations for instant screen capture. These shortcuts are fast, reliable, and don’t require opening additional apps.
- Print Screen (PrtScn): Captures the entire screen and copies it to the clipboard.
- Alt + PrtScn: Takes a screenshot of only the active window.
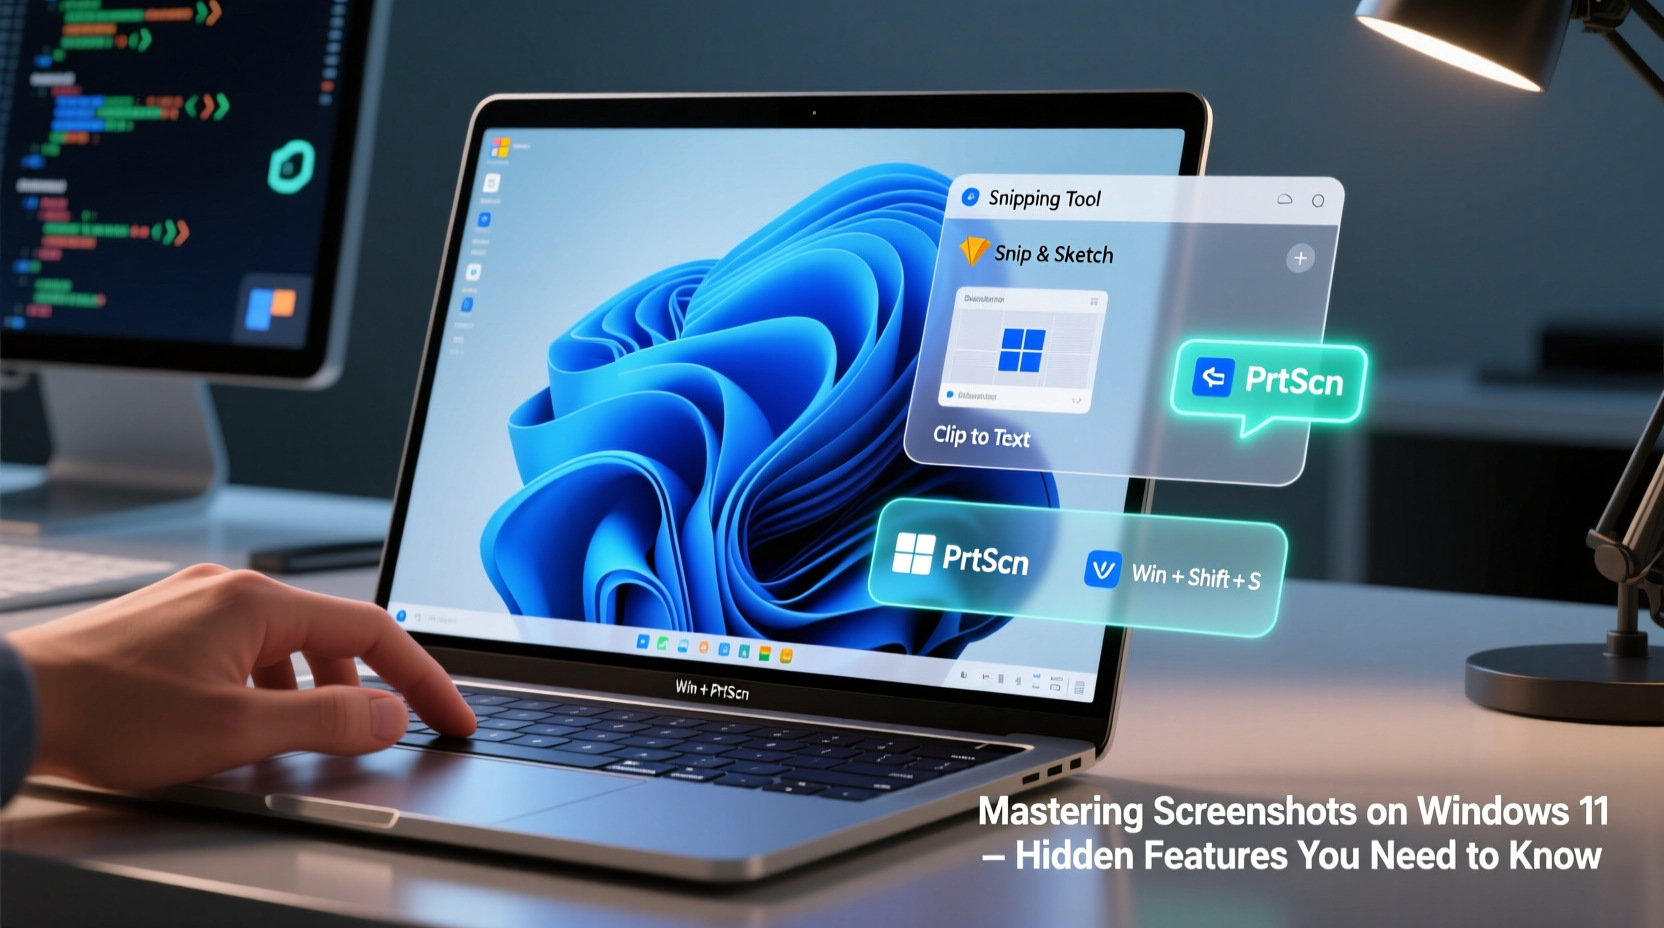
- Windows + Shift + S: Activates the Snip & Sketch tool with customizable snipping modes—rectangular, freeform, window, or full-screen.
- Windows + PrtScn: Instantly saves a full-screen screenshot to the Screenshots folder in Pictures.
- Windows + Alt + PrtScn (via Xbox Game Bar): Captures a screenshot if Game Bar is enabled, useful during gameplay or app recording.
2. Unlocking Snip & Sketch: More Than Just a Screenshot Tool
Snip & Sketch is Windows 11’s built-in screenshot utility, seamlessly integrated into the OS. Accessible via Windows + Shift + S, it opens a toolbar allowing you to select exactly what you want to capture.
After capturing, a notification appears in the corner—click it to open the editor. Here, you can:
- Trim or crop unnecessary areas
- Add annotations using pen, pencil, or highlighter
- Use the ruler or protractor for precise drawings
- Blur sensitive information like passwords or personal data
- Copy directly to clipboard or share instantly
The edits are non-destructive, meaning the original image remains untouched until you choose to save over it. This makes Snip & Sketch ideal for quick collaboration or documentation.
“Snip & Sketch isn’t just for capturing screens—it’s a lightweight design tool for everyday problem-solving.” — David Lin, Productivity Consultant at TechFlow Solutions
3. Hidden Features Most Users Overlook
Beyond basic functionality, Windows 11 hides several advanced screenshot capabilities that can transform how you work.
Scheduled Snips with Power Automate
Using Microsoft Power Automate (desktop version), you can automate screenshots based on triggers—like opening a specific app or receiving an email. This is particularly useful for monitoring system behavior or generating regular reports.
Delay Capture in Snip & Sketch
In the Snip & Sketch app, click the dropdown arrow next to “New” and select a delay: 3, 5, or 10 seconds. This gives you time to open menus, hover over tooltips, or position pop-ups before the capture occurs.
Xbox Game Bar for App-Specific Screenshots
Even outside gaming, Game Bar (Windows + G) can capture individual UWP (Universal Windows Platform) apps. Enable it in Settings > Gaming > Game Bar, then press Windows + Alt + PrtScn to take a screenshot saved automatically in Videos > Captures.
4. Step-by-Step Guide: How to Annotate and Share a Screenshot Efficiently
Follow this sequence to go from blank screen to shared annotated image in under 30 seconds:
- Press Windows + Shift + S to launch Snip & Sketch.
- Select “Rectangular Snip” and drag over the area of interest.
- Click the notification popup to open the editor.
- Use the pen tool to circle important elements or add text labels.
- If needed, apply the blur tool to hide private data.
- Click “Save As” to store locally, or use the share icon to send via email, Teams, or clipboard.
This process integrates smoothly into daily tasks such as reporting bugs, explaining workflows, or giving feedback on designs.
5. Comparison Table: Screenshot Methods in Windows 11
| Method | Speed | Editing Capability | Saves Automatically? | Best For |
|---|---|---|---|---|
| Print Screen | Fast | No (requires pasting) | No | Quick clipboard transfers |
| Windows + PrtScn | Fast | No | Yes | Full-screen documentation |
| Windows + Shift + S | Very Fast | Yes (in editor) | No (unless manually saved) | Precise captures with markup |
| Xbox Game Bar | Moderate | Limited (post-capture editing) | Yes | Gaming or UWP app capture |
| Snip & Sketch (Delayed) | Slower (due to timer) | Yes | No | Capturing context menus or pop-ups |
Real-World Example: Solving a Support Ticket Faster
Consider Sarah, a technical support agent helping a user who can’t find the Wi-Fi settings in Windows 11. Instead of typing lengthy instructions, she uses Windows + Shift + S to capture the Start menu, circles the Settings icon, draws an arrow to Network & Internet, and adds a label: “Click here.” She pastes the annotated image into her response. The user understands immediately, reducing resolution time by 70%.
This scenario illustrates how combining speed, precision, and annotation turns screenshots into communication powerhouses.
Frequently Asked Questions
Where does Windows 11 save my screenshots?
If you use Windows + PrtScn, screenshots are saved in Pictures > Screenshots. Snip & Sketch captures aren’t saved automatically unless you manually export them. Always check the notification after snipping to access and save the image.
Can I change the default screenshot format or location?
Windows 11 saves screenshots as PNG files by default, which preserves quality. While you can't natively change the format through settings, you can convert them using Paint or third-party tools. The save location cannot be changed without registry edits or symbolic links, which are not recommended for average users.
Why doesn’t Snip & Sketch open when I press Windows + Shift + S?
Ensure the feature is enabled. Go to Settings > System > Clipboard, and make sure \"Screen clipping\" is toggled on. Also, verify that Snip & Sketch is set as the default handler for screen clippings in Settings > Apps > Default apps > Choose default apps by protocol > MS-SNIP.
Final Tips Checklist
- ✅ Use Windows + Shift + S for selective, editable captures
- ✅ Enable delay snips to catch dropdown menus
- ✅ Blur sensitive info before sharing
- ✅ Save frequently used snippets as templates in OneNote
- ✅ Combine screenshots with voice notes in Microsoft Teams for richer context
Take Control of Your Digital Workflow
Mastering screenshots on Windows 11 isn’t just about knowing the keys—it’s about integrating smart habits into your digital life. From rapid-fire captures to annotated visuals that clarify complex ideas, these tools empower clearer communication and faster decision-making. Now that you’ve uncovered the full potential of Windows 11’s screenshot ecosystem, put these strategies into practice today. Experiment with delays, explore Game Bar, and refine your annotation style. The next time you need to explain, report, or remember something on-screen, you’ll be ready—instantly.


 浙公网安备
33010002000092号
浙公网安备
33010002000092号 浙B2-20120091-4
Comments
No comments yet. Why don't you start the discussion?