
Threading a Singer sewing machine doesn’t have to be intimidating. Whether you're using a vintage model from the 1970s or a modern computerized machine, understanding the correct threading sequence is essential for smooth stitching and avoiding frequent thread breaks. Many beginners struggle not because the process is overly complex, but because they skip foundational steps or misalign the thread path. This guide walks through every stage of threading a Singer sewing machine—regardless of model—with precision, clarity, and practical insight.
Understanding the Threading Path: Why It Matters
All Singer machines follow a logical threading route designed to regulate tension and ensure even stitch formation. Skipping even one guide can lead to loose stitches, birdnesting under the fabric, or broken threads. The standard path includes:
- Spool pin
- Thread guide(s)
- Upper tension discs
- Tension regulator dial
- Take-up lever
- Needle bar thread guide
- Needle eye
This sequence ensures that the thread passes through each control point in order. Older mechanical models often have visible metal guides, while newer electronic versions may include color-coded paths or automatic needle threaders. Regardless of design, the internal logic remains consistent across most Singer models manufactured since the mid-20th century.
Step-by-Step Guide to Threading Any Singer Sewing Machine
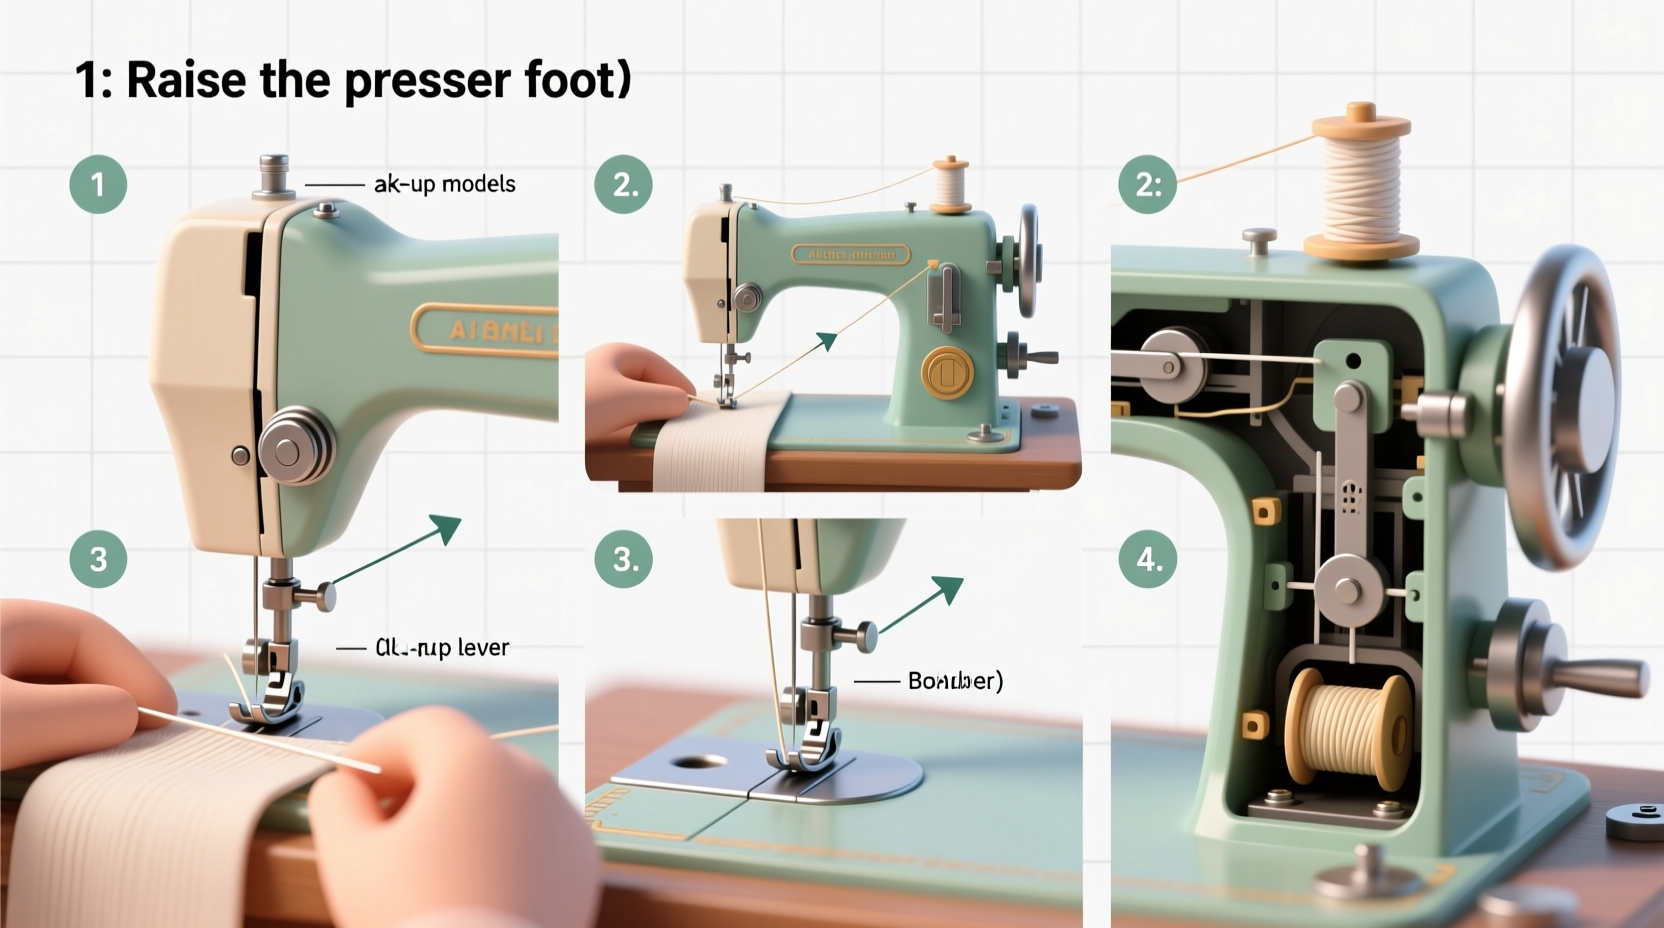
Follow these seven steps carefully. While button placement and lever orientation vary slightly between models, the underlying mechanics are nearly identical.
- Place the Thread Spool on the Spool Pin
Slide your spool onto the horizontal or vertical spool pin at the top of the machine. If using a horizontal pin, position the thread so it unwinds from the back or front as specified in your manual (usually backward for most models). - Guide the Thread Through the First Thread Guide
Locate the small U-shaped or hoop-like guide near the spool. Pull the thread through it, moving left to right. This initial guide stabilizes the thread’s direction. - Thread the Upper Tension Assembly
Bring the thread down into the tension discs. Insert it between the two metal plates from left to right. You should feel slight resistance when pulling it through—this confirms proper seating. - Engage the Tension Regulator
After passing through the discs, loop the thread around the take-up lever spring (if present) and pull it up toward the arm. This connects the tension system to the motion-driven take-up lever. - Thread the Take-Up Lever
Find the large, side-mounted lever with a hole near the top. With the handwheel facing you, bring the thread through the hole from front to back. Ensure the lever is at its highest position (rotate the handwheel if needed). - Run Thread Through Needle Bar Guides
Guide the thread down through any additional tension eyes or loops mounted on the needle bar. These help stabilize thread flow during high-speed sewing. - Thread the Needle
Use a fine needle threader if necessary, especially on smaller needles. Insert the thread from front to back through the eye. Pull about 4–6 inches of tail through to prevent immediate unthreading when starting.
Final Check Before Sewing
After completing the above steps, perform a quick verification:
- Presser foot is raised during threading
- No kinks or twists in the thread
- Thread flows smoothly when pulled by hand
- Bobbin is correctly inserted and wound
Model-Specific Variations and How to Adapt
Singer offers over 50 active and legacy models, but threading differences are minimal. Below is a comparison of key variants:
| Model Type | Key Feature | Threading Adjustment |
|---|---|---|
| Mechanical (e.g., Singer 4423) | Manual controls, durable build | Follow full manual path; no auto-threader |
| Computerized (e.g., Singer Quantum Stylist 9960) | Digital stitch selection, start/stop button | Same upper path; use automatic needle threader for final step |
| Vintage (e.g., Singer 301, 503) | External bobbin, slant-shank | Thread runs vertically through tension; verify spool direction |
| Mini Portable Machines | Compact size, battery-powered | Fewer guides; rely on simple tension spring instead of discs |
Despite variations, the fundamental principle holds: thread must pass through tension regulators before reaching the take-up lever. When in doubt, consult your user manual—or locate free digital copies via Singer’s official support site using your model number.
“Proper threading isn’t just about following steps—it’s about understanding how each component affects stitch quality. A misaligned thread at the tension disc causes more issues than any other single error.” — Linda Ruiz, Certified Sewing Machine Technician
Common Mistakes and How to Avoid Them
Even experienced sewers occasionally make threading errors. Recognizing these pitfalls saves time and frustration.
- Forgetting to raise the presser foot: This keeps the tension discs closed, preventing proper thread seating.
- Skipping thread guides: Each guide has a purpose—omitting one increases friction and breakage risk.
- Incorrect spool orientation: On horizontal pins, winding direction affects thread feed speed and consistency.
- Pulling thread too fast after threading: Can dislodge it from delicate guides near the needle.
- Using old or low-quality thread: Frays easily and clogs tension mechanisms.
Checklist: Pre-Sewing Threading Verification
- Spool securely placed on pin
- Thread passes through all guides in order
- Tension dial set between 3–5 (standard setting)
- Take-up lever threaded correctly
- Needle threaded front-to-back with adequate tail
- Bobbin threaded and seated properly
- Presser foot lowered after threading
Real Example: Solving Persistent Thread Breakage
Sarah, a quilting enthusiast, recently upgraded from a basic Singer to a 9985 Quantum Stylist. Despite following the manual, she experienced constant upper thread breakage after five minutes of sewing. She assumed the machine was defective.
Upon inspection, she realized she had been threading the machine with the presser foot down—a habit carried over from her older model, which lacked sensitive tension discs. Once she began raising the foot before threading, the issue disappeared immediately. The root cause wasn’t faulty parts, but improper engagement of the tension mechanism.
This case highlights how minor deviations from best practices can mimic mechanical failure. Taking time to learn the “why” behind each step prevents such misdiagnoses.
FAQ: Frequently Asked Questions
Why does my Singer machine keep unthreading itself?
This usually happens when there’s insufficient tail left after threading the needle. Always leave at least 4 inches. Additionally, check that the thread isn’t catching on sharp edges or snagging in an incorrect guide.
Can I use any type of thread in my Singer machine?
While Singer machines are versatile, extremely thick (like woolly nylon) or very thin (crochet thread) types may require adjustments. Stick to all-purpose polyester or cotton-wrapped polyester for general use. Always match needle size to thread weight.
Do all Singer models have the same threading path?
The core sequence is standardized across models, but some advanced machines include extra guides for specialty stitches. Automatic needle threaders simplify the final step but don’t replace the need to manually thread the upper path.
Final Tips for Long-Term Success
Mastering threading is only part of maintaining optimal performance. Regular cleaning of thread guides and tension discs with a small brush removes lint buildup that interferes with smooth operation. Change needles every 8–10 hours of sewing, and always rethread the machine after cutting threads or changing fabric types.
With practice, threading becomes second nature. The key is consistency—follow the same method every time, and document any quirks specific to your model. Over time, you’ll develop muscle memory and confidence that transforms setup from a chore into a seamless prelude to creativity.


 浙公网安备
33010002000092号
浙公网安备
33010002000092号 浙B2-20120091-4
Comments
No comments yet. Why don't you start the discussion?