
Spreader bars are essential tools in lifting and rigging operations, especially when handling long, flexible, or delicate loads that require stability and even load distribution. When used correctly, they prevent damage to materials, reduce the risk of accidents, and improve operational efficiency. However, improper use can lead to catastrophic failures, equipment damage, or serious injury. Understanding how to select, inspect, and operate spreader bars safely is critical for anyone involved in crane operations, construction, shipping, or industrial maintenance.
Understanding Spreader Bars: Function and Design
A spreader bar is a rigid beam used in conjunction with slings to lift loads that would otherwise be unstable or prone to bending under direct sling tension. Unlike traditional lifting beams, which carry the full load through bending stress, spreader bars transfer the load primarily through axial compression along the bar, while the slings handle the vertical lift forces. This design minimizes stress on the load itself—ideal for transporting items like piping, prefabricated ductwork, or sheet materials.
The typical spreader bar consists of a central lifting shackle point connected to a horizontal beam with multiple attachment points at each end for rigging slings. The geometry ensures that the load is evenly distributed and remains level during transit. Because they rely on proper angles and alignment, setup precision is crucial.
Key Safety Practices for Using Spreader Bars
Safety must be the top priority when deploying spreader bars. Even minor miscalculations can result in dropped loads or structural failure. The following practices form the foundation of safe operation:
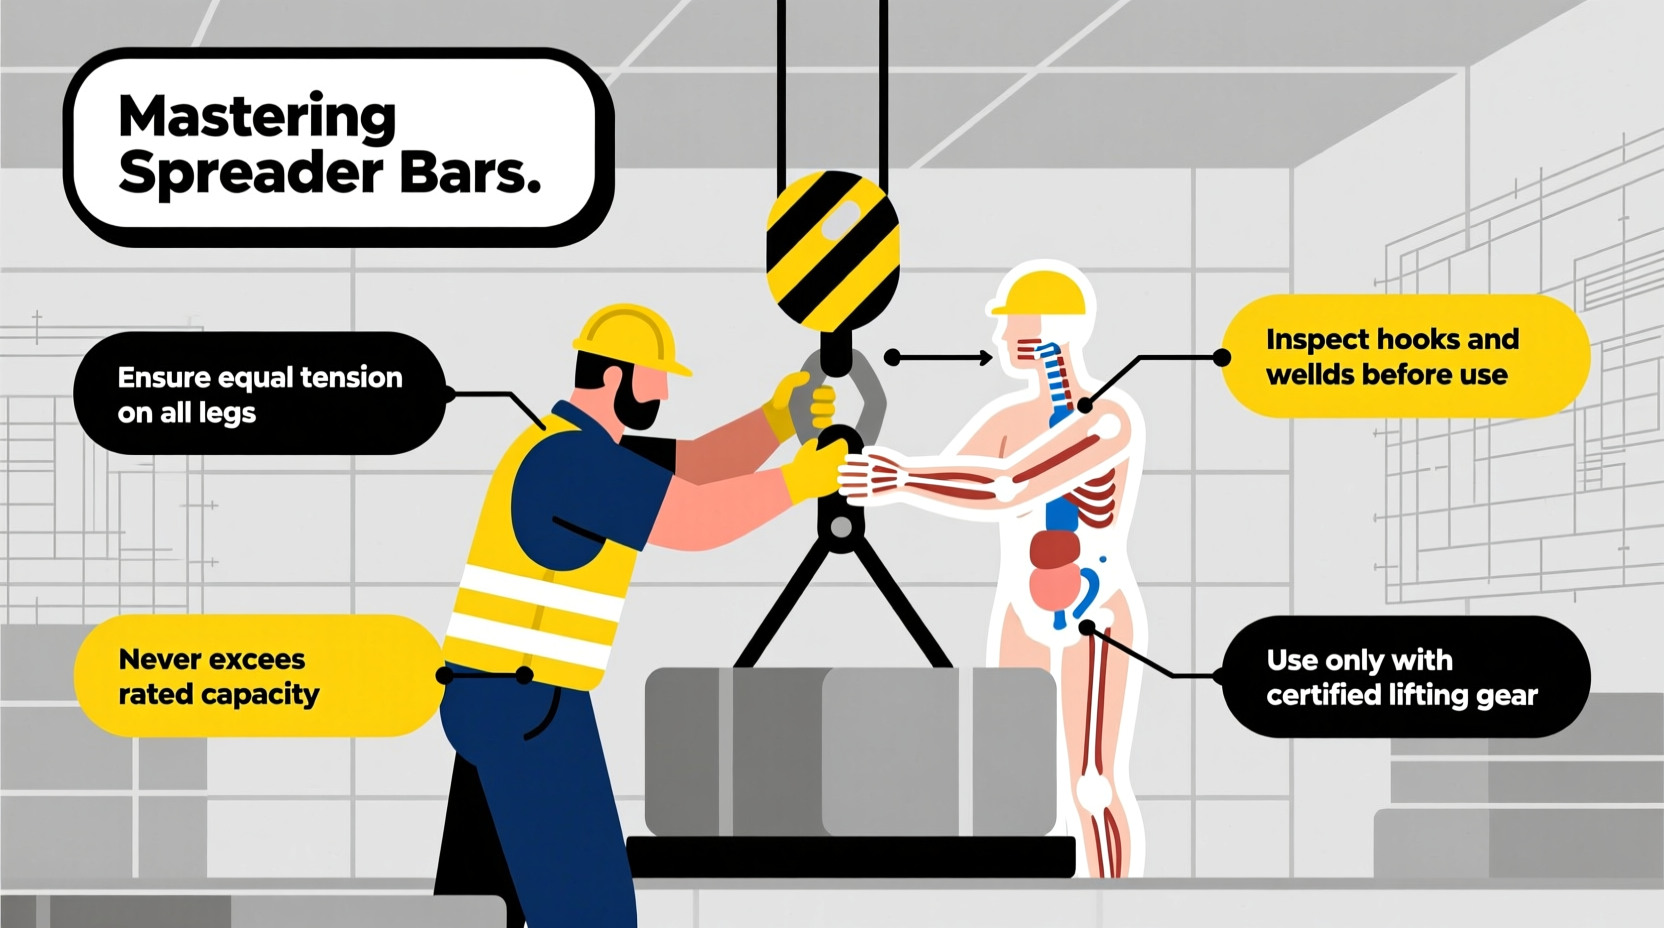
- Verify load capacity: Ensure the combined working load limit (WLL) of the spreader bar, slings, and hardware exceeds the actual weight of the load by an appropriate safety factor—typically 5:1 in industrial settings.
- Inspect before every use: Check for cracks, deformation, worn pins, or corrosion. Pay special attention to weld points and connection lugs.
- Use correct sling angles: Angles between the slings and the horizontal plane should never fall below 30 degrees. Smaller angles dramatically increase compressive forces on the bar and lateral forces on the load.
- Secure all connections: Shackles must be properly pinned and tightened. Never use makeshift fasteners or damaged fittings.
- Control load swing: Use tag lines to guide the load and prevent uncontrolled rotation or oscillation during movement.
“Misalignment and inadequate pre-lift inspection account for over 60% of rigging incidents involving spreader bars.” — James Rourke, Certified Crane Operator & OSHA Safety Consultant
Step-by-Step Guide to Proper Spreader Bar Setup
Following a structured process ensures consistent, safe lifts. Use this timeline as a standard operating procedure:
- Assess the load: Determine weight, center of gravity, dimensions, and lifting points. Confirm compatibility with the spreader bar’s specifications.
- Select appropriate equipment: Choose a spreader bar with sufficient WLL and length to match the load width and sling configuration.
- Inspect all components: Examine the bar, slings, shackles, and crane hook for wear or defects. Remove any compromised gear from service immediately.
- Rig the assembly: Attach slings to the load and connect them to the ends of the spreader bar. Then connect the top center shackle to the crane hook.
- Check sling angles: Measure the angle between each sling and the horizontal. Adjust rigging if necessary to maintain at least 30°.
- Perform a test lift: Raise the load slightly (a few inches) to verify balance and stability. Recheck all connections and alignment.
- Execute the lift: Proceed slowly, using tag lines to control movement. Communicate clearly with signal personnel.
- Lower and disconnect: Place the load gently on supports before releasing tension. Disassemble and store equipment properly after use.
Common Mistakes and How to Avoid Them
Even experienced riggers can fall into habits that compromise safety. The table below outlines frequent errors and their corrective actions:
| Mistake | Risk | Prevention |
|---|---|---|
| Using too narrow a sling angle | Excessive compressive force on bar; potential buckling | Maintain minimum 30° angle; use longer slings if needed |
| Lifting off-center | Load tilt, uneven stress, possible drop | Align crane hook with load’s center of gravity |
| Skipping pre-use inspection | Undetected damage leading to failure | Implement mandatory checklist before each lift |
| Overloading beyond WLL | Catastrophic structural failure | Verify load weight and compare with rated capacity |
| Poor communication during lift | Uncoordinated movement, collision, injury | Use standardized hand signals or radios; designate a spotter |
Real-World Example: Preventing Damage During HVAC Installation
In a commercial building project in Denver, a team was tasked with lifting a 12-foot-long section of insulated ductwork weighing approximately 800 lbs. Initial attempts using standard slings caused the duct to bend and insulation to tear due to concentrated pressure at the sling contact points.
The site supervisor introduced a 14-foot spreader bar with padded end fittings. Slings were attached at 45-degree angles, distributing the load evenly across the duct’s length. Tag lines were used to stabilize the load during ascent through a narrow opening. The result? Zero damage, smooth installation, and no safety incidents. This case highlights how proper tool selection and technique protect both equipment and personnel.
Frequently Asked Questions
Can I modify a spreader bar to fit a different load?
No. Altering a spreader bar—including welding, drilling, or cutting—voids its certification and compromises structural integrity. Always use manufacturer-approved equipment for the intended application.
How often should spreader bars be inspected?
OSHA and ASME B30.20 standards require visual inspections before each shift. Formal documented inspections by a qualified person should occur at least annually—or more frequently under heavy use or harsh conditions.
What’s the difference between a spreader bar and a lifting beam?
Both are used to distribute loads, but a lifting beam carries the load through bending stress and typically has a single top lift point with multiple bottom lugs. A spreader bar uses compression and requires angled slings to function correctly. Spreader bars are generally lighter but demand stricter angular controls.
Essential Checklist for Every Spreader Bar Operation
Use this checklist before initiating any lift:
- ☐ Load weight verified and within WLL
- ☐ Spreader bar and all rigging inspected for damage
- ☐ Sling angles ≥ 30° from horizontal
- ☐ Center of gravity aligned with lifting point
- ☐ All shackles properly secured and pinned
- ☐ Tag lines attached for control
- ☐ Communication plan established with signal person
- ☐ Clearance path confirmed and personnel clear of danger zone
Conclusion: Elevate Safety Through Knowledge and Discipline
Mastering spreader bars isn’t just about knowing how to attach them—it’s about understanding the physics of lifting, respecting equipment limits, and maintaining rigorous safety standards. Whether you're handling steel beams on a high-rise job site or delicate machinery in a plant, the right approach prevents accidents and extends equipment life. By integrating regular training, thorough inspections, and disciplined procedures, teams can execute complex lifts with confidence and precision.


 浙公网安备
33010002000092号
浙公网安备
33010002000092号 浙B2-20120091-4
Comments
No comments yet. Why don't you start the discussion?