
Stencils offer a powerful way to reproduce consistent, intricate designs across multiple surfaces—walls, fabric, wood, or paper. Whether you're personalizing home décor, creating signage, or crafting gifts, mastering stencil making unlocks creative freedom without requiring advanced artistic skills. The key lies not in freehand talent, but in precision, material selection, and methodical execution. With the right approach, even beginners can produce professional-quality stencils that deliver crisp, repeatable results.
Choosing the Right Material for Your Stencil
The durability and usability of your stencil depend heavily on the material you choose. Each option has trade-offs in cost, reusability, and cutting ease. Selecting the correct base ensures your design holds up through repeated use and cleaning.
| Material | Best For | Lifespan | Cutting Difficulty |
|---|---|---|---|
| Plastic report covers (Mylar) | Painting walls, furniture, outdoor projects | 50+ uses | Moderate |
| Cardstock | One-time crafts, paper projects | 1–3 uses | Easy |
| Adhesive-backed vinyl | Floor stenciling, temporary wall art | 5–10 uses | Easy to moderate |
| Transparency sheets | Small detail work, test runs | 10–15 uses | Hard |
Mylar is widely considered the gold standard for DIY stencils due to its flexibility, resistance to paint seepage, and ability to be wiped clean. It’s available at office supply stores and can be cut with a craft knife or electronic cutter.
Design Principles for Effective Stencil Layouts
A successful stencil balances visual impact with structural integrity. Even the most beautiful design will fail if it lacks \"bridges\"—the small sections of material that hold isolated parts of the design in place.
For example, the center of an “O” or the dot in an “i” must remain connected to the rest of the stencil. These connections prevent inner pieces from falling out and ensure alignment across applications.
- Bridges should be at least 1/8 inch wide for stability.
- Avoid overly thin lines; aim for a minimum stroke width of 1/16 inch.
- Simplify complex images by reducing detail—focus on silhouettes or bold outlines.
- Test your design at full size before cutting.
“Good stencil design isn’t about copying every detail—it’s about capturing the essence of the image with clean, functional shapes.” — Dana Reeves, Surface Design Instructor at Portland Craft School
Step-by-Step Guide to Creating a Reusable Stencil
Follow this process to turn any image into a durable, accurate stencil.
- Select or create your design. Use vector-based software like Inkscape (free) or Adobe Illustrator to outline shapes. Convert text to paths to maintain consistency.
- Print a full-size template. Tape the printout onto your chosen stencil material. Use transfer tape or tape down edges securely.
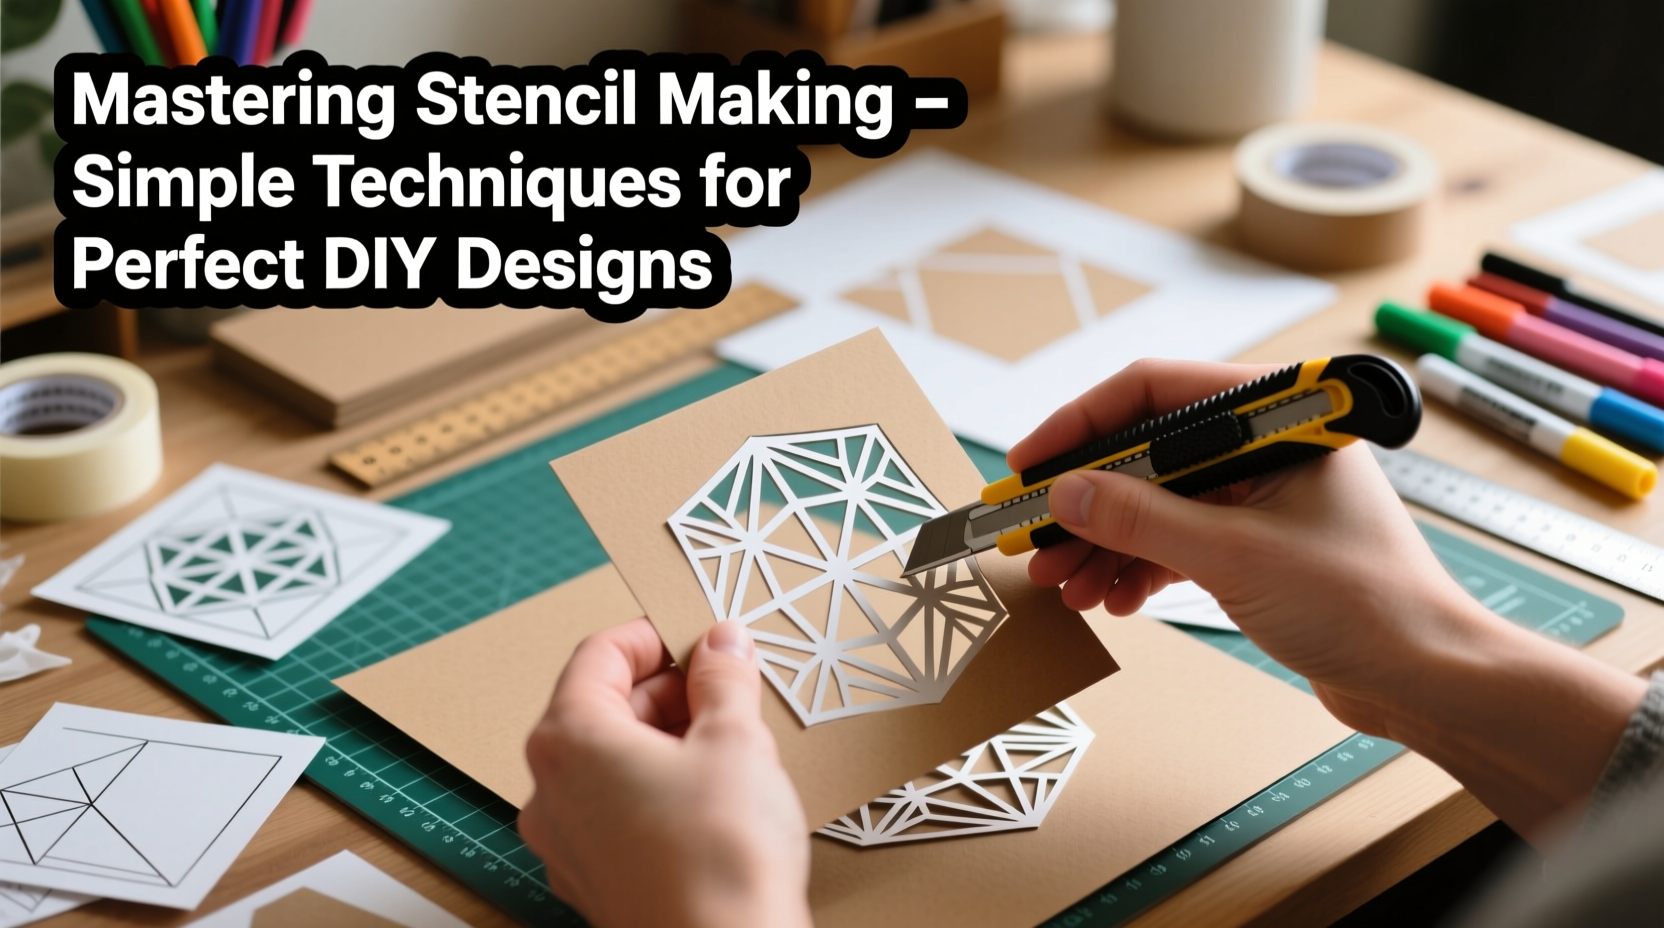
- Cut carefully with a sharp craft knife. Use a metal ruler for straight lines and rotate the material—not the blade—for curves. Replace blades frequently to avoid jagged edges.
- Remove excess material. Gently push out cut sections using a pin tool or tweezers. Keep bridges intact.
- Test your stencil. Apply with spray adhesive or painter’s tape to a scrap surface. Use a stippling brush or sponge to apply paint in thin layers to prevent bleeding.
- Clean and store flat. Wipe with soapy water after use and let dry completely before storing between cardboard sheets to prevent warping.
Real Example: Custom Nursery Wall Art
Sophie, a first-time mom in Austin, wanted a whimsical forest theme in her baby’s nursery but didn’t want to commit to permanent wallpaper. She downloaded a free line-art deer silhouette, resized it to fit above the crib, and printed it onto a Mylar sheet. Using a fresh X-Acto blade, she cut out the antlers, body, and legs, adding three small bridges to support the neck and legs.
She taped the stencil lightly to the wall and used a foam roller to apply matte green paint in two light coats. After removing the stencil, she touched up minor bleed spots with a small brush. The entire process took under an hour, and she reused the stencil twice more on adjacent walls to create a subtle repeating pattern. The result looked hand-painted but required no artistic skill—just patience and precision.
Common Mistakes and How to Avoid Them
Even experienced crafters encounter issues when stenciling. Recognizing these pitfalls early improves outcomes significantly.
- Overloading the brush: Excess paint causes bleeding under the stencil edges. Always dab off paint on paper before applying.
- Incorrect adhesion: If the stencil shifts mid-application, the design becomes misaligned. Use repositionable spray or low-tack tape.
- Neglecting bridge placement: Floating elements fall out and get lost. Plan bridges during the design phase.
- Using dull blades: A worn blade tears rather than cuts, leading to ragged edges and inconsistent lines.
“Most stencil failures come from rushing the prep stage. Ten extra minutes spent planning bridges and testing layout saves hours of touch-up work.” — Marcus Lin, Mural Artist and DIY Educator
Stencil Making Checklist
Use this checklist before starting your next project to ensure success:
- ☐ Choose appropriate stencil material based on project type
- ☐ Finalize design with simplified shapes and proper stroke width
- ☐ Add bridges to support all floating elements
- ☐ Print full-size template and align accurately on material
- ☐ Use sharp blade and steady cutting surface
- ☐ Test stencil on scrap material before final application
- ☐ Clean and store stencil properly for future use
Frequently Asked Questions
Can I make stencils from photographs?
Yes, but photos need to be converted into high-contrast silhouettes or line drawings. Use photo-editing tools to reduce the image to black and white, then trace key outlines manually or with vectorization software. Detailed portraits rarely translate well—opt for bold, graphic interpretations.
How do I prevent paint from bleeding under the stencil?
Bleeding occurs when paint seeps beneath the stencil edge. Prevent it by using minimal paint, applying with a stippling motion (dabbing, not brushing), and ensuring the stencil lies flat against the surface. Spray adhesive helps secure edges, especially on textured walls.
Are there eco-friendly stencil materials?
Absolutely. Recycled Mylar, biodegradable acetate, and heavy-duty kraft board are sustainable alternatives. Some crafters reuse old cereal boxes or plastic folders for single-use stencils, minimizing waste.
Master the Craft, Multiply Your Creativity
Stencil making is one of the most accessible yet transformative DIY skills. Once you understand the fundamentals—material selection, bridge logic, clean cutting, and controlled paint application—you can replicate any design with confidence. No longer limited to store-bought patterns, you gain the power to personalize everything from furniture to party decor with custom flair.
Start small: practice with a simple monogram or geometric shape. Refine your technique. Then scale up to murals, seasonal decorations, or handmade gifts. Every stencil you create becomes a reusable tool, expanding your creative toolkit without added cost.


 浙公网安备
33010002000092号
浙公网安备
33010002000092号 浙B2-20120091-4
Comments
No comments yet. Why don't you start the discussion?