
Tables are essential tools in Microsoft Word for organizing data, presenting comparisons, or structuring reports. Yet even experienced users can struggle when it comes to inserting rows efficiently—especially under time pressure. Whether you're drafting a budget, compiling survey results, or formatting a project timeline, knowing how to insert a row in Word quickly and correctly saves time and prevents formatting errors. This guide breaks down the most effective methods, common pitfalls, and advanced techniques to help you master one of the most frequently used table editing actions.
Understanding Table Structure in Word
Before diving into row insertion, it’s important to understand how tables function in Word. A table consists of rows and columns that intersect to form cells. Each cell acts as an independent container for text, numbers, or even images. Unlike spreadsheets, Word tables are primarily designed for presentation and readability rather than calculation.
When you insert a new row, Word automatically inherits the formatting from the adjacent row—usually the one above. However, this behavior can vary depending on where the cursor is placed and which method you use. Misunderstanding this can lead to inconsistent spacing, misaligned borders, or unexpected font changes. The key to efficiency lies not just in knowing *how* to add a row, but *when* and *where* to do it without disrupting your document’s flow.
Step-by-Step Guide to Inserting a Row in Word
There are multiple ways to insert a row, each suited to different scenarios. Mastering all of them ensures you can adapt based on context, device, or preference.
- Using the Right-Click Context Menu (Most Common)
- Click inside any cell of the row above or below where you want the new row.
- Right-click to open the context menu.
- Select Insert > Insert Rows Above or Insert Rows Below.
- Using the Table Design Tab (Best for Precision)
- Click anywhere inside the target table.
- Navigate to the Layout tab under Table Tools.
- In the Rows & Columns group, click Insert Above or Insert Below.
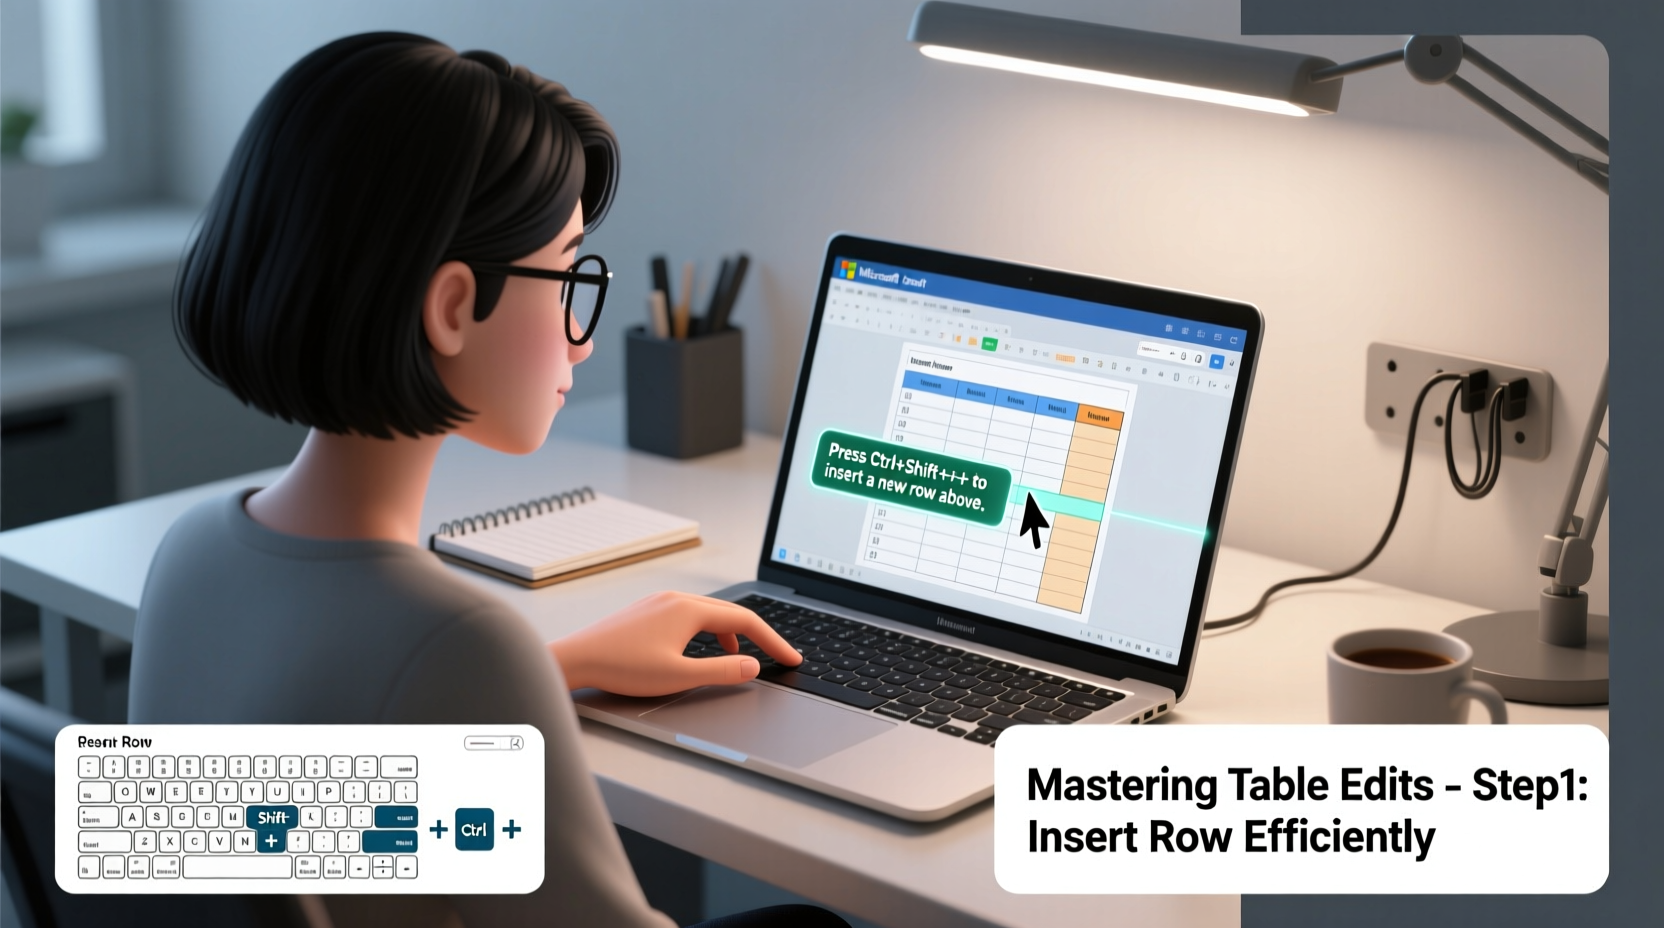
- Keyboard Shortcut (Fastest for Power Users)
- Place the cursor in the desired location.
- Press Tab at the end of the last cell in a row to create a new row below.
- Alternatively, use Alt + Shift + + after selecting a row.
- Duplicate an Existing Row (For Consistent Formatting)
- Select the entire row by clicking the left edge.
- Copy it (Ctrl+C), then right-click and choose Insert Copied Rows.
- This preserves exact styling, including borders, shading, and font settings.
- Insert Multiple Rows at Once
- Select multiple existing rows (drag across their left markers).
- Right-click and choose Insert > Insert Rows Above.
- Word will add the same number of new rows as selected.
Do’s and Don’ts When Adding Rows
Even small mistakes when inserting rows can cascade into layout issues, especially in long documents. Use this reference table to avoid common errors.
| Do’s | Don’ts |
|---|---|
| Use consistent row heights for visual clarity. | Manually adjust row height repeatedly—use table styles instead. |
| Insert rows using the Layout tab when working with complex formatting. | Rely solely on pressing Enter to force a new line—it doesn’t create a true new row. |
| Check alignment and borders after insertion. | Insert rows near page breaks without reviewing pagination. |
| Use keyboard shortcuts to speed up repetitive tasks. | Forget to save before making bulk edits—always backup first. |
Real Example: Streamlining a Project Report
Sarah, a project manager at a mid-sized consulting firm, was finalizing a quarterly status report with a detailed timeline table. Midway through her review, she realized two key milestones were missing. Instead of reworking the entire table, she clicked inside the row just above where the new entries should go, right-clicked, and selected Insert Rows Above twice. She pasted pre-formatted content into the new rows, matching the original structure perfectly. By using the correct method, she completed the update in under a minute—without triggering any formatting glitches or requiring additional cleanup.
“Efficiency in Word isn’t about knowing every feature—it’s about mastering the few that matter most. Inserting rows correctly is one of those fundamentals.” — James Reed, Productivity Consultant and Microsoft Office Trainer
Advanced Tips for Professional Results
For users who work with tables daily, going beyond basic insertion can dramatically improve workflow and output quality.
- Leverage Table Styles: Apply a built-in or custom table style so that newly inserted rows automatically match the design. Go to Design > Table Styles and pick one that suits your document tone.
- Prevent Orphaned Rows: In long tables spanning multiple pages, enable “Repeat as header row” for the first row. Also, check “Allow row to break across pages” in Table Properties to avoid awkward splits.
- Use Find and Replace for Bulk Edits: If you need to insert a row after every instance of a keyword (e.g., “Department”), use wildcards in Find and Replace along with paragraph marks to automate structural changes.
- Avoid Manual Line Breaks Inside Cells: Pressing Shift+Enter creates a soft return within a cell, but excessive use distorts row height. Instead, let Word manage spacing via cell margins.
FAQ: Common Questions About Inserting Rows in Word
Why does my new row look different from the others?
This usually happens when the row above has unique formatting—such as bold headers or background color—that isn’t applied consistently. To fix it, select the new row, go to the Layout tab, and use Distribute Rows or manually apply the correct style from the Design tab.
Can I insert a row into a nested table?
Yes. Click inside the cell containing the nested table, then click inside the nested table itself. From there, use the same insertion methods as with regular tables. Be careful not to accidentally edit the outer table.
Is there a way to undo an accidental row insertion?
Absolutely. Press Ctrl+Z immediately after inserting the row. If you’ve made other changes since, consider saving a version before major edits using File > Info > Manage Versions.
Final Checklist: Inserting Rows Like a Pro
- ✅ Confirm cursor placement before inserting.
- ✅ Choose the right method: right-click, ribbon, or keyboard shortcut.
- ✅ Verify formatting consistency after insertion.
- ✅ Use Tab to quickly add a row at the end of a table.
- ✅ Save your document before making large-scale table edits.
- ✅ Test print preview to ensure rows don’t split awkwardly across pages.
Mastery Starts with the Basics
Being able to insert a row in Word may seem minor, but it’s a foundational skill that affects the professionalism and readability of your documents. Whether you're building a simple list or managing a complex database-style table, precision and speed matter. The difference between a frustrating editing session and a seamless one often comes down to knowing these small but powerful techniques.


 浙公网安备
33010002000092号
浙公网安备
33010002000092号 浙B2-20120091-4
Comments
No comments yet. Why don't you start the discussion?