
A well-structured document doesn’t just rely on clear writing—it also depends on smart navigation. Whether you're preparing a report, thesis, or business proposal, a professional Table of Contents (TOC) helps readers locate information quickly and improves the overall readability of your work. Microsoft Word offers powerful tools to generate and customize a TOC automatically, but many users still manually type them, missing out on efficiency and accuracy. This guide walks through everything you need to know to master the Table of Contents in MS Word, from setup to advanced formatting—no prior expertise required.
Why Use an Automatic Table of Contents?
Manually creating a TOC might seem simple at first, but it becomes problematic when your document changes. Adding or removing sections means recalculating page numbers and rewriting entries—a time-consuming and error-prone process. An automatic TOC, however, updates instantly when content shifts, ensuring accuracy without extra effort.
Automatic TOCs are built using Word’s heading styles (Heading 1, Heading 2, etc.). When these are applied correctly, Word detects them and generates a structured, clickable index that reflects your document’s hierarchy.
“Using Word’s built-in TOC feature saves hours of editing and dramatically reduces errors in long documents.” — Dr. Laura Simmons, Technical Writing Instructor at Boston University
Step-by-Step: Creating Your First Table of Contents
Follow this sequence to insert a fully functional TOC into any Word document.
- Apply Heading Styles: Select the text you want in the TOC (e.g., chapter titles, section headings). On the Home tab, choose Heading 1 for main sections, Heading 2 for subsections, and so on.
- Position the Cursor: Click where you’d like the TOC to appear—usually right after the title page.
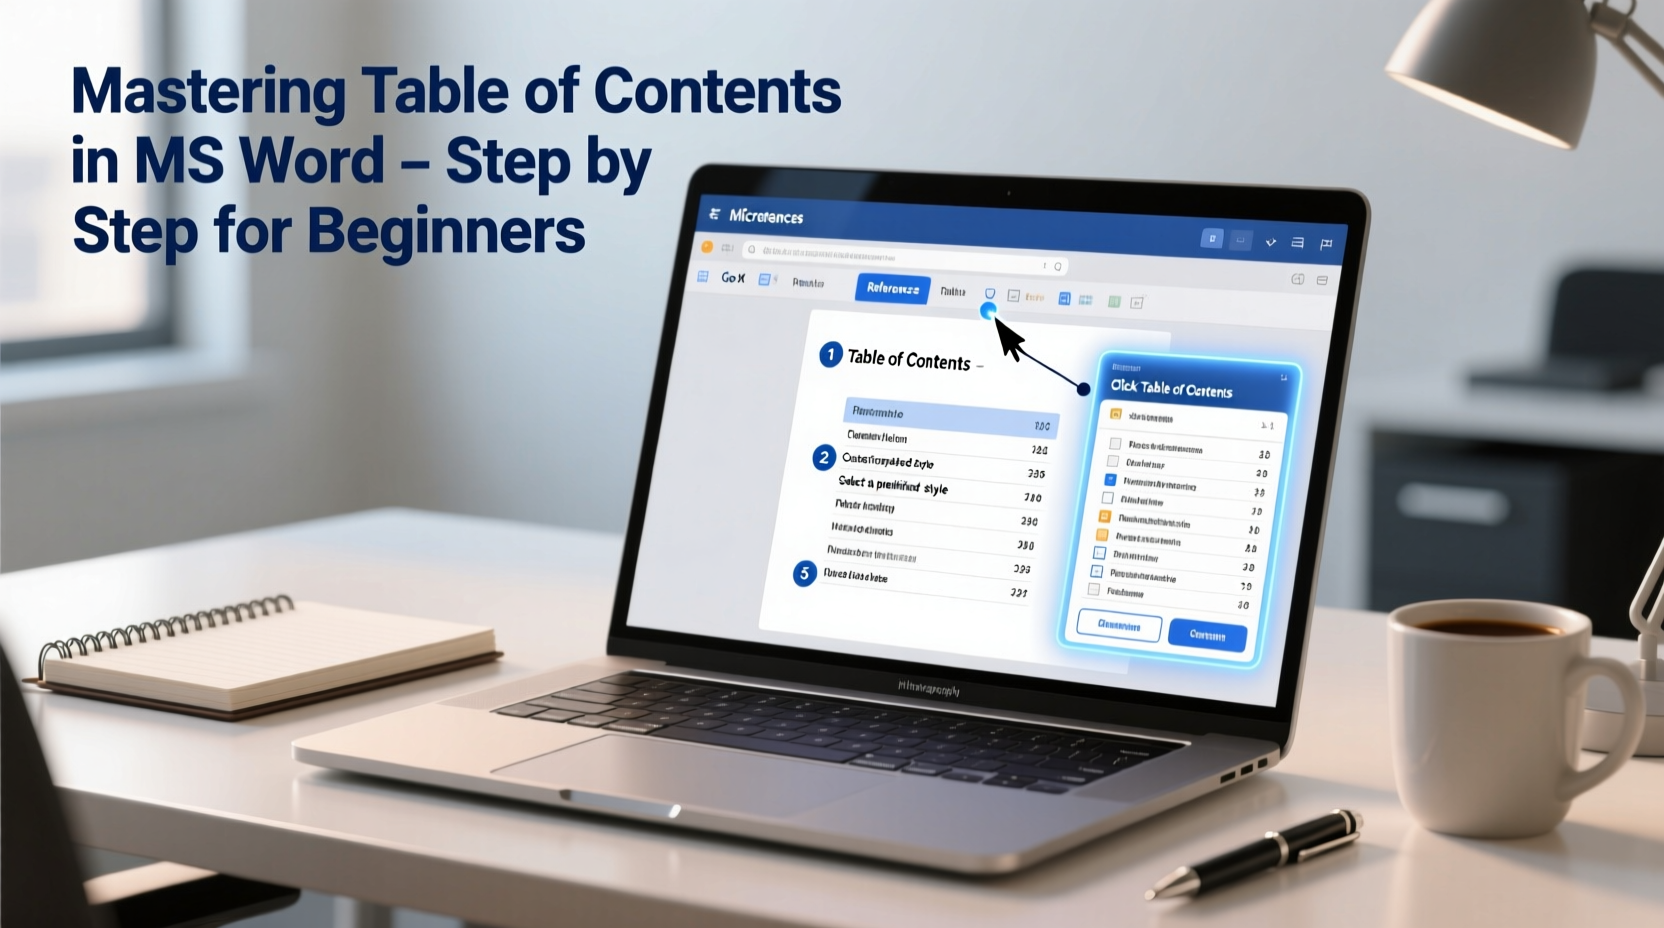
- Insert the TOC: Go to the References tab, click Table of Contents, and select one of the pre-designed formats (e.g., “Automatic Table 1”).
- Review the Output: Word will scan your document and list all headings with corresponding page numbers.
- Update as Needed: After making changes, right-click the TOC and choose Update Field. You can refresh page numbers only or rebuild the entire list.
Customizing Your Table of Contents
The default TOC works well for basic needs, but customization enhances clarity and matches your document’s tone. You can adjust which heading levels appear, modify fonts, and even add custom entries.
Change Displayed Heading Levels
By default, Word shows three heading levels. To reduce or expand this:
- Click anywhere in the TOC.
- Select References > Table of Contents > Custom Table of Contents.
- In the dialog box, change the number next to “Show levels” (e.g., set to 2 to display only Heading 1 and Heading 2).
- Click OK to apply.
Modify Formatting
To change font size, spacing, or alignment:
- In the Custom Table of Contents window, click Modify.
- Select a TOC style (e.g., TOC 1 for main entries, TOC 2 for subentries).
- Edit font, size, bold/italic, and paragraph settings.
- Repeat for each level, then click OK to save.
Add Dotted Leaders or Remove Page Numbers
Dotted leaders (the dots connecting titles to page numbers) improve readability. In the Custom Table of Contents window:
- Choose a leader style under “Tab leader” (Option 2 is most common).
- Uncheck “Show page numbers” if you’re creating a draft or outline-only TOC.
Common Mistakes and How to Avoid Them
Even experienced users make errors that compromise TOC functionality. Here’s what to watch for:
| Mistake | Consequence | Solution |
|---|---|---|
| Using bold or large font instead of Heading Styles | Entry ignored in TOC | Apply actual Heading styles via the Home tab |
| Not updating the TOC after edits | Incorrect page numbers or missing sections | Right-click TOC → Update Field → Update entire table |
| Deleting manual page breaks | Page count shifts, TOC misaligned | Use Section Breaks instead; let Word recalculate |
| Over-customizing with direct formatting | Formatting lost during updates | Always modify through “Modify” in TOC settings |
Real-World Example: Academic Report Workflow
Sophia, a graduate student writing her 45-page research paper, initially created a manual TOC. After adding two new sections and revising several chapters, she found herself constantly adjusting page numbers and reformatting entries. Frustrated, she switched to an automatic TOC.
She began by applying Heading 1 to her chapter titles (“Introduction,” “Methodology”) and Heading 2 to subsections (“Data Collection,” “Ethical Considerations”). She inserted the TOC using the References tab, chose a clean format with dotted leaders, and reduced visibility to two levels for simplicity.
When her advisor requested structural changes, Sophia simply updated the headings and refreshed the TOC with one click. The entire process took less than a minute—compared to the 15 minutes she previously spent correcting a manual version. Her final submission was polished, accurate, and professionally formatted.
Expert Tips for Advanced Users
Once comfortable with the basics, consider these enhancements to refine your workflow:
- Create a Custom Style Set: Save your preferred TOC formatting as a template for future documents.
- Use Outline View: Navigate complex documents efficiently by switching to View > Outline. This view displays only headings, letting you rearrange sections easily.
- Add Hyperlinks: All auto-generated TOCs include clickable links. Hold Ctrl and click any entry to jump directly to that section—ideal for digital submissions.
- Exclude Specific Headings: If certain sections (like Appendices) shouldn’t appear in the TOC, apply the “Normal” style instead of a heading, or hide them using field codes (advanced).
Frequently Asked Questions
Can I have multiple tables of contents in one document?
Yes. For example, you can have a high-level TOC at the beginning and detailed TOCs for individual chapters. To do this, use Word’s “IncludeText” fields or separate the document into sections with different TOCs limited to specific ranges.
Why is my heading not showing up in the TOC?
This usually happens because the text isn’t formatted with a proper heading style. Check that you’ve used Heading 1, 2, or 3—not just bold or larger font. Also, ensure no extra spaces or hidden characters interfere with detection.
How do I remove the TOC without losing formatting?
Click the TOC, then go to References > Table of Contents > Remove Table of Contents. This deletes the field but preserves your heading styles and content. Avoid deleting it manually, as leftover field codes may cause issues.
Final Checklist: Building a Flawless TOC
Before submitting your document, run through this checklist to ensure your TOC is accurate and professional:
- ✅ All major sections use proper Heading Styles (not manual formatting)
- ✅ Heading hierarchy is logical (Heading 1 → Heading 2 → Heading 3)
- ✅ TOC has been updated after final edits
- ✅ Dotted leaders and page numbers are correctly displayed
- ✅ Font and spacing match the rest of the document
- ✅ Clickable links work (test by Ctrl+clicking entries)
- ✅ No orphaned or duplicated entries
Conclusion
Mastering the Table of Contents in MS Word is more than a formatting skill—it’s a productivity superpower. By leveraging automatic generation, consistent styling, and smart updates, you eliminate tedious manual work and produce cleaner, more professional documents. Whether you're a student, writer, or office professional, this tool pays dividends in time saved and quality gained. Start applying these techniques today, and transform how you manage long-form content in Word.


 浙公网安备
33010002000092号
浙公网安备
33010002000092号 浙B2-20120091-4
Comments
No comments yet. Why don't you start the discussion?