
Adding text in Blender is more than just placing words into a 3D scene—it’s about integrating typography into your visual storytelling. Whether you're designing a logo reveal, labeling a product visualization, or creating animated titles, mastering text handling in Blender unlocks professional-grade results. Unlike traditional graphic design tools, Blender treats text as a fully manipulatable 3D object, giving you control over depth, bevels, materials, and animation. This guide walks through the entire process—from inserting basic text to advanced customization—so you can use typography effectively in any project.
Step-by-Step: Adding Text to Your Scene
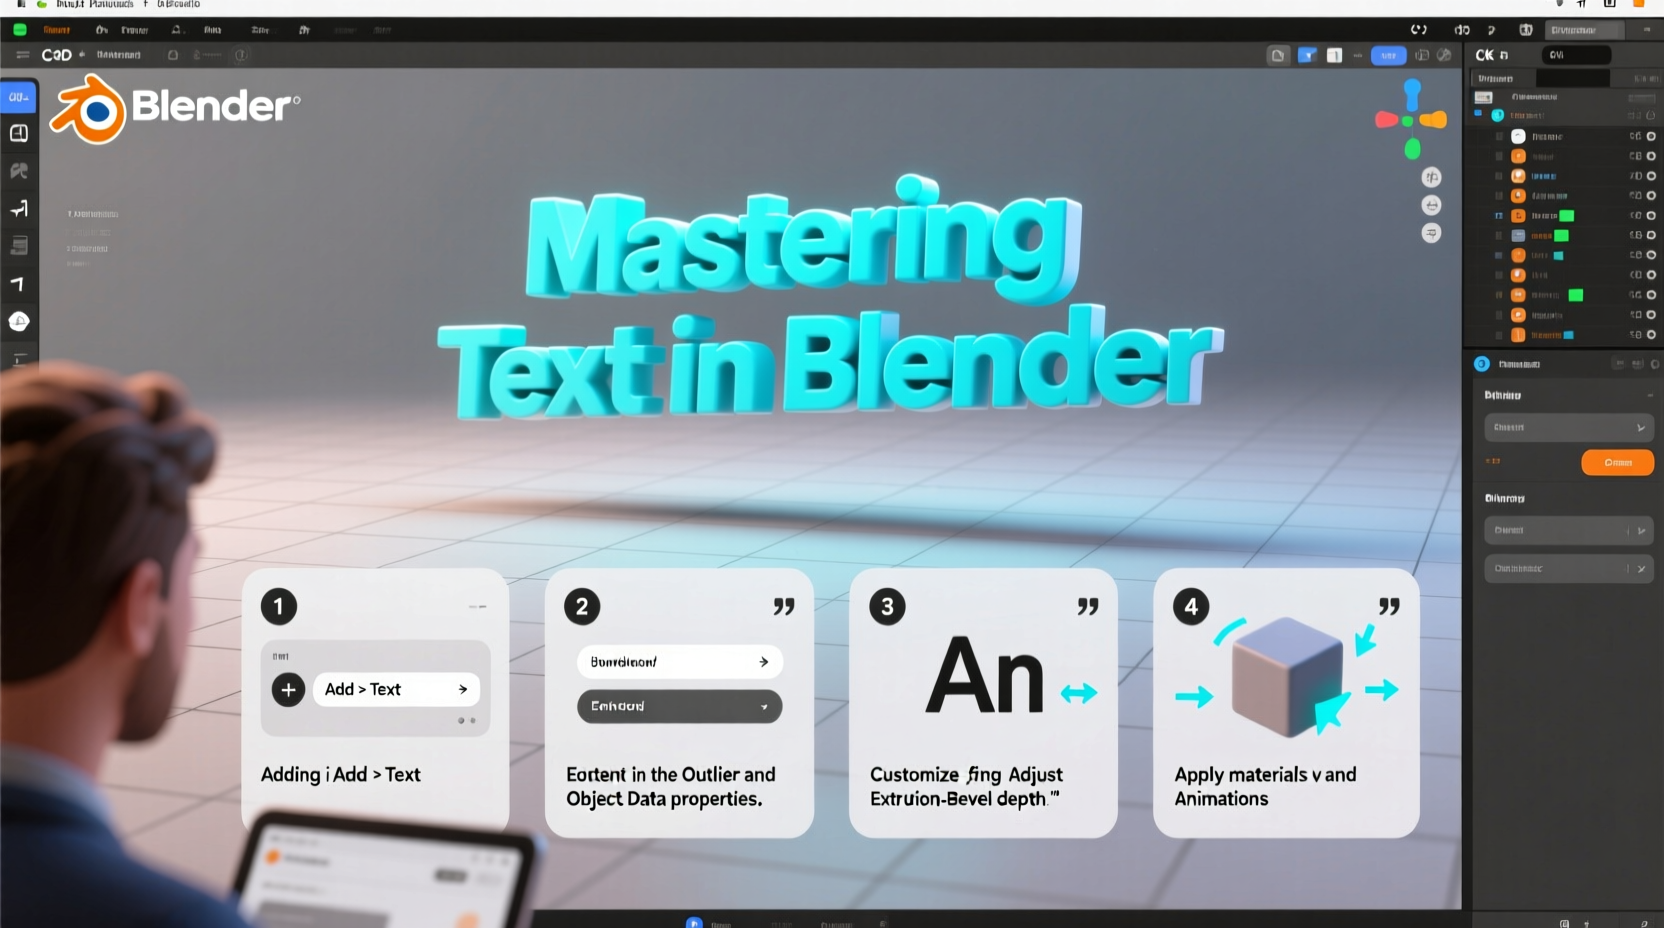
To begin working with text, first ensure you’re in the Layout or Modeling workspace. From the 3D Viewport:
- Press Shift + A to open the Add menu.
- Navigate to Text under the Mesh category (or use the search bar).
- Click to place the text object in your scene.
By default, the new text reads “Text” and appears aligned to the world origin. To edit its content, enter Edit Mode by pressing Tab. You’ll see a blinking cursor where you can type or paste your desired message.
Customizing Font and Styling Options
With your text selected, switch to the Object Data Properties tab (the \"Ab\" icon) in the right-hand panel. Here, you’ll find comprehensive styling controls:
- Font: Load custom fonts using the Regular, Italic, Bold, and Bold Italic slots. Click the folder icon to browse installed system fonts or import .ttf/.otf files.
- Size: Adjust overall scale. Larger values increase readability but may require repositioning.
- Shear: Slants characters for stylistic emphasis without altering font choice.
- Text Boxes: Enable word wrapping by setting width constraints under the Paragraph section.
Alignment options allow left, center, or right justification—useful when positioning titles above objects or within frames. For multi-line text, press Enter in Edit Mode to create line breaks manually.
Converting Text to 3D Geometry
While editable text offers flexibility, it cannot receive modifiers like subsurface division or physics simulations until converted. To make your text fully three-dimensional:
- Select the text object.
- Press Ctrl + C and choose Convert to > Mesh from Curve/Meta/Surf/Text.
After conversion, the object is no longer editable as text—you can’t change letters—but gains full mesh capabilities. Use this stage to apply modifiers such as Solidify for extrusion or Bevel for rounded edges.
| Feature | Editable Text | Converted Mesh |
|---|---|---|
| Character Editing | Yes | No |
| Extrusion & Bevel | Limited (via properties) | Full control via modifiers |
| Physics Simulation | No | Yes |
| Animation of Letters | Basic | Advanced (individual vertices) |
“Typography in 3D space isn’t just about legibility—it’s about presence. The way light wraps around a beveled letterform can define the mood of an entire scene.” — Lena Torres, 3D Motion Designer
Applying Materials and Lighting for Impact
Once your text has depth, enhance its visual impact with materials. In the Material Properties tab:
- Create a new material and assign colors, metallic values, or emission shaders.
- Use image textures for engraved or sticker-like effects.
- For glowing text, increase the Emission strength and connect it to a transparent shader if needed.
Pair materials with proper lighting. A three-point setup (key, fill, back) highlights surface details, especially on beveled text. Consider using HDRI environments for realistic reflections on glossy surfaces.
Animating Text with Modifiers and Keyframes
Blender excels at animating text dynamically. Two powerful methods include:
1. Using the Array and Curve Modifiers
Combine text with a curve path to animate scrolling credits or circular logos. Add a Curve (e.g., Bezier Circle), then give your text object an Array Modifier followed by a Curve Modifier targeting the circle. Animate the array offset to make text crawl along the path.
2. Per-Character Animation with the Build Modifier
Add a Build Modifier to your text mesh. Set the start frame and length to control how quickly letters appear sequentially. Reverse the order for fade-in-from-end effects. Combine with transparency animations for cinematic title sequences.
For typewriter-style reveals, pair the Build Modifier with a text-driven driver or shape keys (advanced users).
Common Pitfalls and Best Practices
Even experienced users encounter issues when managing text in complex scenes. Avoid these common mistakes:
- Ignoring unit scale: Tiny text may result from mismatched scene units. Check Scene Properties > Units and adjust font size accordingly.
- Overlooking alignment: Misaligned text distracts viewers. Use snapping (Shift + Tab) and empty helpers to position precisely.
- Skipping backups: Once converted to mesh, text edits are irreversible. Save a duplicate as editable text before conversion.
“Always keep one version of your text unconverted. I’ve lost count of how many times I had to re-import headlines after last-minute client changes.” — Derek Hu, Freelance 3D Artist
Checklist: Preparing Professional-Quality Text in Blender
- ✅ Choose a legible font appropriate for context (e.g., sans-serif for modern designs).
- ✅ Edit all text content while still in Edit Mode.
- ✅ Set alignment and spacing before conversion.
- ✅ Apply transformations (Ctrl + A) after scaling or rotating.
- ✅ Add extrusion and bevel via Object Data Properties or Solidify modifier.
- ✅ Assign materials and test under final lighting conditions.
- ✅ Animate using modifiers rather than manual keyframing when possible.
- ✅ Keep a backup layer with original editable text.
Mini Case Study: Creating a Product Launch Title Sequence
A designer was tasked with creating a 10-second intro video for a tech product launch. They used Blender to animate the product name floating through a futuristic cityscape.
The workflow included:
- Importing a sleek sans-serif font for a modern look.
- Setting precise kerning and tracking so letters didn’t overlap during motion.
- Using the Solidify and Bevel modifiers to give the text chrome-like thickness.
- Applying an emissive blue gradient that pulsed subtly using keyframed emission strength.
- Animating the text along a curved trajectory using the Follow Path constraint.
- Ending with a slow build effect revealing the tagline beneath.
The final output impressed stakeholders due to its polished integration of typography and environment—achievable only because each text element was treated as both design and geometry.
Frequently Asked Questions
Can I animate individual letters separately?
Yes. After converting text to a mesh, go into Edit Mode, select specific letters (using box selection or loose geometry selection), and separate them with P > Selection. Each piece becomes an independent object that can be moved, scaled, or animated uniquely.
Why does my text look pixelated in renders?
This usually stems from low resolution in curves. In the Object Data Properties, increase the Resolution under the Geometry section. Higher values smooth extrusions and bevels at the cost of increased polygon count.
How do I align text to the camera?
Select the text object, go to Object Constraints, and add a Track To constraint. Set the target to your camera and adjust the axes so the text always faces forward. Alternatively, use Align Transform to Camera in the 3D viewport.
Conclusion
Mastery of text in Blender transforms static scenes into compelling narratives. From simple labels to cinematic intros, understanding how to add, style, convert, and animate text gives you complete creative control. The key lies in balancing design intent with technical precision—knowing when to keep text editable versus when to embrace full 3D manipulation.


 浙公网安备
33010002000092号
浙公网安备
33010002000092号 浙B2-20120091-4
Comments
No comments yet. Why don't you start the discussion?