
Bead animals have captivated crafters for decades, combining simplicity with creativity in a way that appeals to children and adults alike. These colorful, flexible figures—often made from plastic pony beads and elastic cord—are more than just childhood pastimes. They represent a gateway into pattern recognition, fine motor development, and artistic expression. Whether you're picking up a beading needle for the first time or looking to refine your technique, mastering bead animals is both accessible and deeply satisfying.
The appeal lies not only in the end product but in the process: the rhythm of threading beads, the anticipation of forming shapes, and the joy of seeing abstract sequences transform into recognizable creatures. With patience and practice, anyone can progress from basic frogs and dogs to intricate dragons and mythical beasts.
Gathering Your Tools and Materials
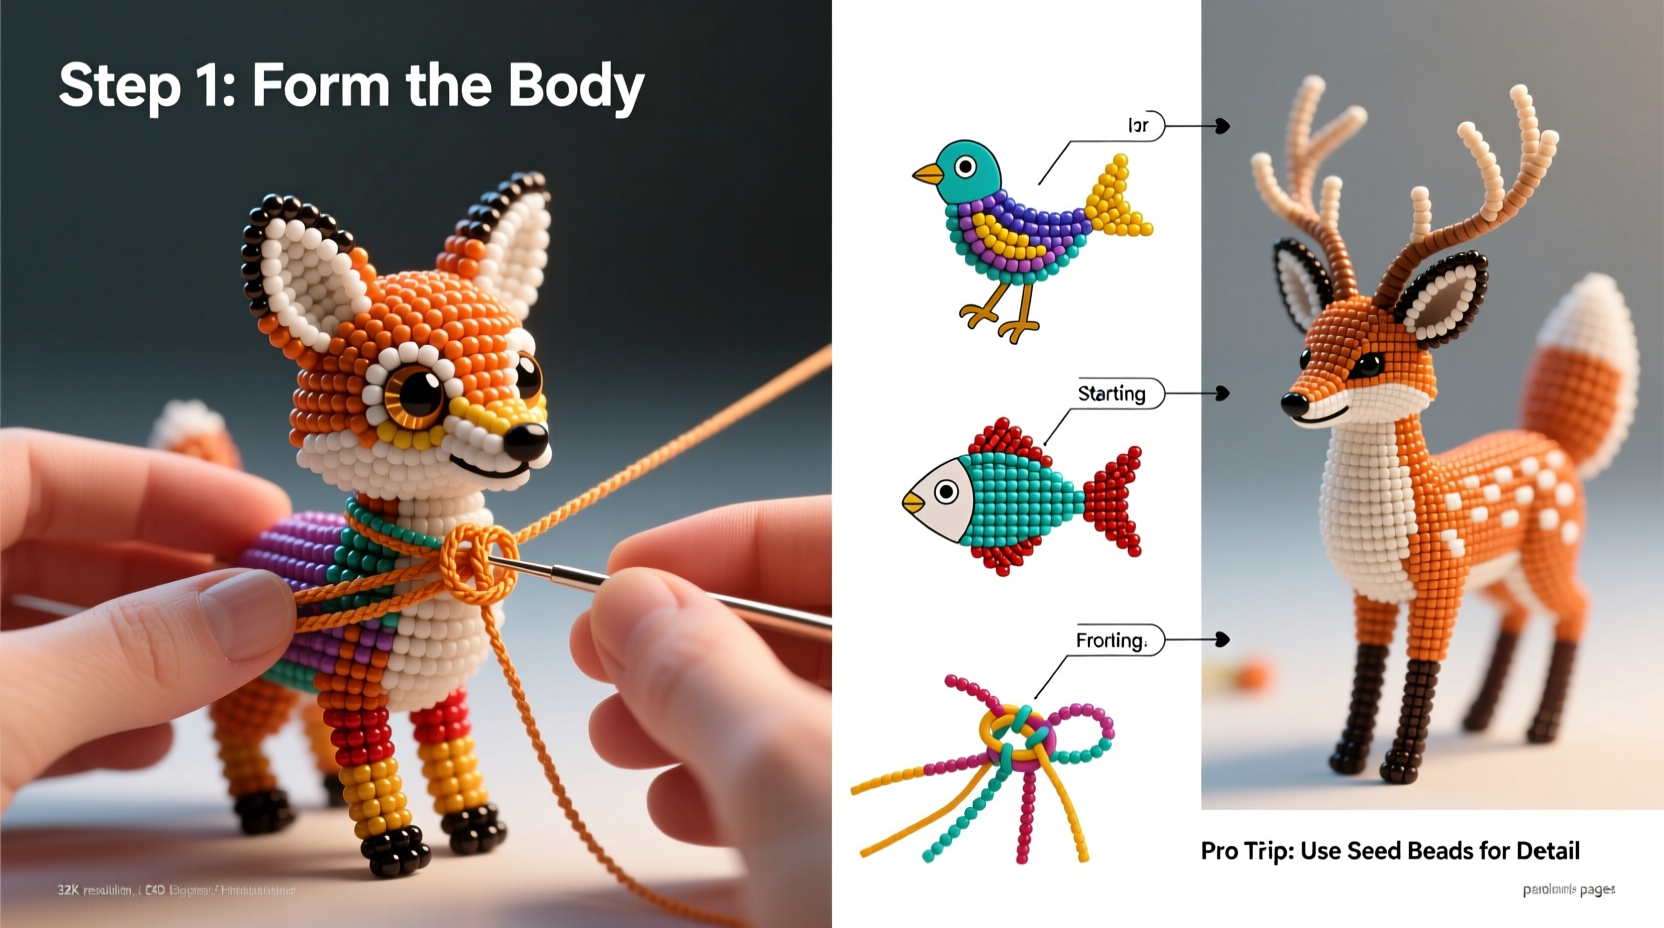
Before diving into creation, it’s essential to assemble the right supplies. Bead animal crafting requires minimal equipment, but choosing quality materials makes a significant difference in durability and appearance.
- Pony beads: Standard 6mm plastic beads are ideal for most designs. Choose opaque, translucent, or metallic finishes based on your aesthetic preference.
- Elastic beading cord or nylon thread: 0.5–1mm thickness works best. Elastic cord allows for stretchable bracelets; nylon offers more rigidity for standalone sculptures.
- Beading needle: A thin, flexible needle simplifies threading small beads.
- Scissors: Sharp enough to cut thread cleanly without fraying.
- Pattern guides or charts: Especially helpful for complex builds.
Step-by-Step Guide to Creating Your First Bead Animal
Start simple. The classic \"ladder stitch\" forms the foundation of most bead animal patterns. Follow these steps to create a basic two-legged creature like a frog or dog.
- Cut a 60cm length of elastic cord and thread your needle.
- String two beads and tie them together at the center to form a loop—this becomes the head.
- Add one bead as a neck connector.
- Branch off into two parallel rows: add two beads per side (left and right), advancing each row independently.
- Continue building limbs using consistent spacing—typically three to four beads per leg.
- Reconnect both sides with a single bead at the tail end.
- Tie a secure knot, tuck in loose ends, and trim excess cord.
This method introduces symmetry, tension control, and spatial planning—skills that scale directly to advanced models. Practice until you can complete the structure without referring to instructions.
Essential Techniques for Advancing Beyond Basics
Once comfortable with foundational patterns, explore techniques that expand your creative range.
| Technique | Description | Best For |
|---|---|---|
| Ladder Stitch | Linear progression of beads forming flat structures | Frogs, dogs, fish |
| Zigzag Weave | Alternating diagonal bead placement for texture | Serpents, caterpillars |
| 3D Framing | Using structural supports to build depth | Dinosaurs, birds |
| Color Blocking | Grouping colors in deliberate sections for contrast | Themed characters (e.g., superheroes) |
| Micro Beading | Using smaller seed beads for fine details | Eyes, facial features, scales |
Advanced builders often combine multiple stitches within a single piece. For example, a dragon might use ladder stitching for its body, zigzag weave for wings, and micro beading for eyes and claws.
“Bead animals teach spatial reasoning through tactile learning. It’s geometry disguised as play.” — Dr. Lila Chen, Developmental Arts Educator
Avoiding Common Mistakes: Do’s and Don’ts
Even experienced crafters encounter pitfalls. Use this checklist to stay on track.
✅ Use fresh, non-stretched elastic cord for better hold
✅ Count beads before tying off final knots
✅ Work under good lighting to prevent eye strain
✅ Test limb flexibility before securing final knots
❌ Don’t pull too tightly—this warps shape and stresses thread
❌ Avoid reusing old or knotted thread
❌ Never skip pattern testing on scrap beads
One frequent error is miscounting mid-pattern, leading to asymmetrical limbs. To avoid this, count aloud or use a tally sheet. Another issue arises when knots slip due to low-friction cord. A double or surgeon’s knot typically resolves this.
Real Example: Building a Custom Unicorn
Sophia, a hobbyist from Portland, wanted to surprise her niece with a personalized bead unicorn. She began with a standard horse base but modified it with a spiral horn (using twisted gold wire wrapped with white beads) and a multicolored mane built via staggered layering. After three attempts, she perfected the balance between elegance and sturdiness.
Her breakthrough came when she switched from elastic to waxed nylon thread for the body, then used thinner elastic only for the legs. This hybrid approach preserved mobility while preventing sagging. The final piece stood upright, had expressive features, and doubled as a wearable bracelet.
“It wasn’t about perfection,” Sophia said. “It was about making something that felt magical. When my niece put it on, she said, ‘Auntie, this is real.’ That made every failed try worth it.”
Frequently Asked Questions
How do I keep my bead animals from unraveling?
Always finish with a secure knot—preferably a triple knot coated lightly with clear-drying fabric glue. Trim ends closely after drying. Using high-quality cord also reduces slippage over time.
Can I wash bead animals?
Yes, but gently. Hand-wash with mild soap and lukewarm water if needed, then air dry flat. Avoid soaking, machine washing, or heat exposure, which can degrade plastic and weaken thread.
Are there eco-friendly alternatives to plastic beads?
Yes. Wooden beads, recycled glass, and bioplastics offer sustainable options. While they may require larger needles due to hole size, they provide unique textures and environmental benefits.
Expanding Your Creative Horizons
Once fundamentals are mastered, consider branching into themed series—zodiac animals, fantasy creatures, or pop culture icons. Some crafters integrate LED micro-lights into larger sculptures for display pieces. Others teach workshops, turning passion into community engagement.
Join online forums or social media groups where creators share free patterns, troubleshoot issues, and post time-lapse videos. Platforms like Reddit’s r/loomband or dedicated Facebook communities foster collaboration and inspiration.
You might also experiment with mixed media: embedding bead animals into keychains, magnets, or shadow boxes. The transition from craft to art happens when personal meaning meets technical skill.
Conclusion
Mastering bead animals isn’t just about following patterns—it’s about developing an intuitive sense of structure, color, and storytelling. From your first wobbly frog to a fully articulated phoenix with feathered wings, each project builds confidence and creativity. What begins as a simple string of beads evolves into a language of design, accessible to all ages and experience levels.


 浙公网安备
33010002000092号
浙公网安备
33010002000092号 浙B2-20120091-4
Comments
No comments yet. Why don't you start the discussion?