
Drawing a functional QR code by hand may sound like an oxymoron in our digital age, where scanners and generators do the work instantly. Yet, there is undeniable value—artistic, educational, and even tactical—in learning to construct one manually. Whether you're an artist integrating QR codes into hand-drawn illustrations, a teacher demonstrating digital literacy concepts, or simply fascinated by the intersection of analog skill and digital function, mastering this craft offers unique rewards. This guide walks through the structural logic of QR codes and provides a practical method for replicating them accurately using only pen, paper, and patience.
Understanding QR Code Structure
Before putting pen to paper, it’s essential to understand what makes a QR code work. Unlike barcodes, which are linear and one-dimensional, QR (Quick Response) codes are two-dimensional matrices made up of black and white modules arranged in a square grid. These modules encode data such as URLs, text, or contact information.
The standard QR code contains several key visual elements that must be preserved for successful scanning:
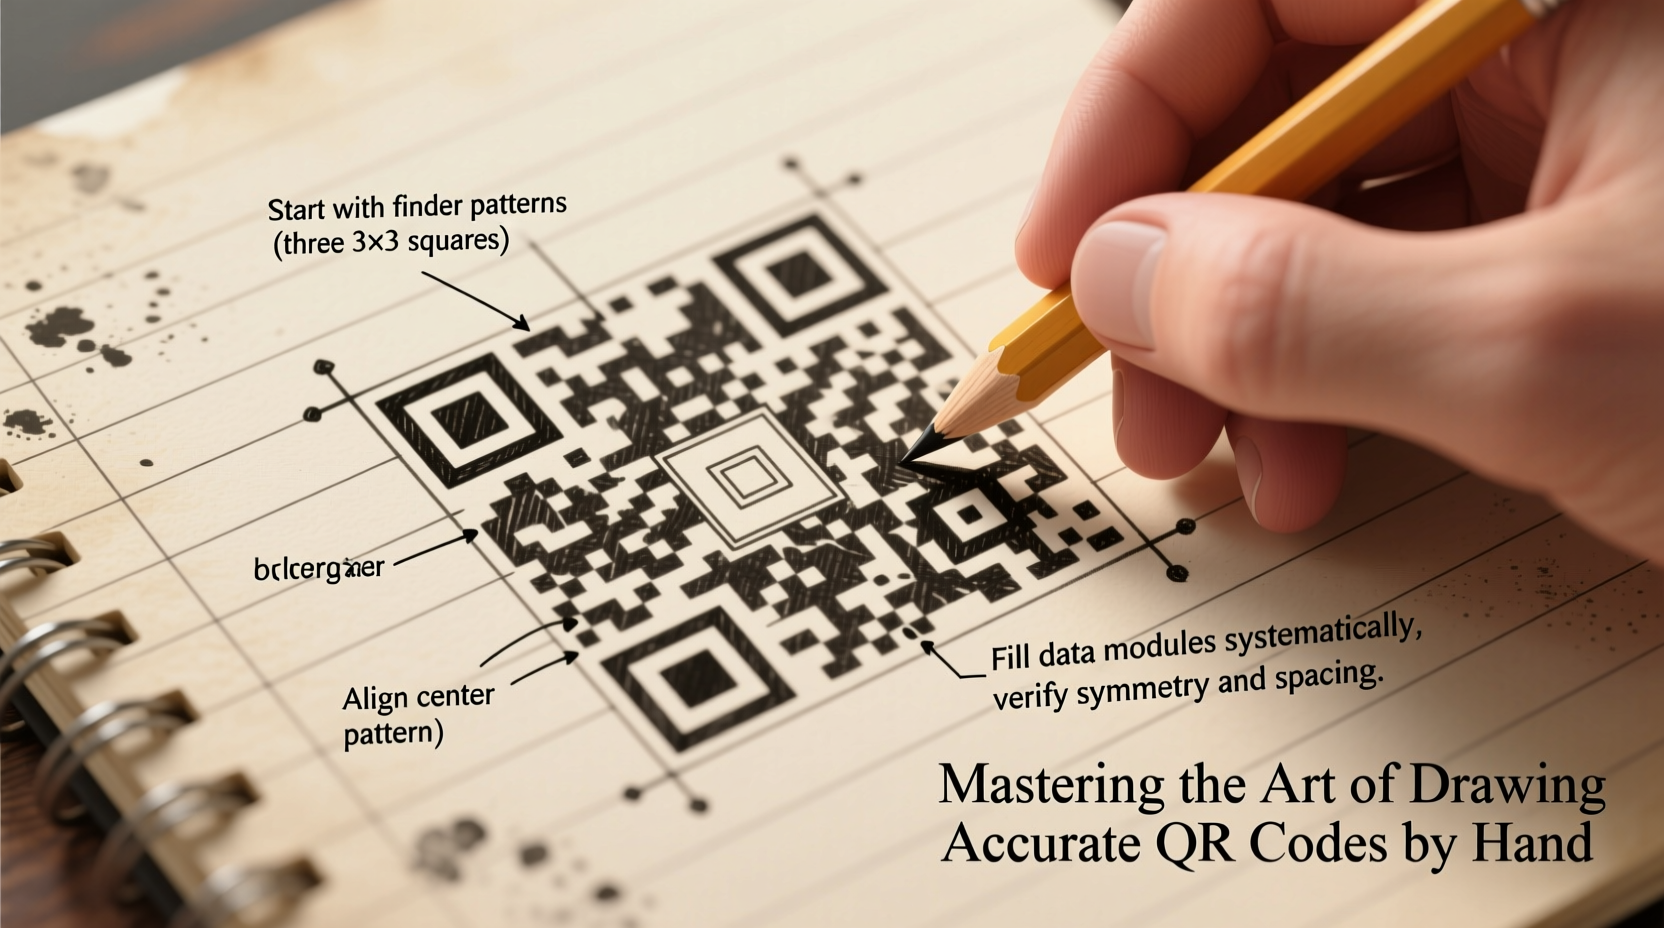
- Finder Patterns: The three large squares located at the top-left, top-right, and bottom-left corners. These help scanners orient the code.
- Alignment Patterns: Smaller squares scattered across larger versions of QR codes (Version 2 and above) to correct distortion.
- Timing Patterns: Alternating black-and-white modules running between the finder patterns, forming an “L” shape. They assist in identifying individual cell positions.
- Data Modules: The remaining cells that store the encoded information.
- Quiet Zone: A mandatory blank margin (at least four modules wide) surrounding the entire code. Without it, scanners often fail to recognize the code.
“Even when drawn manually, a QR code must adhere strictly to its geometric standards. Deviation of even one module can render it unreadable.” — Dr. Lin Zhao, Digital Encoding Researcher, MIT Media Lab
Step-by-Step Guide to Drawing a QR Code by Hand
Follow this precise sequence to create a scannable QR code on paper. For clarity, we’ll use Version 1 (21×21 modules), the smallest and simplest format.
- Prepare Your Tools: Use graph paper (5mm grid recommended), a fine-tip black marker (0.5mm or finer), ruler, pencil, and eraser. A lightbox or window can help trace if needed.
- Draw the Grid: Lightly sketch a 29×29 grid (including the quiet zone). Each cell should be uniform. The actual code will occupy the central 21×21 section.
- Mark Finder Patterns: Shade in the three 7×7 blocks at the corners: top-left, top-right, and bottom-left. Leave a white border around each (i.e., black cells within black cells).
- Add Separators: Draw a one-cell-wide white line immediately adjacent to each finder pattern, separating it from the data area. This creates the characteristic white border around the large squares.
- Plot Timing Patterns: Fill in alternating black and white cells along the row and column between the top-left and top-right finders, and between the top-left and bottom-left ones. Start with black next to the finder.
- Include Alignment Pattern (if applicable): Version 1 has none. In higher versions, place a 3×3 square (black border, white center) at specified coordinates.
- Encode Data Manually (Optional): For true accuracy, generate your target data (e.g., “Hello”) using an online QR generator, then reverse-engineer the black/white layout. Transfer module by module onto your grid.
- Reserve Format Areas: Leave space near the finders for format information (5×1 and 1×7 areas), which contain error correction and masking details. If copying from a known code, replicate these exactly.
- Finalize Quiet Zone: Ensure the outer four rows and columns around the 21×21 grid remain completely blank.
- Ink and Erase: Once satisfied, go over black modules with a permanent marker. Carefully erase all pencil lines outside the final design.
Common Mistakes and How to Avoid Them
Hand-drawing requires meticulous attention. Below is a comparison of common errors and their corrections:
| Mistake | Consequence | Solution |
|---|---|---|
| Uneven cell size | Scanner misreads spacing | Use graph paper and measure consistently |
| Missing quiet zone | Code not detected | Leave 4+ blank cells around the border |
| Smudged or bleeding ink | Modules merge, corrupting data | Use quick-dry markers; work left to right |
| Incorrect finder pattern | Orientation fails | Double-check 7×7 with 5×5 inset and 3×3 core |
| Wrong timing pattern | Poor module tracking | Verify alternating black-white sequence |
Real Example: A Classroom Experiment
In a high school computer science class in Portland, Oregon, students were challenged to draw working QR codes encoding their names. Using printed templates as references, they sketched 21×21 grids on graph paper. Only two out of 28 codes scanned successfully on the first try—both had used rulers and verified each module against a digital version. The teacher noted that students who rushed skipped the quiet zone or misaligned timing patterns. After a second iteration with stricter guidelines, 22 students produced scannable codes. One student, Maya Tran, embedded her hand-drawn code into a charcoal portrait, blending analog art with digital interactivity. Her project later won a regional STEAM competition.
Checklist for Success
Before attempting to scan your hand-drawn QR code, verify the following:
- ✅ Grid is perfectly square and evenly spaced
- ✅ All three finder patterns are correctly sized and positioned
- ✅ White separator lines are present around each finder
- ✅ Timing patterns form continuous alternating lines
- ✅ No stray marks or smudges inside or near the quiet zone
- ✅ Quiet zone is clean and unbroken (minimum 4 modules wide)
- ✅ Data modules match a known valid pattern (copied from a generator)
- ✅ Final lines are sharp and high-contrast (black on white)
Frequently Asked Questions
Can a hand-drawn QR code actually be scanned?
Yes, provided it follows the ISO/IEC 18004 specifications precisely. Many artists and educators have successfully created scannable hand-drawn codes using careful replication techniques. High-contrast, clean edges, and correct geometry are critical.
Do I need to include error correction?
You don’t draw error correction manually, but it must be accounted for in the data layout. When copying from a generated QR code, the error correction is already embedded in the module pattern. Attempting to calculate it by hand is impractical without advanced knowledge of Reed-Solomon coding.
What's the smallest QR code I can draw by hand?
The smallest standard is Version 1: 21×21 modules. At 2–3 mm per module, this results in a 4.2–6.3 cm square—manageable with fine tools. Anything smaller increases error risk significantly.
Conclusion: From Sketch to Scan
Drawing a QR code by hand is more than a novelty—it’s an exercise in precision, pattern recognition, and respect for digital design principles. While automation dominates, the ability to reconstruct a functional digital artifact with nothing but pen and paper demonstrates deep understanding. It bridges disciplines, turning coders into artists and artists into technicians. Whether you’re teaching others, creating interactive street art, or simply challenging your own focus, this skill adds a rare dimension to your creative toolkit.


 浙公网安备
33010002000092号
浙公网安备
33010002000092号 浙B2-20120091-4
Comments
No comments yet. Why don't you start the discussion?