
Filming a podcast is no longer just about capturing audio—it’s about creating an immersive visual experience. As platforms like YouTube, Instagram, and TikTok continue to prioritize video content, podcasters who embrace visual storytelling gain a competitive edge. But great visuals don’t happen by accident. They require planning, intentionality, and attention to technical detail. Whether you're launching a new show or refining an existing one, mastering the visual side of podcasting can transform passive listeners into loyal viewers.
1. Prioritize Lighting for Professional Quality
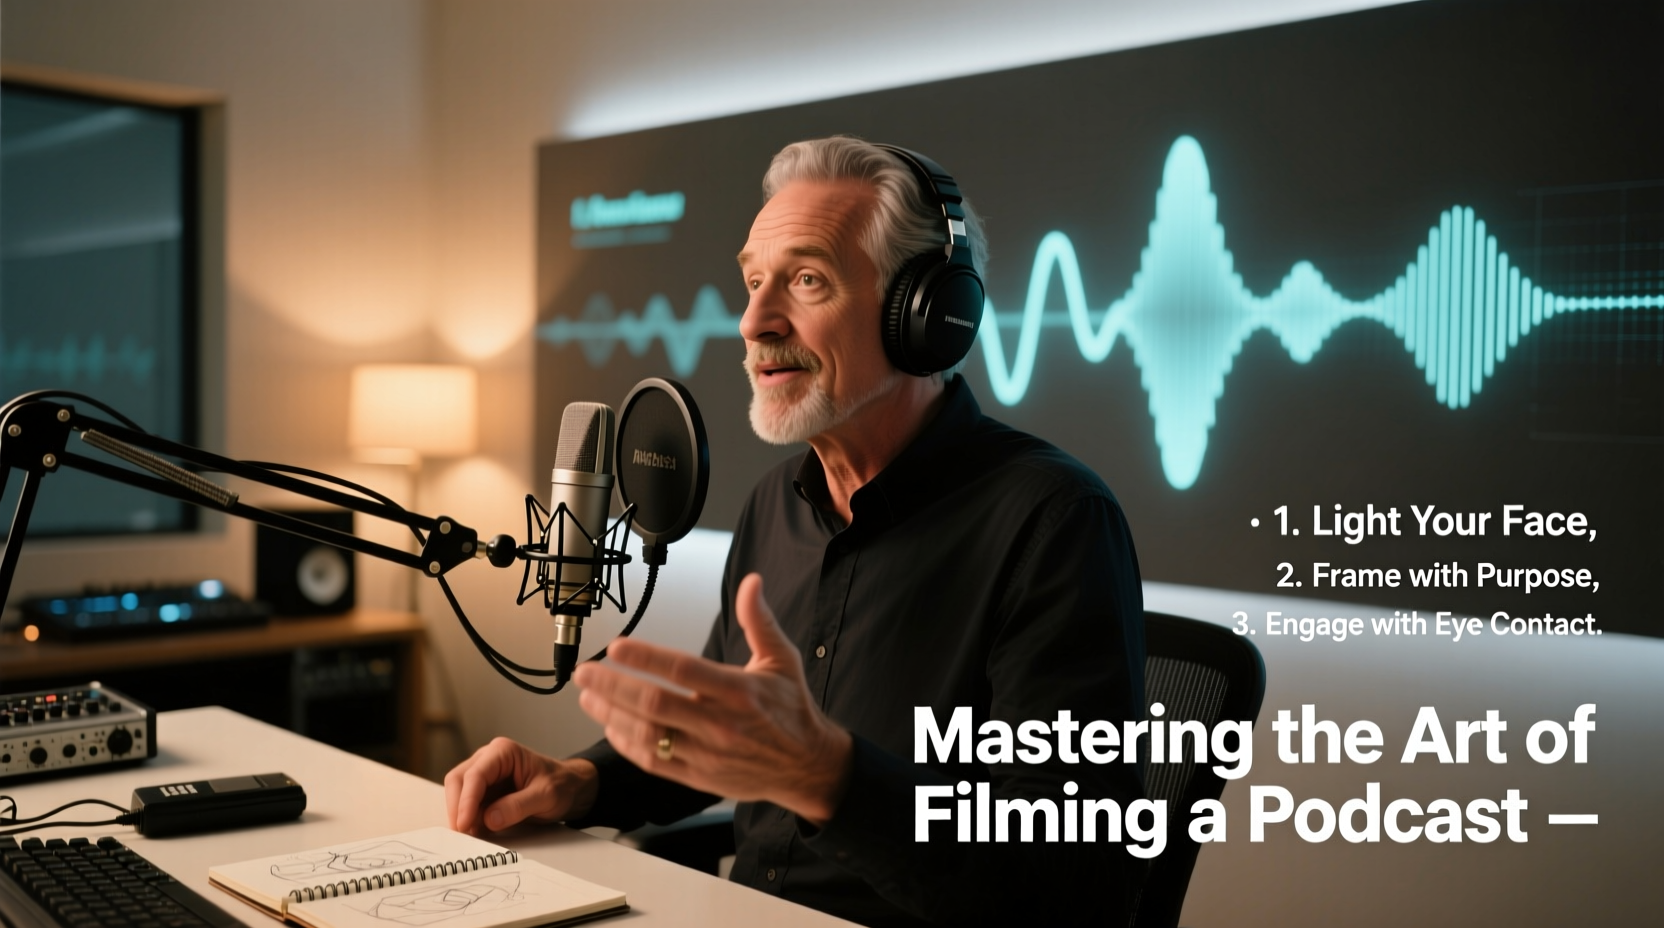
Lighting is the most impactful factor in how your podcast looks on camera. Poor lighting makes even high-end cameras look amateurish, while good lighting enhances clarity, mood, and viewer engagement.
Natural light is ideal when available—position your host so that soft daylight comes from the front or slightly to the side. Avoid backlighting (e.g., sitting in front of a window), which creates silhouettes. For consistent results, invest in a three-point lighting setup:
- Key Light: The main source, placed at a 45-degree angle to the subject.
- Fill Light: Softer light on the opposite side to reduce shadows.
- Back Light (Rim Light): Positioned behind the subject to separate them from the background.
2. Frame Your Shot with Intention
How you frame your shot communicates tone and focus. A tight close-up conveys intimacy and intensity, while a wider shot provides context but risks losing emotional connection.
For single-host podcasts, use a medium close-up framing from the chest up. This keeps the face prominent while allowing natural hand gestures. For co-hosted or guest interviews, consider a two-shot centered composition or split-screen if editing allows. Always leave slight headroom and avoid cutting off the top of the head.
“Visual framing isn’t just technical—it’s psychological. The closer the subject, the more personal the connection.” — Lena Torres, Broadcast Visual Director
Common Framing Mistakes to Avoid
| Mistake | Why It Hurts Viewer Experience | Solution |
|---|---|---|
| Too much empty space above the head | Distracts from the speaker; feels unbalanced | Tighten the frame to reduce headroom |
| Cropping at joints (neck, elbows) | Feels unnatural and visually jarring | Frame between joints—e.g., mid-chest or waist |
| Background clutter | Diverts attention from the speaker | Use neutral backdrops or shallow depth of field |
3. Optimize Audio and Video Synchronization
No amount of visual polish compensates for poor audio. Even when filmed, a podcast remains an audio-first medium. Viewers will forgive modest video quality before they tolerate muffled speech or echo.
Always use external microphones—lavalier mics for mobility or dynamic mics like the Shure SM7B for studio setups. Record audio separately if possible, using a digital recorder or audio interface, then sync in post-production. This ensures higher fidelity than relying solely on camera mic inputs.
Step-by-Step Guide: Syncing Audio and Video in Post
- Import both video (with camera audio) and clean external audio into your editing software.
- Zoom in on the waveform near the start where the clap occurs.
- Align the peak of the clap in both tracks.
- Mute the camera audio track and use only the external recording.
- Adjust timing if drift occurs over long recordings.
4. Design a Cohesive Visual Brand
Your podcast’s visual identity should be as distinct as its voice. Consistent branding builds recognition and trust across episodes and platforms.
Choose a color palette, font style, and layout for lower thirds (name/title graphics), intros, and transitions. Use the same backdrop or virtual set design every episode. Even small details—like wearing similar attire or placing a signature object in the frame—can reinforce brand identity.
Consider repurposing clips for social media with branded templates. Short, subtitled quotes perform exceptionally well on Instagram Reels and YouTube Shorts, extending your reach beyond full-length episodes.
Mini Case Study: “The Insight Exchange” Podcast
When Sarah Kim launched her business interview podcast, early episodes struggled to retain viewers past the first minute. After analyzing viewer drop-off data, she realized the visuals lacked consistency—different lighting setups, cluttered backgrounds, and no on-screen text to highlight key points.
Sarah redesigned her setup: installed soft LED panels, painted a neutral accent wall, and created animated lower thirds using Canva and Premiere Pro. She also began filming short teaser clips immediately after each recording.
Within three months, average watch time increased by 68%, and her Instagram following grew by 220%. “People told me they could finally ‘see’ the value,” she said. “It wasn’t just what I was saying—it was how it looked.”
5. Streamline Your Production Workflow
Efficiency doesn’t mean cutting corners—it means eliminating unnecessary friction. A smooth workflow lets you focus on content, not logistics.
Create a pre-recording checklist to ensure nothing is overlooked. Run through it before every session. Here’s a proven template:
Podcast Filming Checklist
- ☑ Camera batteries charged and memory cards formatted
- ☑ Microphones tested and levels set (aim for -6dB peaks)
- ☑ Lighting adjusted and shadows minimized
- ☑ Background cleared of distractions
- ☑ Guest briefed on seating position and speaking pace
- ☑ Backup recording device activated
- ☑ Slate or verbal cue recorded for easy editing reference
After filming, organize files with a clear naming convention: YYYY-MM-DD_ShowName_EpisodeNumber.mp4. Store raw footage, audio, and project files in dedicated folders to simplify future edits or re-releases.
FAQ
Do I need expensive equipment to film a professional-looking podcast?
No. While high-end gear helps, smart use of affordable tools often matters more. A smartphone with good resolution, a $100 microphone, and DIY lighting (like a ring light) can produce excellent results when used correctly. Focus on lighting, sound, and framing before upgrading hardware.
Should I film in portrait or landscape mode?
Landscape (16:9) is standard for YouTube, websites, and most streaming platforms. Portrait (9:16) works only for mobile-first social media. If you want flexibility, film in landscape and crop later for vertical formats. Never film primary content in portrait unless it's exclusively for Stories or Reels.
How long should a filmed podcast episode be?
Aim for 20–45 minutes for deep-dive content. Shorter episodes (8–15 minutes) work better for educational or serial formats. Always prioritize substance over length—edit ruthlessly to keep pacing tight.
Conclusion
Filming a podcast well is less about technology and more about intention. Every choice—from the angle of your light to the placement of your guest’s name on screen—shapes how your audience perceives your message. When done thoughtfully, visual content doesn’t just support your podcast; it amplifies it.
The tools are accessible. The techniques are learnable. What matters now is consistency and care. Start small: improve one element this week, then build from there. Over time, your audience won’t just listen—they’ll watch, share, and remember.


 浙公网安备
33010002000092号
浙公网安备
33010002000092号 浙B2-20120091-4
Comments
No comments yet. Why don't you start the discussion?