
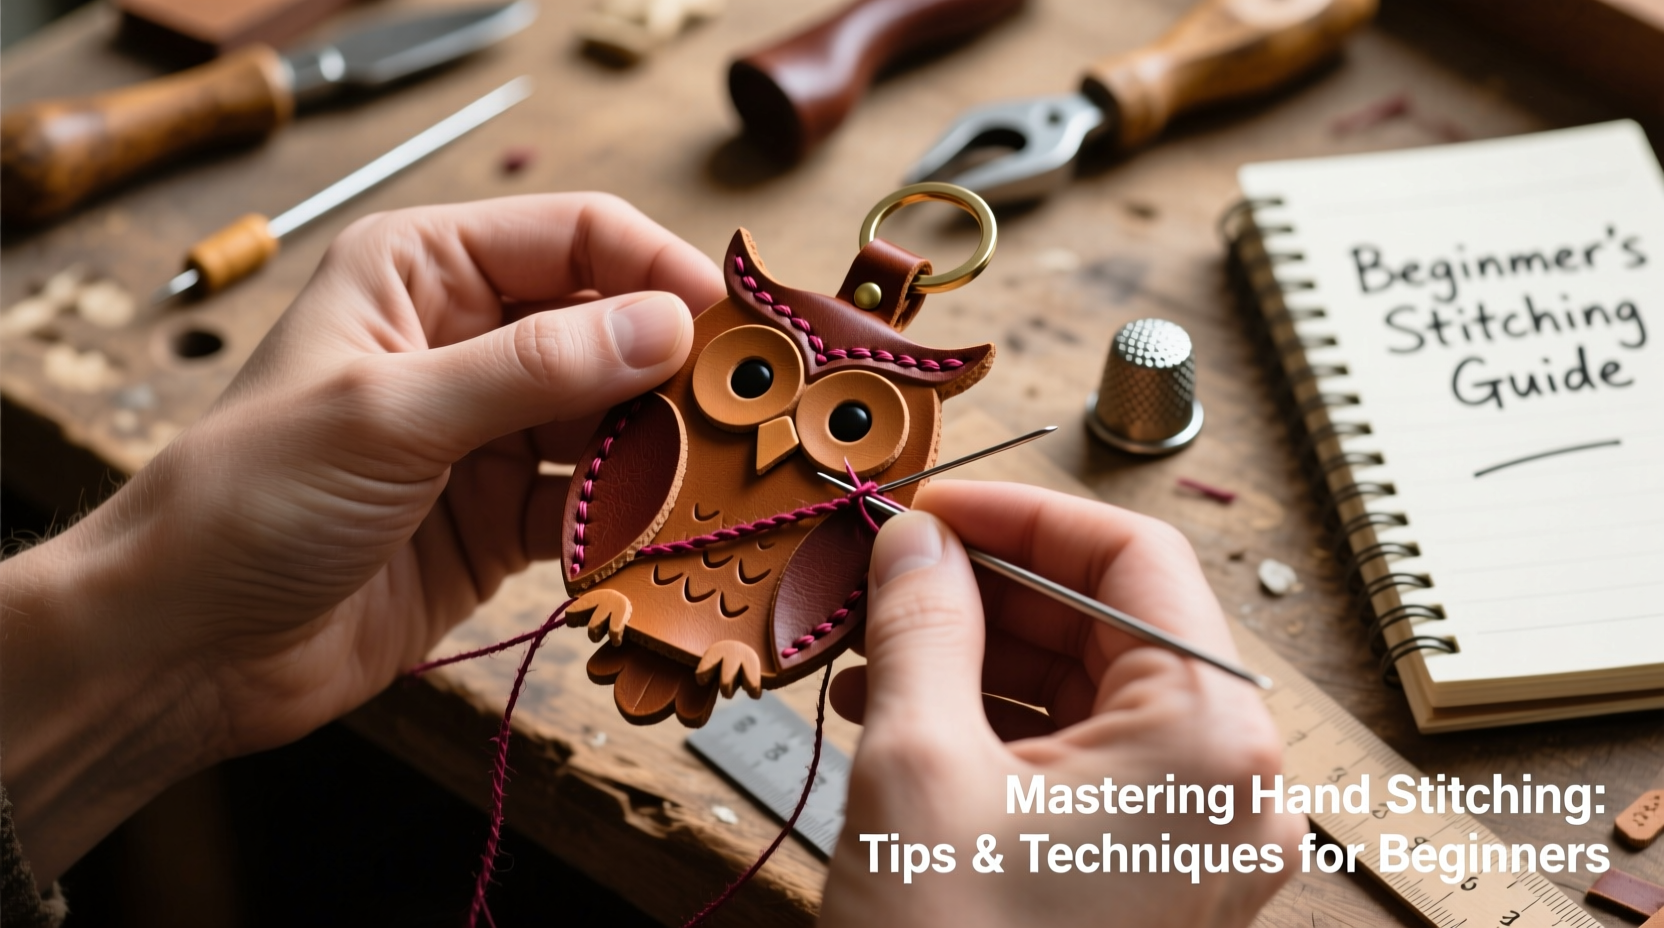
Hand stitching leather may seem daunting at first, but it’s one of the most rewarding skills a craftsperson can develop. Unlike machine stitching, hand sewing offers greater control, durability, and a personal touch that elevates even the smallest projects. A leather owl keychain is an ideal starting point—compact, charming, and perfect for practicing fundamental leathercraft techniques. With patience and precision, you’ll not only create a functional accessory but also build confidence in your ability to work with leather.
Gathering Your Tools and Materials
Before you begin stitching, ensure you have the right tools. Quality materials make a significant difference in both the process and the final product. For a leather owl keychain, you don’t need a full workshop—just a few essential items.
Here’s what you’ll need:
- Vegetable-tanned leather (2–3 oz thickness)
- Keychain ring or split keyring
- Leather needles (Harness needles, size 2–4)
- Waxed linen thread (36–48 wt)
- Stitching pony or clamp (optional but helpful)
- Pricking iron or stitching chisel
- Rotary cutter or utility knife
- Metal ruler and cutting mat
- Hammer (for setting pricking irons)
- Beveler and edge slicker (for finishing)
- Leather punch (for attaching the keyring)
Designing and Cutting the Owl Shape
Start by sketching your owl design on paper. Keep it simple: two wings, large eyes, and a rounded body. The average size should be about 1.5 to 2 inches tall to remain practical as a keychain. Once satisfied, transfer the pattern onto the flesh side of the leather using a pencil or chalk.
Cut along the lines carefully with a sharp blade. Apply steady pressure and use a metal ruler to guide straight cuts. Avoid sawing back and forth, which can fray the edges. After cutting, lightly bevel the outer edges using a handheld beveler to soften the look and prepare for polishing later.
| Tool | Purpose | Beginner-Friendly Alternative |
|---|---|---|
| Pricking Iron | Creates evenly spaced holes for stitching | Hand-punched holes with awl |
| Stitching Pony | Holds leather steady during sewing | Clamp to table edge |
| Waxed Linen Thread | Durable, wax already applied | Regular thread (less durable) |
Preparing for Hand Stitching: Marking and Pricking
Accurate hole placement is critical for straight, professional-looking stitches. Use a stitching chisel or individual pricking irons to mark holes along the seam line. Align the tool so the marks are about 3–4 mm apart—close enough for strength, far enough to avoid tearing.
If you’re using a multi-hole chisel, tap it gently with a hammer along the edge. Then, go back and deepen each hole slightly with a single pricking iron to ensure clean penetration when stitching. Always work from the flesh side to the grain side to prevent surface damage.
“Precision in marking translates directly to beauty in stitching. Take your time—even on small pieces.” — Rafael Mendez, Artisan Leathercrafter
Step-by-Step Hand Stitching Technique
The saddle stitch is the gold standard for hand-stitched leather goods. It’s stronger than machine stitching because each thread interlocks independently—if one breaks, the rest hold.
- Thread your needle: Cut about 24 inches of waxed linen. Thread both ends through the needle, leaving a 2-inch tail. No knot is needed yet.
- Start from the back: Push both needles through the first hole from the back, pulling until the tail end is snug against the leather.
- First stitch: Insert one needle into the next hole from the front, the other from the back. Pull both threads taut but not overly tight.
- Continue alternating: As you progress, each needle passes through the same hole but from opposite sides. Maintain consistent tension.
- Finishing: After the last stitch, pass both needles through the final hole again. Tie a secure square knot on the back, then apply a drop of clear-drying leather glue to lock it. Trim excess thread.
Adding Personality: Finishing and Detailing
Once stitched, refine the edges. Apply edge slicker or gum tragacanth and burnish with a denim pad or cotton cloth. This compresses the fibers and creates a smooth, polished finish. You can also add character with hand-tooled details—tiny impressions for feathers or facial features.
For the eyes, consider inlaying small circles of contrasting leather or using metallic eyelets. Attach the keyring using a leather hole punch: make a centered hole at the top of the owl’s head, then open the split ring and thread it through.
Mini Case Study: Sarah’s First Keychain
Sarah, a hobbyist crafter with no prior leather experience, decided to try her hand at a leather owl keychain after seeing one at a local market. She followed a basic template, used a $20 beginner leather kit, and stitched with inconsistent tension at first. Her initial attempts had wavy seams and loose ends. But after watching a slow-motion saddle stitch tutorial and practicing on scrap leather, she refined her technique. By her third owl, her stitches were even, and she added tooled feather patterns. Now, she gifts them to friends and sells a few at weekend markets. “It’s meditative,” she says. “Each stitch feels like progress.”
Common Mistakes and How to Avoid Them
- Uneven spacing: Always use a pricking iron—freehand punching leads to crooked lines.
- Thread fraying: Use waxed thread and avoid dragging it across rough surfaces.
- Knots coming undone: Secure knots with a drop of leather cement; never rely on friction alone.
- Over-tightening: Excessive tension warps thin leather. Stitches should lie flat, not pucker.
Frequently Asked Questions
Can I use regular thread instead of waxed linen?
While possible, regular thread lacks durability and moisture resistance. Waxed linen is specifically designed for leatherwork and won’t rot or stretch easily.
How long does it take to make a leather owl keychain?
For a beginner, expect 1.5 to 2.5 hours, including cutting, stitching, and finishing. With practice, this drops to under an hour.
Is hand stitching strong enough for daily use?
Absolutely. When done correctly with saddle stitching, hand-sewn leather joints are often stronger than machine-stitched ones, especially in small items where thread anchoring is precise.
Checklist: Your First Leather Owl Keychain Project
- Choose 2–3 oz vegetable-tanned leather
- Sketch and transfer the owl pattern
- Cut cleanly with a sharp blade
- Mark stitching holes with a pricking iron
- Prepare waxed linen thread and two needles
- Perform the saddle stitch with even tension
- Burnish edges for a polished look
- Attach the keyring securely
- Inspect for loose threads or gaps
- Apply a light coat of leather conditioner (optional)
Conclusion
Creating a hand-stitched leather owl keychain is more than just a craft project—it’s an introduction to mindfulness, precision, and the timeless appeal of handmade goods. Every puncture, every loop of thread, builds not only the object but also your skill and confidence. As you refine your technique, you’ll find joy in the rhythm of the needle and pride in the durability of your work.


 浙公网安备
33010002000092号
浙公网安备
33010002000092号 浙B2-20120091-4
Comments
No comments yet. Why don't you start the discussion?