
Drawing a fruit bowl may seem simple at first glance, but it’s an excellent exercise for developing foundational drawing skills. It combines still life composition, perspective, texture, and light manipulation—all essential elements for any aspiring artist. For beginners, this subject offers a manageable challenge that builds confidence while teaching crucial techniques. Whether you're using pencil, charcoal, or digital tools, mastering this common yet versatile scene lays the groundwork for more complex artwork.
Why Drawing a Fruit Bowl Matters for Beginners
A fruit bowl is more than just a collection of shapes on paper—it's a microcosm of artistic principles. It introduces learners to form, volume, spatial relationships, and observational accuracy. Unlike abstract subjects, a fruit bowl provides tangible references: round apples, elongated bananas, textured oranges, and the curved surface of a ceramic or wooden bowl. These variations allow artists to practice rendering different surfaces and understand how light interacts with them.
Additionally, arranging and drawing a fruit bowl encourages patience and attention to detail. It teaches the importance of setup—how objects are placed affects balance, depth, and visual interest. This makes it ideal for building habits that translate into all forms of representational art.
Step-by-Step Guide to Drawing a Fruit Bowl
- Gather Your Materials: Use a sketchbook, HB and 2B pencils, an eraser, and optionally a blending stump or tissue for smooth shading.
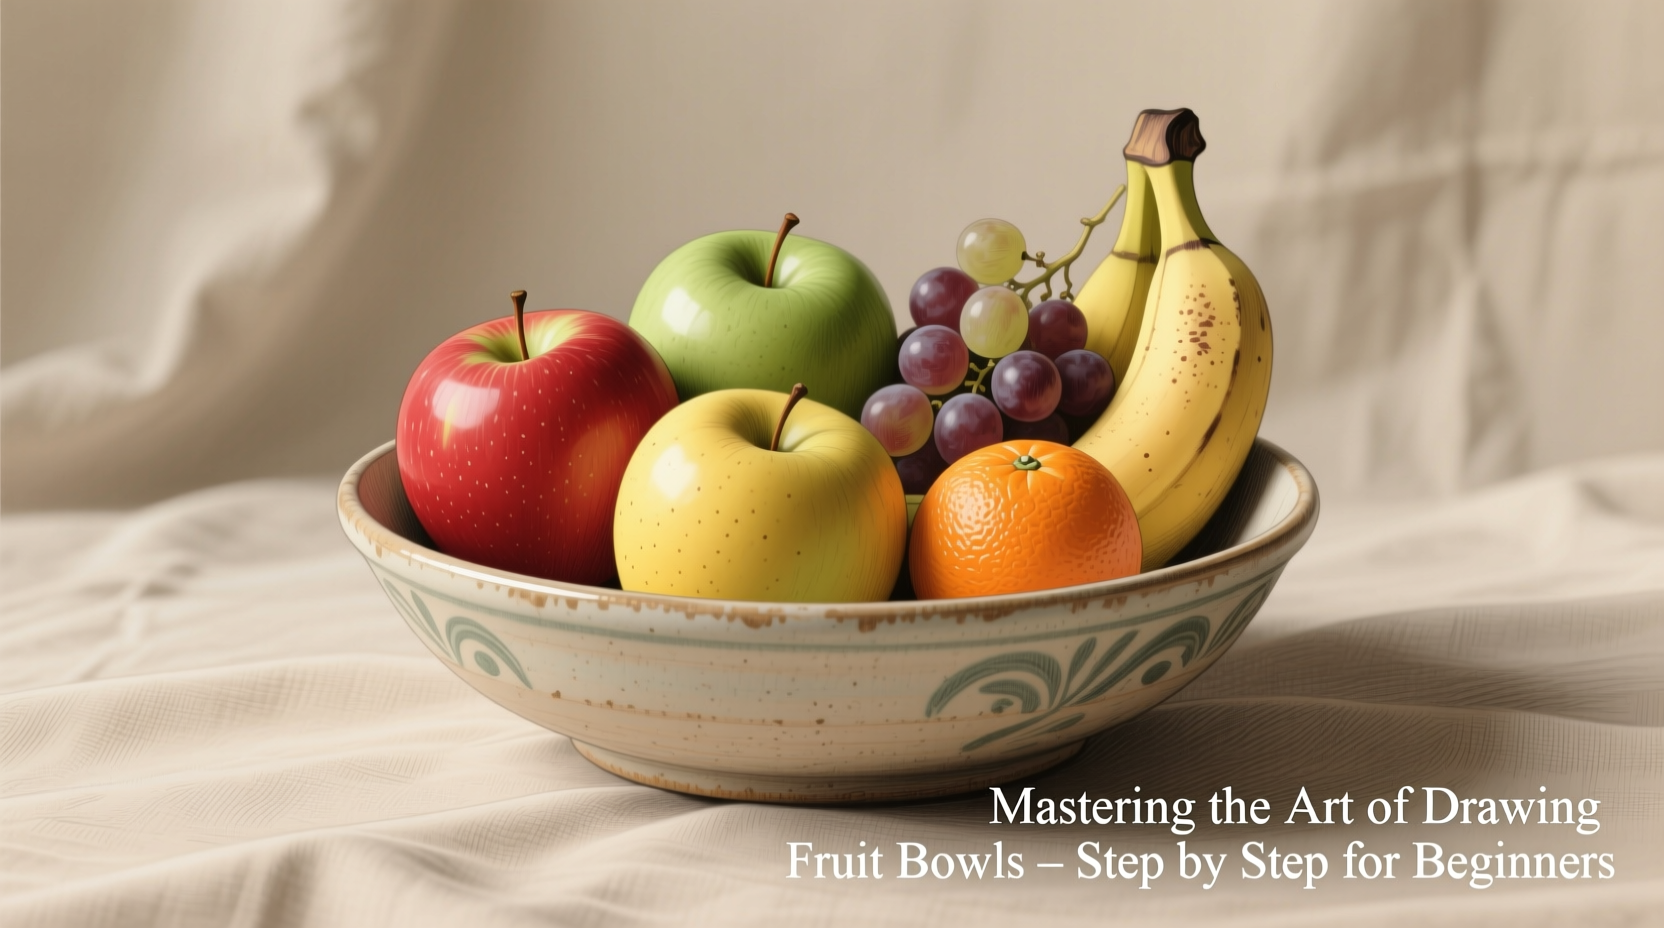
- Set Up Your Still Life: Arrange a bowl with 3–5 fruits (e.g., apple, banana, orange, grape cluster). Place it near a window for natural side lighting.
- Frame the Composition: Lightly sketch the outer boundaries of your drawing area. Decide where the bowl will sit—slightly off-center often creates a more dynamic image.
- Draw Basic Shapes: Represent the bowl as an oval with a smaller oval inside (top opening). Draw fruits as circles, ovals, and cylinders. Focus on relative size and placement.
- Refine Outlines: Adjust proportions based on observation. Ensure overlapping fruits look three-dimensional by slightly obscuring parts behind others.
- Add Volume with Shading: Identify the light source. Shade the opposite side of each object. Use gradual pressure to create gradients from dark to light.
- Define Textures: Add stippling for citrus skin, smooth gradients for apples, and curved lines for banana peels. Keep strokes directional and consistent.
- Enhance Depth: Darken cast shadows under the bowl and fruits. Use soft edges for distant shadows and sharp edges for direct contact points.
- Finalize Details: Reinforce outlines only where necessary. Avoid over-darkening; let some construction lines remain visible for authenticity.
- Review and Adjust: Step back and assess proportions, contrast, and balance. Make small corrections to improve realism.
Essential Tips for Realistic Results
- Use Light Initial Lines: Begin with faint sketches so mistakes can be erased without leaving marks.
- Focus on Negative Space: Observe the shapes between fruits and the bowl. These help verify accurate spacing.
- Compare Proportions Constantly: Hold your pencil at arm’s length to measure height vs. width ratios.
- Work from General to Specific: Block in large forms before adding fine details like stems or dimples.
- Don’t Overblend: Excessive smudging flattens form. Preserve highlight areas by avoiding graphite there.
| Element | Common Mistake | Pro Solution |
|---|---|---|
| Bowl Shape | Top and bottom ovals are parallel | Tilt bottom oval more to show depth |
| Fruit Placement | All fruits evenly spaced | Cluster some together, leave gaps for rhythm |
| Shading | Flat, even tones | Use gradients and core shadows |
| Cast Shadows | Too short or misaligned | Extend shadow direction from light source |
Expert Insight: Learning Through Observation
“Drawing isn’t about copying what you think a fruit looks like—it’s about seeing what’s actually there. The curve of a peach, the weight of a pear in space, the way light wraps around a grape—these observations train your eye and hand to work as one.” — Daniel Reyes, Fine Art Instructor at Hudson Valley School of Drawing
This principle lies at the heart of effective drawing. Many beginners rush to “finish” a piece, focusing on making it look impressive rather than accurate. Slowing down and truly observing—measuring angles, comparing values, noticing transitions—leads to faster improvement than hours of unguided sketching.
Mini Case Study: From Frustration to Confidence
Sophie, a 24-year-old beginner, struggled with her first fruit bowl drawing. She drew perfect circles for apples but couldn’t make them look round. Her bowl looked flat, and the bananas appeared to float above the table. After watching a demonstration on ellipses and value scales, she revisited the exercise. This time, she spent ten minutes just measuring proportions with her pencil. She shaded slowly, building layers instead of pressing hard immediately. On her second attempt, the fruit gained volume, the bowl receded into space, and the shadows grounded the composition. Within three weeks of weekly practice, her drawings showed noticeable improvement in depth and realism.
Her breakthrough came not from new tools, but from shifting focus—from “making art” to “seeing accurately.”
Checklist: Before You Start Your Next Drawing
- ✅ Choose a stable surface with good lighting (north-facing window ideal)
- ✅ Select 3–5 fruits with varied shapes and textures
- ✅ Position the bowl so its rim shows perspective (not seen straight-on)
- ✅ Test your pencil hardness: HB for sketching, 2B/4B for shading
- ✅ Set up your paper at a comfortable angle (easel or tilted board preferred)
- ✅ Take five minutes to observe before putting pencil to paper
Frequently Asked Questions
How do I make my fruit look three-dimensional?
Create dimension by identifying a single light source and consistently applying highlights, midtones, core shadows, reflected light, and cast shadows. Avoid outlining objects heavily—form comes from value changes, not lines.
What if my proportions are off?
Proportion errors are normal at first. Use comparative measurement: hold your pencil up to the scene and note how many apple widths fit into the bowl’s height. Transfer these ratios to your drawing. Redraw the framework lightly before committing to dark lines.
Can I use color pencils or should I stick to graphite?
Graphite is recommended for beginners because it focuses attention on value and form without the complexity of hue and saturation. Once you’re comfortable with shading, colored pencils can add another layer of realism—especially for depicting fruit skins.
Conclusion: Turn Practice Into Progress
Drawing a fruit bowl is not just about creating a pleasing image—it’s about cultivating discipline, observation, and technical control. Each session trains your ability to interpret three-dimensional reality on a two-dimensional surface. With consistent effort, the skills developed here—proportion, perspective, value, texture—become automatic, freeing you to explore more ambitious projects.


 浙公网安备
33010002000092号
浙公网安备
33010002000092号 浙B2-20120091-4
Comments
No comments yet. Why don't you start the discussion?