
Photography is more than just pressing a button. It’s about seeing light, understanding composition, and capturing emotion in a single frame. Whether you're using a smartphone or a DSLR, the principles of great photography remain the same. The difference between an average photo and a stunning one often lies not in equipment, but in technique, intention, and attention to detail. With deliberate practice and the right approach, anyone can dramatically improve their photos—starting today.
1. Master the Fundamentals of Exposure
Exposure is the foundation of every photograph. It determines how light or dark your image appears and is controlled by three core elements: aperture, shutter speed, and ISO—collectively known as the exposure triangle.
- Aperture controls depth of field and the amount of light entering the lens. A wide aperture (e.g., f/1.8) creates a blurred background, ideal for portraits, while a narrow aperture (f/16) keeps more of the scene in focus, perfect for landscapes.
- Shutter Speed affects motion blur. Fast speeds (1/1000 sec) freeze action, while slow speeds (1 second or longer) create artistic blur, such as silky waterfalls or light trails at night.
- ISO adjusts sensor sensitivity. Low ISO (100–200) produces clean images in bright light; higher ISO (800+) allows shooting in dim conditions but may introduce grain.
2. Compose with Intention
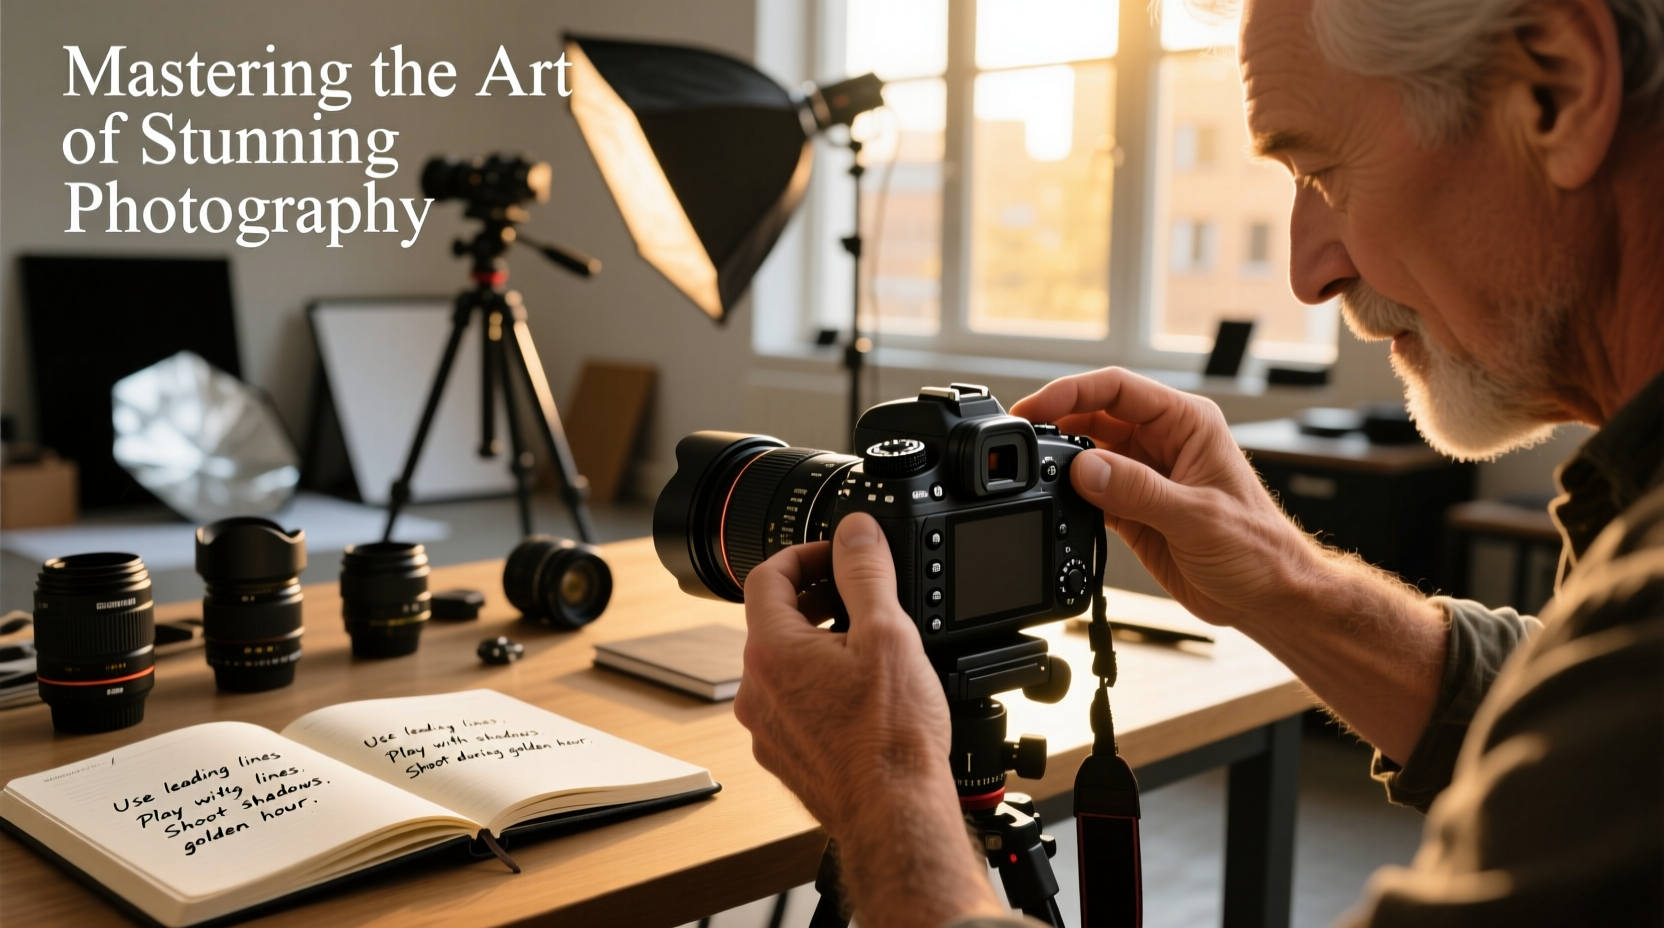
Great photos don’t just happen—they’re designed. Composition is the art of arranging visual elements to guide the viewer’s eye and evoke emotion. While rules are meant to be understood before being broken, these foundational techniques consistently elevate images:
- Rule of Thirds: Mentally divide your frame into a 3x3 grid. Place key subjects along the lines or at intersections for balanced, dynamic compositions.
- Leading Lines: Use roads, fences, rivers, or shadows to draw attention toward the main subject.
- Framing: Incorporate natural frames like windows, arches, or tree branches to add depth and context.
- Simplify: Remove clutter. A clean background ensures your subject stands out.
| Composition Technique | Best Used For | Example |
|---|---|---|
| Rule of Thirds | Portraits, landscapes | Place a person’s eyes on the top third line |
| Symmetry | Architecture, reflections | Centered shot of a mirrored lake |
| Fill the Frame | Details, textures | Tight shot of weathered hands holding soil |
3. Harness Natural Light Like a Pro
Light shapes mood, texture, and dimension. The best photographers don’t just take photos—they follow the light.
The golden hour—shortly after sunrise and before sunset—offers soft, warm, directional light that wraps around subjects and minimizes harsh shadows. Blue hour, just before sunrise or after sunset, delivers cool, even tones ideal for cityscapes and silhouettes.
Avoid midday sun when possible. Harsh overhead lighting causes squinting, blown-out highlights, and flat contrast. If shooting outdoors at noon, seek open shade—under trees, awnings, or buildings—to diffuse the light.
“Light isn’t just illumination—it’s emotion. Learn to see it, and you’ll never run out of subjects.” — Sarah Lin, Documentary Photographer
4. Step-by-Step Guide to Shooting in Manual Mode
Auto mode is convenient, but manual control unlocks creative freedom. Follow this sequence to confidently shoot in manual:
- Set ISO first: Choose based on lighting. ISO 100 for daylight, 400–800 for overcast, 1600+ for dim interiors.
- Select aperture: Decide on depth of field. Portrait? Use f/2.8. Landscape? Try f/8–f/11.
- Adjust shutter speed: Let the camera meter guide you. Aim for a balanced exposure indicator. If the scene is too dark, slow the shutter; if too bright, speed it up.
- Check the histogram: Ensure highlights aren’t clipped (spiking on the right) and shadows aren’t blocked (crushed on the left).
- Take a test shot and refine: Zoom in to check sharpness and adjust as needed.
Practice this routine until it becomes instinctive. Within a few weeks, you’ll react to changing light without hesitation.
5. Real Example: From Snapshot to Story
Jamal, an amateur photographer, struggled with dull travel photos. His shots of markets, streets, and people felt flat—like generic souvenirs. After studying light and composition, he revisited a local fish market at dawn. This time, he waited for golden light to slice through the stalls, positioned himself to use hanging nets as a natural frame, and set his aperture to f/4 to isolate a vendor sorting sardines. The resulting image wasn’t just a record—it told a story of rhythm, labor, and early-morning life. That photo later won a regional contest.
The gear was the same. The location was familiar. The only change was intention.
Essential Gear Checklist for Better Photos
You don’t need expensive tools, but having the right basics makes a difference:
- Camera with manual controls (DSLR, mirrorless, or advanced smartphone)
- Sturdy tripod for long exposures and stability
- Neutral density (ND) filter for controlling light in bright conditions
- Extra batteries and memory cards
- Simple reflector or white foam board for fill light
- Lens cleaning cloth and blower brush
Common Mistakes and How to Avoid Them
Even experienced photographers repeat avoidable errors. Stay sharp with this Do’s and Don’ts table:
| Mistake | Do | Don’t |
|---|---|---|
| Blurry photos | Use fast shutter speed or stabilize with a tripod | Shoot handheld at slow speeds without stabilization |
| Poor focus | Use single-point autofocus on the eyes (for portraits) | Rely on full-auto focus across the entire frame |
| Over-edited images | Enhance, don’t transform—keep skies realistic, skin natural | Apply heavy filters that distort colors and details |
FAQ
How can I make my photos look more professional?
Focus on lighting, composition, and sharpness. Shoot during golden hour, apply the rule of thirds, and ensure your subject is in crisp focus. Post-processing helps, but a strong foundation in-camera matters most.
Should I shoot in RAW or JPEG?
Shoot in RAW whenever possible. RAW files retain more data, allowing greater flexibility in editing—especially for recovering shadows, adjusting white balance, and fine-tuning exposure.
Can I take great photos with a smartphone?
Absolutely. Modern smartphones have excellent sensors and computational photography. Use portrait mode for depth effect, tap to focus and expose, and leverage editing apps like Lightroom Mobile. The principles of good photography apply regardless of device.
Conclusion: Your Lens, Your Vision
Better photos don’t come from better gear—they come from better seeing. The techniques outlined here—mastering exposure, composing deliberately, working with light, and practicing consistently—are within reach of any photographer. Progress isn’t measured in perfection, but in persistence. Each frame teaches you something new.


 浙公网安备
33010002000092号
浙公网安备
33010002000092号 浙B2-20120091-4
Comments
No comments yet. Why don't you start the discussion?