
Wool is a luxurious, breathable, and temperature-regulating fabric prized in wardrobes around the world. From fine merino sweaters to tailored wool trousers and coats, these garments offer both comfort and elegance. However, wool’s natural sensitivity to heat and moisture makes ironing a delicate task. Done incorrectly, it can lead to shrinkage, shine marks, or permanent distortion. With the right techniques, however, you can achieve a polished, professional finish that enhances your wool garments’ appearance and longevity.
Understanding Wool: Why It Demands Special Care
Wool fibers are made of keratin, the same protein found in human hair. This structure gives wool its resilience and elasticity but also makes it vulnerable to high heat and excessive moisture. When exposed to steam or direct heat without proper precautions, wool can felt—meaning the fibers mat together irreversibly. Additionally, pressing too hard or using a hot iron can create a shiny surface, especially on darker fabrics, due to flattened fibers.
The key to successful ironing lies in respecting wool’s natural properties. Unlike cotton or linen, wool doesn’t require high temperatures to release wrinkles. In fact, moderate heat combined with gentle pressure and a protective barrier produces the best results. Understanding this balance prevents damage and preserves the fabric’s texture and drape.
“Wool responds beautifully to careful handling. The goal isn’t to force out wrinkles but to coax them away gently.” — Lydia Grant, Textile Conservation Specialist
Essential Tools and Setup for Ironing Wool
Before beginning, ensure you have the right tools. Using improper equipment can undo months of garment care in minutes.
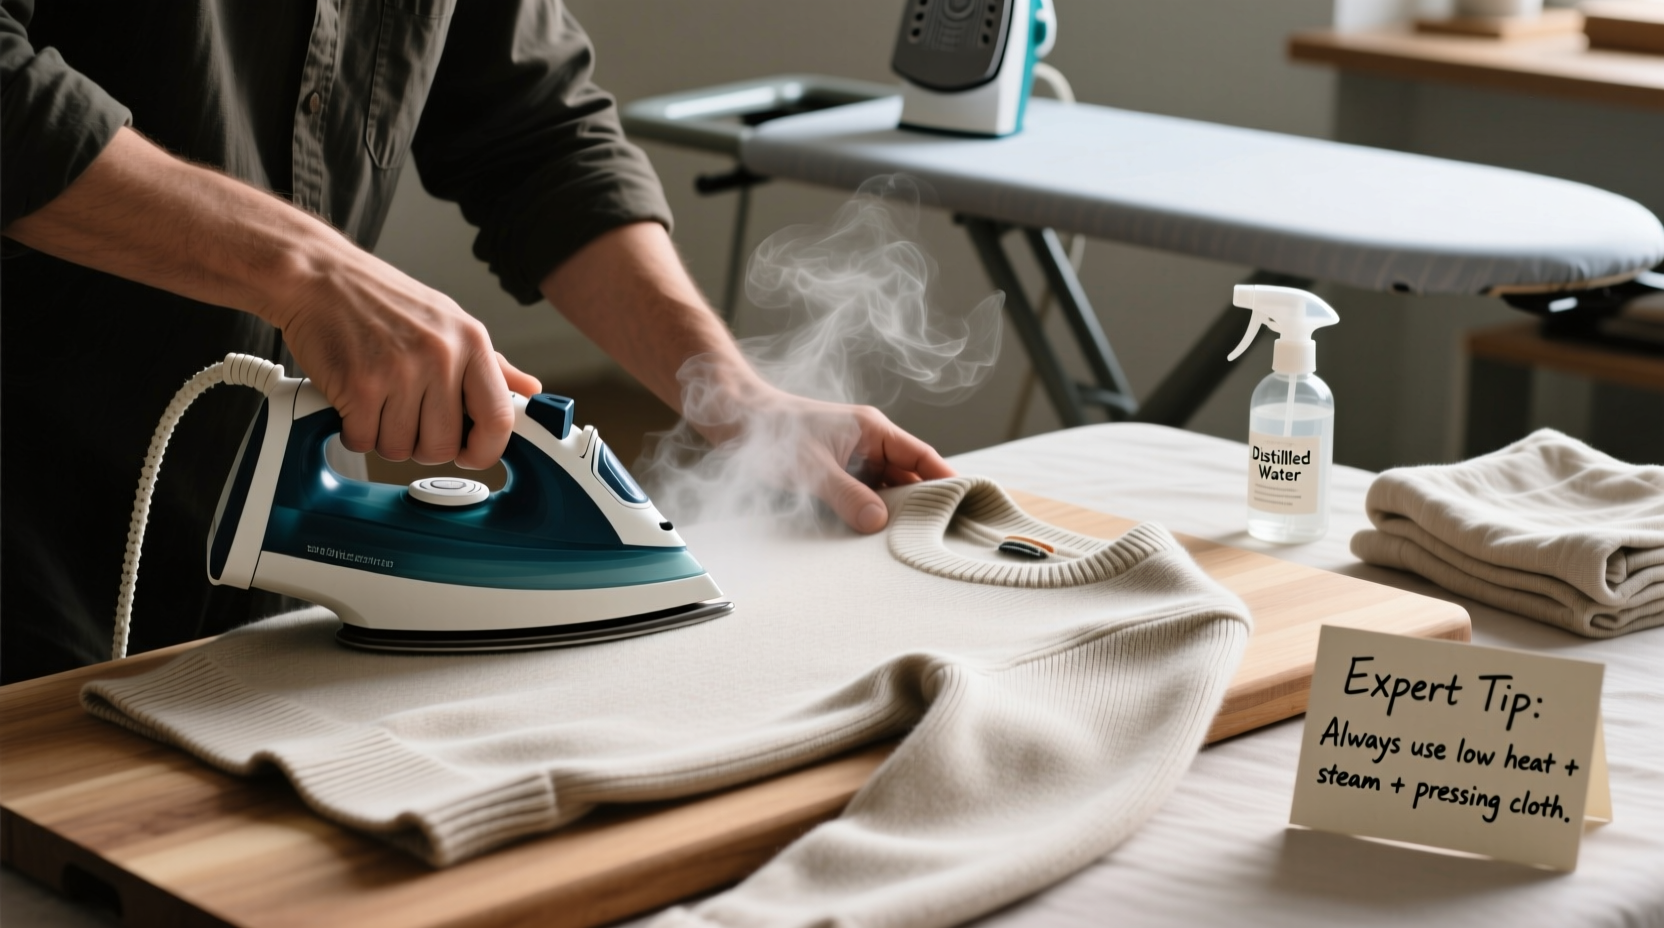
- A steam iron with adjustable temperature settings: Set to “wool” or low heat (typically 300°F / 150°C max).
- A clean, flat ironing board: Covered with a smooth cotton cover to prevent snagging.
- A pressing cloth: A thin, lint-free cotton or muslin cloth placed between the iron and fabric.
- A spray bottle with distilled water: For light misting when needed.
- Hangers and padded shoulder forms: To maintain shape after ironing.
Step-by-Step Guide to Ironing Wool Safely
Follow this methodical process to protect your wool garments while achieving a crisp, wrinkle-free look.
- Check the care label: Always begin by reading the manufacturer’s instructions. Some wool blends may require dry cleaning only.
- Prepare the garment: Lay it flat on the ironing board, smoothing out major creases with your hands. Button up shirts or fasten closures to maintain alignment.
- Set the iron correctly: Adjust to the wool setting. If unsure, test on an inside seam first.
- Mist lightly if needed: Spray a fine mist of water on the reverse side of the fabric. Avoid soaking; wool absorbs moisture quickly.
- Use a pressing cloth: Place it over the area to be ironed. This diffuses heat and prevents shine.
- Press, don’t slide: Lower the iron gently onto the fabric and lift it straight back up. Sliding stretches fibers and creates new creases.
- Work section by section: Focus on one area at a time—collars, cuffs, sleeves, then body. Use the tip of the iron for detailed areas.
- Ventilate and cool: Allow the garment to rest between passes to prevent overheating.
- Hang immediately: Use a padded hanger to preserve shape and prevent new wrinkles.
Do’s and Don’ts of Wool Ironing
| Do’s | Don’ts |
|---|---|
| Use a pressing cloth at all times | Apply direct heat to bare wool |
| Iron on the reverse side when possible | Leave the iron in one spot for more than 3 seconds |
| Lightly mist with water for stubborn wrinkles | Wet the fabric excessively |
| Press instead of dragging the iron | Iron over embellishments like sequins or beads |
| Let the garment cool before storing | Fold hot garments immediately |
Real Example: Reviving a Wrinkled Wool Blazer
Sarah, a marketing executive, packed her favorite navy wool blazer in her suitcase for a weekend trip. Upon arrival, she found it deeply creased from compression. Instead of steaming it aggressively, she laid the jacket face-down on the ironing board, misted the back lightly, and covered the lapels with a cotton pillowcase. Using her iron on the wool setting, she pressed each section gently, lifting the iron between movements. After ten minutes, the blazer looked freshly tailored. She hung it on a padded hanger and wore it confidently to her client meeting—all without sending it to the dry cleaner.
Alternative Methods: Steaming vs. Ironing
While ironing offers precision, steaming is often safer and faster for wool. A handheld garment steamer lifts wrinkles using suspended water vapor without direct contact. This method reduces the risk of shine or scorching and works well for full garments like dresses or coats.
To steam wool effectively:
- Hang the garment on a sturdy hanger.
- Hold the steamer 1–2 inches from the fabric.
- Move downward in smooth strokes, letting gravity help pull out creases.
- Smooth with your hand afterward to set the fabric.
For minor touch-ups, steaming is ideal. But for sharp creases—like those on wool dress pants—light pressing with an iron and cloth still delivers superior definition.
FAQ: Common Questions About Ironing Wool
Can I iron 100% wool without damaging it?
Yes, as long as you use low heat, a pressing cloth, and press rather than glide. Always test on an inconspicuous area first.
What causes shiny spots on wool after ironing?
Shine occurs when heat and pressure flatten the fiber scales. It’s usually irreversible. Prevent it by always using a barrier cloth and avoiding prolonged contact.
Is it safe to iron wool blends?
It depends on the blend. Wool-polyester mixes tolerate slightly higher heat, but rayon or silk blends are more sensitive. Check the care label and adjust settings accordingly.
Expert Checklist: Pre-Ironing Preparation
Run through this quick checklist before you begin:
- ✅ Confirm the garment is clean and completely dry
- ✅ Read the care label for ironing guidance
- ✅ Fill the iron with distilled water to prevent mineral stains
- ✅ Set iron to wool or low-heat setting
- ✅ Prepare a clean pressing cloth (cotton T-shirt or muslin)
- ✅ Lightly mist a hidden area to check for water spotting
- ✅ Ensure the ironing board cover is smooth and taut
Conclusion: Elevate Your Wardrobe with Confident Care
Mastering the art of ironing woolen clothes isn’t about perfection—it’s about respect for the fabric and attention to detail. With the right tools, temperature control, and technique, you can maintain the elegance of your wool garments for years. Each press should be deliberate, gentle, and purposeful. Over time, this mindful approach not only improves appearance but extends the life of your investment pieces.


 浙公网安备
33010002000092号
浙公网安备
33010002000092号 浙B2-20120091-4
Comments
No comments yet. Why don't you start the discussion?