
Folding a paper boat from a single sheet of A4 paper is more than just a childhood pastime—it’s a gateway to creativity, fine motor development, and scientific curiosity. This timeless craft combines simplicity with elegance, requiring no tools, glue, or scissors. Whether you're introducing a child to basic geometry, hosting a rainy-day activity, or simply seeking a mindful break from screens, the paper boat offers both joy and learning. With clear folds and logical progression, anyone—regardless of age—can master this classic design in under ten minutes.
The Origins and Enduring Appeal of the Paper Boat
The paper boat traces its roots to traditional Japanese origami, where folding techniques were used to create symbolic and functional forms from paper. While not part of formal ceremonial origami, the paper boat emerged as a popular folk craft due to its ease and functionality. Children around the world have sailed these boats in puddles, bathtubs, and streams for generations, turning sidewalks into rivers and imagination into motion.
What makes the paper boat so enduring? It's accessible. An A4 sheet—standard in most homes and classrooms—is all that’s needed. The process teaches symmetry, sequencing, and spatial reasoning without feeling like a lesson. Psychologists note that simple hands-on activities like paper folding reduce stress and improve focus. As Dr. Naomi Chen, an educator specializing in developmental play, explains:
“Simple crafts like paper boats engage both hemispheres of the brain—one focused on logic and sequence, the other on creativity and visualization. That balance is rare in digital play.” — Dr. Naomi Chen, Child Development Researcher
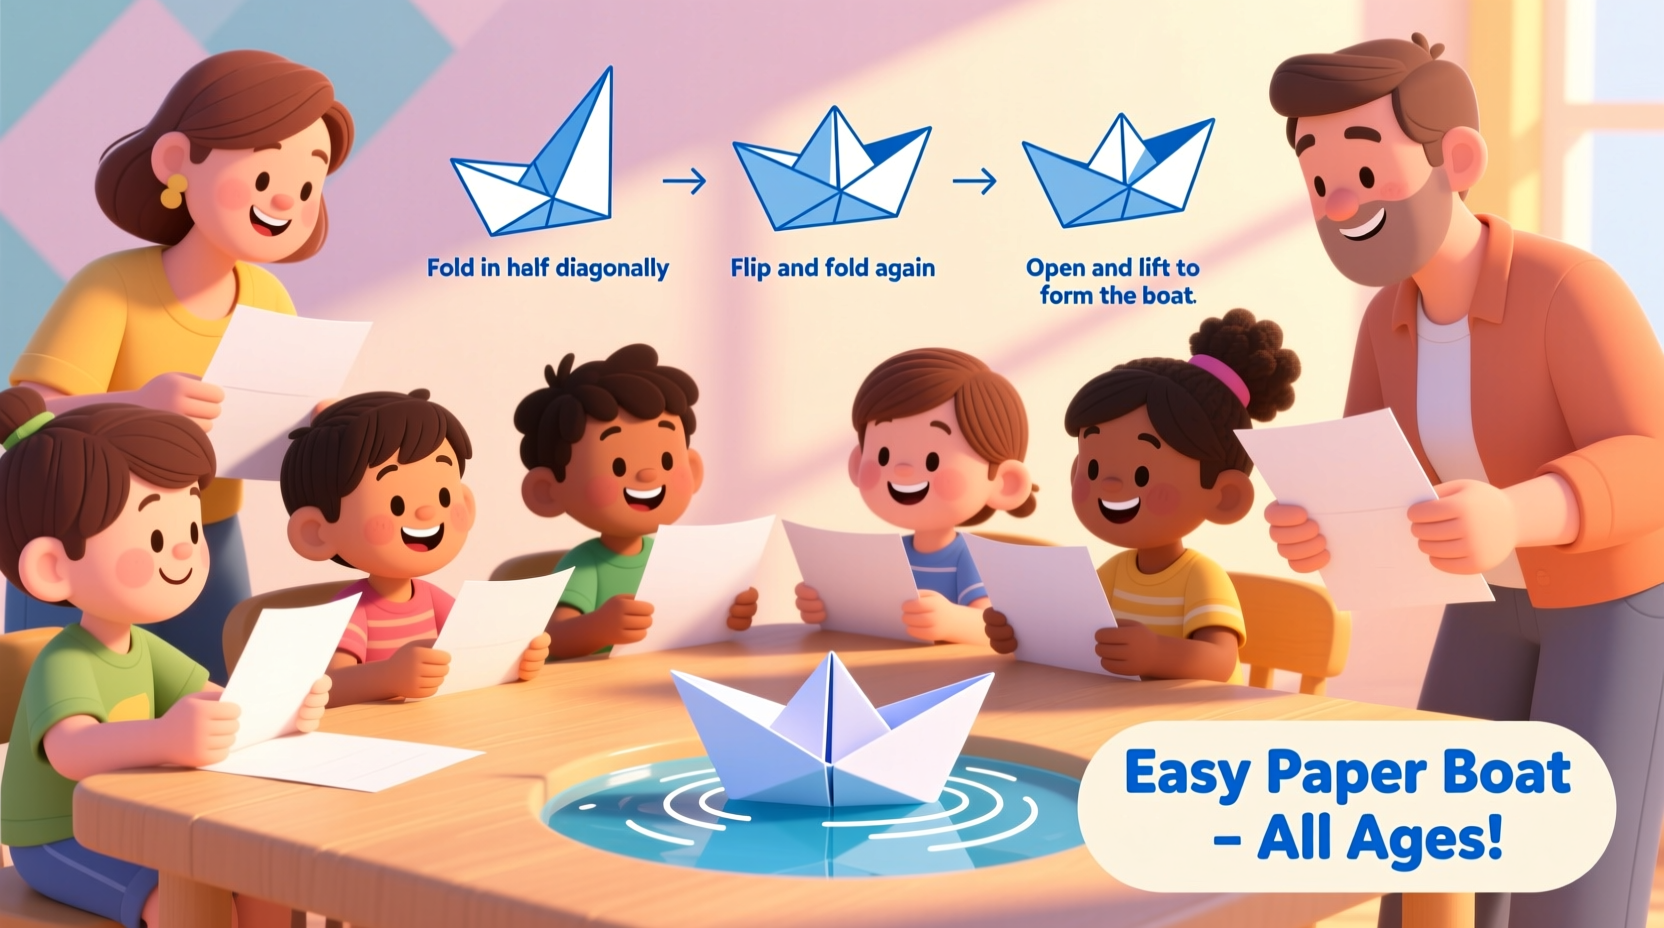
Step-by-Step Guide: Folding Your A4 Paper Boat
Follow this detailed sequence to transform a standard A4 sheet (210mm x 297mm) into a sturdy, floating paper boat. Each fold builds on the last, creating a symmetrical vessel capable of holding its shape in water.
- Start with the right orientation: Place your A4 sheet vertically (portrait mode) on a flat surface. Ensure the corners are crisp and the paper is free of creases.
- Fold in half lengthwise: Bring the left edge over to meet the right edge, forming a vertical crease down the center. Press firmly along the fold, then unfold. This center line will guide all subsequent steps.
- Form a triangle at the top: Fold the top two corners down toward the center crease, aligning their edges precisely. The result should resemble a house roof—a large triangle atop a rectangle.
- Fold the bottom flaps up: You’ll now see two rectangular flaps below the triangle. Fold the bottom edge up so it meets the base of the triangle. Repeat on the back side, flipping the paper over carefully.
- Create a diamond shape: With both sides folded, you now have a diamond (or kite) shape. Position it so the open end faces downward.
- Form the second triangle: Take the bottom corners of the diamond and fold them upward to meet at the top point, creating a narrower triangle on each side. Flip and repeat on the reverse.
- Open the base: Locate the small opening at the bottom. Gently insert your fingers into both sides and pull them apart. Flatten the structure into a square base—this is known as the \"waterbomb base\" in origami.
- Pull out the sails: Hold the two opposite corners of the square and pull them apart. The boat will expand into its final 3D form. Press lightly to sharpen the edges and stabilize the hull.
Optimizing Performance: Do’s and Don’ts
A well-folded boat can sail smoothly across a bathtub or float steadily in a rain puddle. But small mistakes can cause tipping, sinking, or asymmetry. Use this table to avoid common errors and enhance durability.
| Do’s | Don’ts |
|---|---|
| Use smooth, uncoated A4 paper for best folding results | Don’t use crumpled or wet paper before folding |
| Crease every fold firmly to maintain shape | Don’t rush through steps—accuracy matters |
| Slightly curl the edges of the hull outward for stability | Don’t overload the boat with objects—even a paperclip may sink it |
| Launch gently onto still water to prevent immediate capsizing | Don’t reuse a soaked boat—it loses structural integrity |
| Experiment with wax-coated paper for longer float time | Don’t leave boats in water overnight—they disintegrate |
Real-Life Example: The Classroom Rainy-Day Rescue
In a primary school in Bristol, UK, a sudden downpour canceled outdoor recess. Instead of restless energy, teacher Sarah Milner turned to paper boats. She distributed A4 sheets to her mixed-age class (ages 6–9) and demonstrated the folding technique step by step. Within minutes, students were deeply engaged—not just in folding, but in testing buoyancy, racing boats in shallow trays, and even decorating them with waterproof markers.
\"One boy who usually struggles with focus completed three boats with perfect symmetry,\" Milner shared later. \"He measured how long each stayed afloat and recorded data in his notebook. What started as play became science.\" The activity sparked a week-long unit on water displacement and surface tension, proving that simple crafts can open doors to deeper learning.
Enhancing the Experience: Tips and Variations
Once the basic boat is mastered, there are creative ways to extend the fun and learning. These tips help personalize the experience and adapt it for different settings.
- Add color and design: Use colored paper or draw flags, portholes, or names on the hull. Waterproof pens allow decoration to survive brief water exposure.
- Test different papers: Compare printer paper, construction paper, and glossy magazine pages. Observe which floats longest and why.
- Introduce competition: Host a boat race in a tub or gutter. Measure speed, distance, or stability. Award playful titles like “Best Design” or “Longest Float.”
- Teach the science: Discuss why some boats float (displacement, low density) and others sink. Relate it to real ships and engineering principles.
- Scale up: Try the same folds with larger paper (like flipchart sheets) or scale down with notebook paper for a mini fleet.
Frequently Asked Questions
Can I make a paper boat with any size of paper?
Yes, the folding method works with any rectangular sheet. However, A4 is ideal because its proportions (similar to US Letter) allow balanced symmetry. Square paper creates a different model and won’t follow this exact sequence.
Why does my boat tip over in water?
Tipping usually occurs due to uneven folds or an unbalanced hull. Ensure both sides mirror each other during folding. Launching too hard or on rippling water can also destabilize it. Try flattening the base slightly for better equilibrium.
Is this suitable for very young children?
Children as young as 5 can participate with guidance. Break the steps into smaller actions (“fold the corner to the middle line”) and demonstrate slowly. Pre-folding some steps can help toddlers complete the final expansion themselves.
Conclusion: Set Sail with Confidence
Mastering the art of making a paper boat with an A4 sheet is about more than following folds—it’s about connecting with a universal tradition of play, patience, and discovery. From classroom experiments to family bonding moments, this simple craft continues to inspire across generations. The beauty lies in its accessibility: no special materials, no cost, just creativity in motion.
Now that you’ve learned the precise steps, variations, and hidden lessons behind the paper boat, it’s time to fold one yourself. Grab a sheet, share the process with someone new, and watch imagination set sail. Whether floating in a sink or sparking a science discussion, your boat carries more than paper—it carries wonder.


 浙公网安备
33010002000092号
浙公网安备
33010002000092号 浙B2-20120091-4
Comments
No comments yet. Why don't you start the discussion?