
Crafting garments by hand is one of the most rewarding forms of creative expression. Beyond the satisfaction of wearing something you've made yourself, hand-sewing connects you to centuries of textile tradition and empowers you with practical skills that last a lifetime. While machine sewing dominates modern production, hand sewing offers precision, portability, and a meditative rhythm that many find deeply fulfilling. For beginners, the process may seem daunting—patterns, fabrics, stitches—but with structured guidance, anyone can learn to create beautiful, functional clothing from scratch.
Gathering Your Essential Tools and Materials
Before cutting fabric or threading a needle, it's crucial to assemble the right tools. Unlike machine sewing, hand sewing requires fewer materials, but each plays a vital role in the quality of your final piece. A well-equipped toolkit ensures smooth progress and reduces frustration.
| Tool | Purpose | Beginner Recommendation |
|---|---|---|
| Sharp fabric scissors | Cleanly cut fabric without fraying | Dedicated pair (never use on paper) |
| Needles (assorted sizes) | Vary by fabric weight; sharps for cotton, betweens for detail | Pack of universal hand needles |
| Thread (cotton or polyester) | Durable stitching that resists breaking | Medium-weight thread in neutral colors |
| Thimble | Protects fingertip when pushing needle through layers | Metal or silicone, fitted to your middle finger |
| Measuring tape & pins | Accurate fitting and holding fabric in place | Flexible tape, glass-headed pins |
| Tracing paper & wheel | Transfer pattern markings to fabric | Carbon tissue paper + tracing wheel |
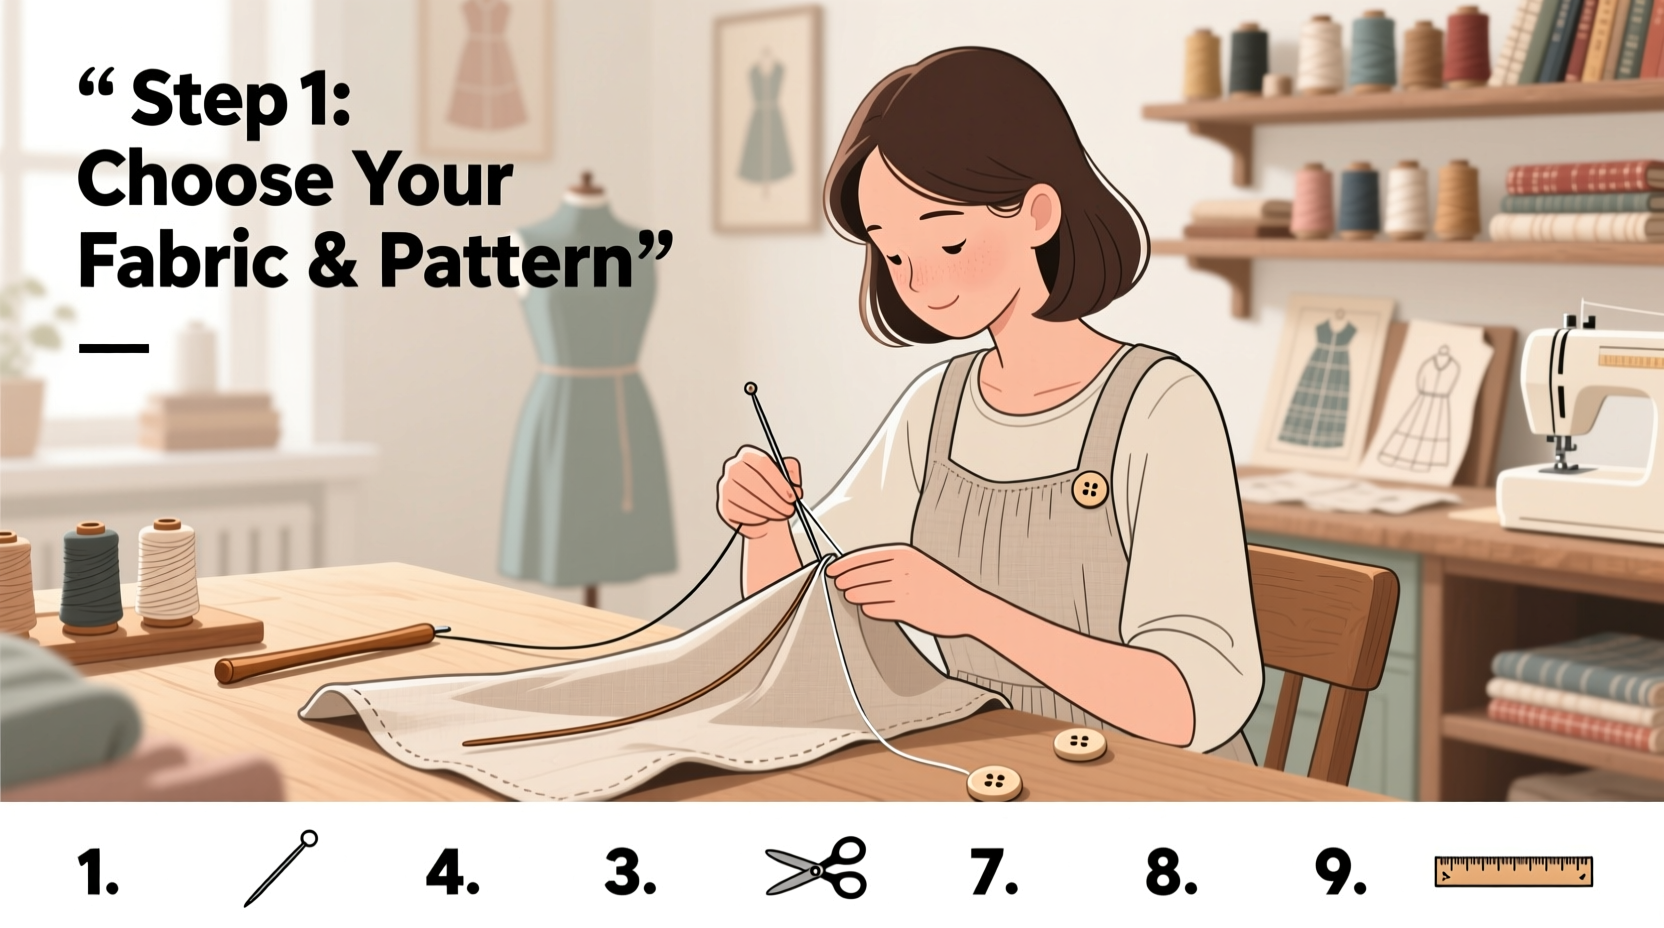
Choosing the Right Fabric and Pattern
The foundation of any garment lies in its fabric and design. Beginners should avoid slippery silks or stretchy knits at first. Instead, opt for stable, medium-weight cotton such as quilting cotton, poplin, or linen blends. These materials hold their shape, are easy to pin, and respond predictably to hand stitching.
Patterns labeled “easy” or “beginner” often feature minimal pieces, straightforward seams, and clear instructions. Look for simple projects like pillowcases, tote bags, or A-line skirts before advancing to shirts or dresses. Commercial patterns (like those from Simplicity or McCall’s) include seam allowances and detailed guides, which are invaluable when learning.
“Start with a single-size project. Master one silhouette before expanding your repertoire.” — Lena Torres, Textile Instructor at Craftwell Academy
Step-by-Step Guide to Hand-Sewing Your First Garment
Follow this timeline to complete your first handmade garment—a basic drawstring bag, ideal for practicing seams, hems, and closures.
- Choose and pre-wash your fabric – Wash and iron cotton to prevent shrinkage after sewing.
- Cut the pattern pieces – Use sharp scissors to cut two rectangles (12” x 14”) from fabric.
- Pin and align edges – Place pieces right sides together, pin along the sides and bottom.
- Sew side seams with backstitch – Thread a needle, knot the end, and use a backstitch for strength. Keep stitches even (about 1/8 inch).
- Press seams open – Iron carefully to flatten seams and give a professional finish.
- Hem the top edge – Fold over ½ inch twice and slipstitch around the opening to create a clean hem.
- Create a casing for the drawstring – Fold another 1-inch hem down and stitch close to the inner fold.
- Thread the drawstring – Attach a safety pin to a cord or ribbon and pull it through the casing.
- Knot ends – Secure the drawstring ends to prevent slipping.
This project builds muscle memory for fundamental techniques while yielding a usable item. Once completed, assess your stitches: Are they even? Do seams lie flat? Use these observations to refine your next attempt.
Avoiding Common Beginner Mistakes
Even experienced sewers started with crooked seams and tangled thread. Awareness of frequent pitfalls helps accelerate learning.
- Skipping basting – Temporary long stitches help test fit and alignment before permanent sewing.
- Using the wrong needle – Heavy needles damage thin fabrics; fine needles struggle with denim.
- Ignoring grain lines – Cutting fabric against the grain causes distortion and poor drape.
- Rushing the prep work – Ironing, pinning, and marking save time and improve accuracy later.
- Not checking seam allowance – Consistent 5/8-inch margins ensure proper fit and alignment.
Real Example: From First Stitch to Finished Skirt
Sophie, a college student with no prior experience, decided to make her first garment during winter break. She chose a simple elastic-waist skirt pattern using mid-weight cotton. Her initial attempts at hemming were uneven, and she accidentally sewed the side seams backward once. But by basting first, pressing every seam, and using a thimble to protect her finger, her second try was markedly better. After four hours of focused work over two days, she completed a wearable skirt that fit perfectly. “I wore it to class the next week,” she said. “People asked where I bought it. Knowing I made it myself gave me real pride.”
Sophie’s story reflects a common journey: early imperfections, gradual improvement, and deep personal reward. The key was patience and repetition—not perfection.
Developing Precision with Key Hand Stitches
Hand sewing relies on a few core stitches, each serving a distinct function. Mastering them unlocks versatility.
| Stitch | Use Case | Technique Tip |
|---|---|---|
| Running Stitch | Basting, gathering, lightweight seams | Quick in-and-out motion; keep spacing consistent |
| Backstitch | Strong seams that won’t unravel | Overlap each stitch slightly for durability |
| Slip Stitch | Invisible hems and closures | Pick up only a thread from the front fabric |
| Whip Stitch | Joining edges, finishing raw seams | Diagonal stitches over two folded edges |
| Ladder Stitch | Closing stuffed openings invisibly | Alternating inside folds; pulls closed seamlessly |
“The beauty of hand sewing isn’t speed—it’s control. You dictate every millimeter of the stitch.” — Rafael Mendez, Historical Costume Conservator
Beginner Sewing Checklist
Use this checklist to stay on track as you begin your hand-sewing journey:
- ☐ Select a beginner-friendly fabric (cotton, linen)
- ☐ Obtain a simple commercial pattern with instructions
- ☐ Gather all necessary tools (scissors, needles, thread, pins)
- ☐ Pre-wash and press fabric before cutting
- ☐ Transfer all pattern markings accurately
- ☐ Baste major seams before final stitching
- ☐ Use a thimble to protect fingers during dense sewing
- ☐ Press every seam as you go for a polished look
- ☐ Finish edges to prevent fraying (zigzag stitch or pinking shears)
- ☐ Try on mock-ups or measure frequently for fit
Frequently Asked Questions
How long does it take to make a garment by hand?
Time varies by complexity. A simple drawstring bag may take 3–4 hours. A full dress could require 20–30 hours spread over several weeks. Speed improves with practice.
Can I wash clothes I’ve made by hand?
Yes, as long as you use wash-safe fabric and secure seams (like backstitch). Turn garments inside out and wash on gentle cycle to preserve stitches.
What if my stitches are uneven?
Unevenness is normal at first. Focus on consistency rather than perfection. Practice on scrap fabric daily for five minutes to build rhythm and control.
Final Thoughts: Begin Where You Are
Mastering the art of making clothes by hand doesn’t require expensive equipment or innate talent. It begins with curiosity, a needle, and the courage to make the first stitch. Each garment you create teaches you more about fabric behavior, fit, and craftsmanship. Over time, you’ll develop not just skill, but a deeper relationship with the clothes you wear.


 浙公网安备
33010002000092号
浙公网安备
33010002000092号 浙B2-20120091-4
Comments
No comments yet. Why don't you start the discussion?