
Folding paper into stars is more than just a craft—it’s a meditative practice that blends precision, patience, and creativity. Origami stars, also known as kunststern or lucky stars, have long been symbols of hope, wishes, and quiet contemplation. Whether tucked into a jar as part of a gratitude ritual or used as delicate decorations for weddings and seasonal displays, these tiny folded wonders carry meaning far beyond their size. With nothing more than a strip of paper and steady hands, you can create something both intricate and enduring.
This guide walks through every stage of making traditional five-pointed origami stars, from selecting materials to refining technique. You’ll learn not only how to fold them but also how to elevate your results with thoughtful choices in paper, color, and presentation.
The Origins and Meaning Behind Paper Stars
Paper folding traditions vary across cultures, but the modern popularity of small, rolled origami stars traces back to Japan, where they are often associated with the “thousand origami cranes” legend—symbolizing healing and peace. While cranes are folded flat, stars are three-dimensional, typically made from narrow strips of paper meticulously twisted into a pentagonal form.
These stars are sometimes called “wishing stars” because people write intentions or names on the paper before folding. Others use them in mindfulness practices, treating each fold as a breath or moment of reflection. In classrooms and therapeutic settings, star-folding has been adopted as a calming motor skill activity that encourages focus without pressure.
“Origami stars are deceptively simple. Their beauty lies not in complexity, but in repetition and intention.” — Dr. Naomi Sato, Cultural Craft Historian
Materials and Tools: Choosing What Works Best
You don’t need special equipment to make paper stars, but choosing the right supplies makes a significant difference in ease and outcome.
| Material | Recommended Use | Tips |
|---|---|---|
| Origami Paper Strips (1 x 6 inches) | Ideal for beginners | Precut strips save time and ensure uniformity |
| Scrapbook Paper (cut into strips) | Decorative, colorful options | Avoid thick cardstock; it resists shaping |
| Receipt Paper / Old Letters | Eco-friendly, sentimental projects | Best for experienced folders due to texture |
| Double-Sided Colored Paper | Stars that shimmer when turned | Creates depth in light |
| Glue Stick (optional) | Securing final tuck | Use sparingly—most stars hold without adhesive |
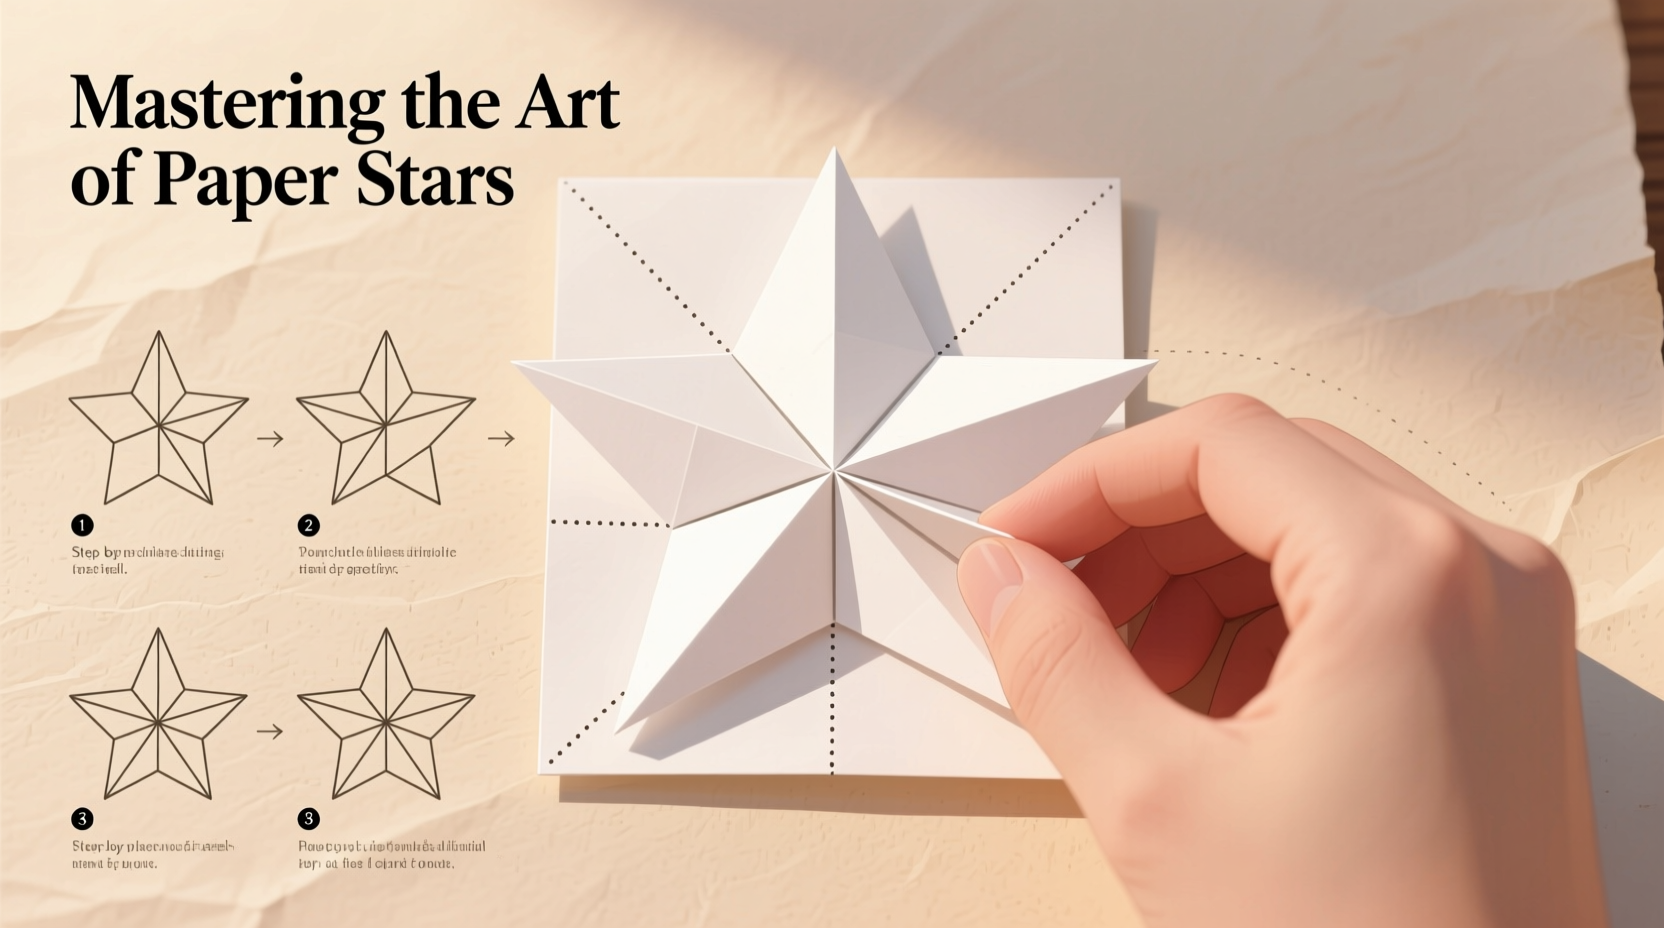
Step-by-Step Guide to Folding a Perfect Origami Star
The most common type of origami star uses a single strip of paper tied into a knot and then flattened and tightened into a five-pointed shape. Follow these steps carefully to achieve clean, symmetrical results.
- Cut your paper strip: Start with a rectangular strip measuring approximately 1 inch by 6 inches. Precision isn't critical, but consistency helps when making multiple stars.
- Create the first knot: Hold the strip horizontally. Bring the right end over the left to form a loop, then pass it under to create a loose knot—similar to starting a shoelace bow.
- Flatten the knot: Gently press the knot flat on a surface. It should naturally form a pentagon shape with one open side.
- Wrap the remaining strip: Take the long end of the paper and begin wrapping it tightly around the edges of the pentagon. Each side becomes a new anchor point.
- Continue wrapping: As you move around the shape, keep tension even. The paper should lie flat against each edge without buckling.
- Secure the end: When you reach the last segment, tuck the tip into the nearest pocket formed by previous layers. Apply slight pressure to lock it in place.
- Inflate the star: Carefully turn the star over and use your thumbs to gently push the center outward from both sides. Rotate and repeat until all five points puff up evenly.
With practice, this process takes less than two minutes per star. Beginners may find the inflation step tricky—the key is to apply gentle, consistent pressure. Over-pushing can tear thin paper.
Creative Variations and Display Ideas
Once you’ve mastered the basic fold, experiment with variations that add visual interest and personal expression.
- Color Blocking: Use multi-colored strips or alternate hues between folds to create rainbow effects.
- Mixed Media: Combine metallic-edged paper with matte finishes for subtle contrast.
- Personalized Messages: Write affirmations, names, or dates on the inside of the strip before folding—only the creator knows what’s hidden within.
- Jar Fillers: Collect 100 stars labeled with reasons you’re grateful, then seal them in a glass jar as a keepsake.
- Hanging Ornaments: Thread a fine ribbon through a small hole poked at the top point to hang stars on trees or windows.
“I started folding stars during a difficult year. One night, I filled a mason jar with 365 stars—one for each day. Now it sits on my desk as a reminder that small efforts accumulate into something meaningful.” — Lila M., Art Therapist
Common Challenges and How to Solve Them
Even experienced folders encounter issues. Here’s how to troubleshoot the most frequent problems:
| Issue | Root Cause | Solution |
|---|---|---|
| Star won’t inflate properly | Uneven wrapping or too much tension | Loosen slightly and re-wrap with lighter pressure |
| Points look lopsided | Inconsistent edge alignment during wrap | Ensure each turn follows the pentagon outline precisely |
| End won’t stay tucked | Strip is too thick or short | Use thinner paper or extend length to 7 inches |
| Star feels fragile | Paper is low-quality or torn during inflation | Choose durable text-weight paper and inflate slowly |
FAQ
How many stars can I make from one sheet of paper?
A standard 8.5 x 11-inch sheet cut into 1-inch strips yields about six 6-inch strips, so roughly six stars per sheet. Larger sheets or narrower cuts increase output.
Can children safely make these stars?
Yes, though younger kids may need help with the initial knot and inflation. Supervise closely if using scissors. Consider pre-cutting strips for ages 6–10.
Do I need glue to finish the star?
No. Most stars stay securely closed due to friction from tight wrapping. Glue is optional and best reserved for display pieces meant to last years.
Checklist: Your First 10 Stars Project
- ☐ Gather ten 1x6 inch paper strips (use different colors for fun)
- ☐ Find a well-lit, flat workspace
- ☐ Practice the knot and flatten technique twice
- ☐ Fold five trial stars to refine your rhythm
- ☐ Choose your favorite and inflate it fully
- ☐ Store completed stars in a small box to prevent crushing
- ☐ Plan a display: jar, string garland, or framed shadow box
Conclusion
There’s a quiet power in folding paper stars—one that grows with each careful twist and tuck. These tiny creations demand attention but reward with calm. They remind us that beauty often emerges not from grand gestures, but from repetition, care, and presence.
Now that you understand the method, pick up a strip and fold your first star today. Then another. And another. Let them accumulate not as clutter, but as tokens of time well spent. Share them with someone who needs a little light, or keep them as a private archive of moments noticed and honored.


 浙公网安备
33010002000092号
浙公网安备
33010002000092号 浙B2-20120091-4
Comments
No comments yet. Why don't you start the discussion?