
Extra long square nails have become a signature statement in modern nail fashion—bold, elegant, and undeniably eye-catching. While many turn to salons for precision shaping, mastering the technique at home is not only cost-effective but also empowering. With the right tools, patience, and methodical approach, you can achieve clean, durable, and beautifully shaped square nails from the comfort of your bathroom or bedroom. This guide walks you through every essential step, common pitfalls to avoid, and expert-backed tips to ensure your at-home manicure rivals professional results.
Why Square Nails? Understanding the Appeal and Challenges
Square-shaped nails offer a balanced blend of structure and sophistication. The straight-across edge creates an illusion of width and strength, making them ideal for long extensions. Unlike stiletto or almond shapes, square nails distribute pressure evenly across the tip, reducing the risk of breakage when properly maintained. However, their length and angular shape demand extra care during shaping—especially at home, where lighting, tool quality, and hand stability vary.
The primary challenge lies in achieving symmetry. One slightly uneven corner can throw off the entire look. Additionally, over-filing or incorrect filing angles can weaken the nail structure, leading to peeling or snapping. Success hinges on consistency, the right tools, and understanding nail anatomy.
“Precision is everything with square nails. A 90-degree edge isn’t just aesthetic—it’s structural integrity.” — Lila Nguyen, Master Nail Technician & Educator
Essential Tools and Materials You’ll Need
Before shaping begins, gather all necessary supplies. Using inappropriate or low-quality tools can damage natural nails or cause artificial enhancements to lift. Here’s what you need:
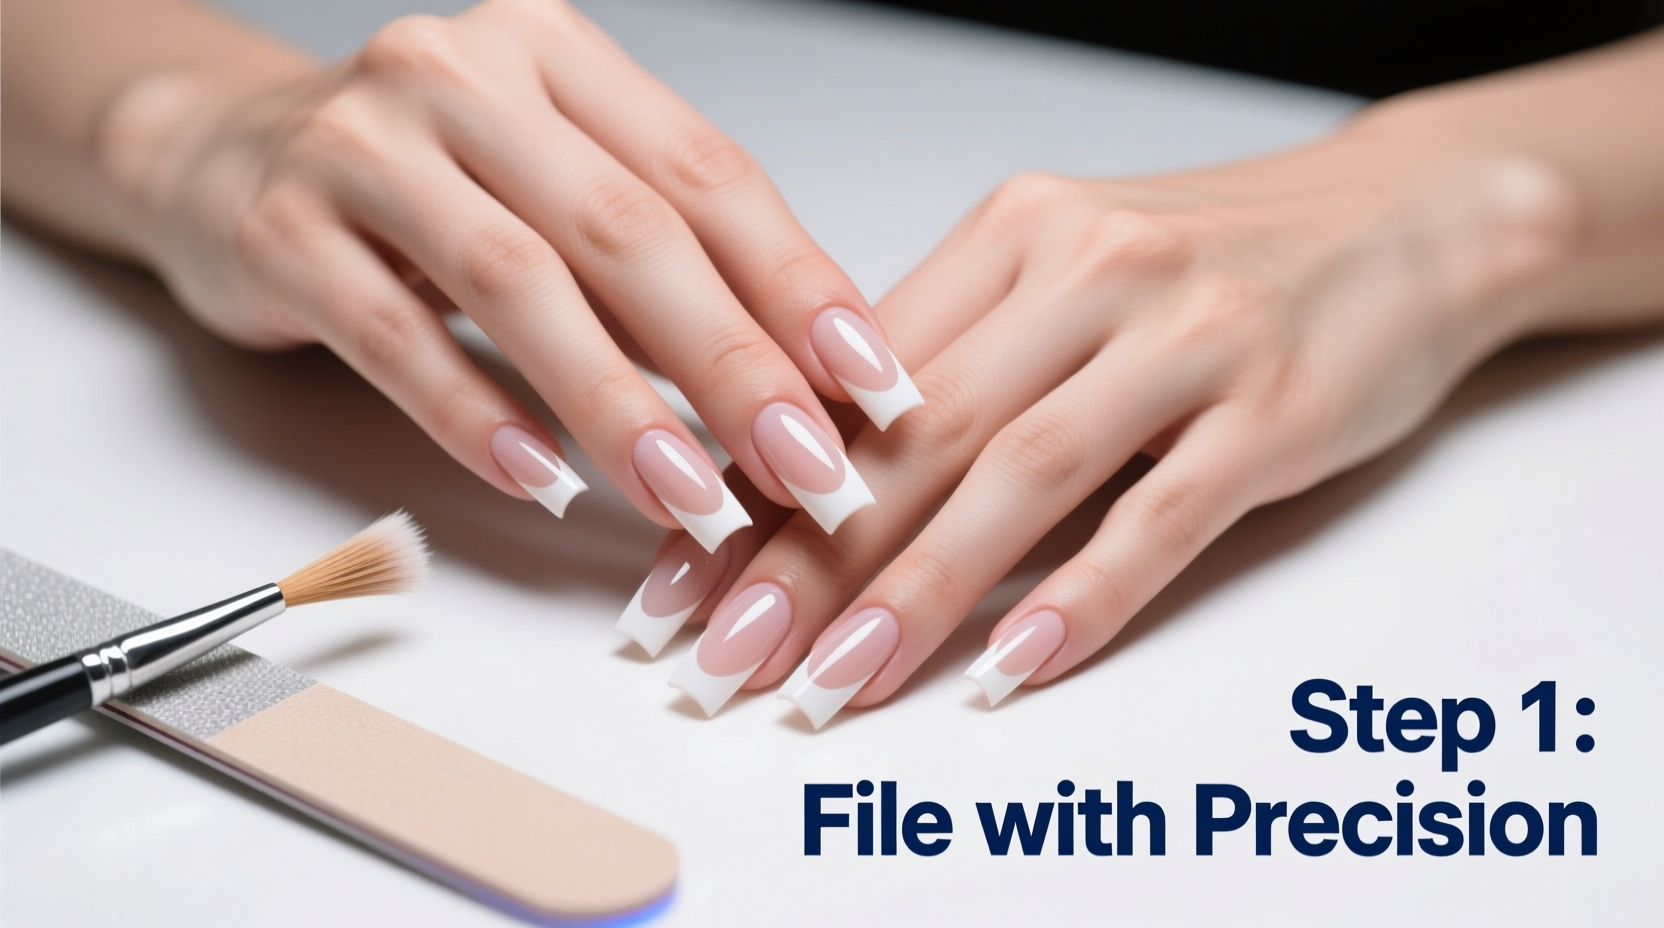
- Nail file (180/240 grit): Dual-grit files allow initial shaping (180) and smoothing (240).
- Buffer block: For polishing the surface without thinning the nail.
- Cuticle pusher: To prep the nail bed and remove debris.
- Nail clippers (precision): For trimming excess length before filing.
- Alcohol wipes or nail cleanser: To remove oils and prep the surface.
- Tape or nail guides (optional): Helpful for beginners aiming for perfect symmetry.
- Nail strengthener or base coat: To protect and reinforce the nail post-shaping.
Step-by-Step Guide to Shaping Extra Long Square Nails
Follow this sequence to shape strong, symmetrical square nails at home. Each step builds on the last, ensuring both aesthetics and durability.
- Prepare Your Nails
Remove any old polish with acetone-free remover. Cleanse each nail with alcohol to eliminate oils. Gently push back cuticles to expose the full nail plate. - Trim to Desired Length
Use precision clippers to shorten the nail slightly longer than your target length. Cutting too short limits shaping control. Leave about 1–2mm extra for filing. - Begin Filing the Sides
Hold the file at a 45-degree angle to the nail side. File from the edge toward the center using smooth, single-direction strokes. Repeat on both sides to create straight edges that meet at a right angle. - Shape the Tip
Switch to the finer grit (240). File straight across the tip, maintaining a horizontal motion. Check alignment frequently by viewing the nail head-on. Adjust until both corners are flush and level. - Refine the Corners
Gently round the sharp corners just enough to prevent snagging, but keep them defined. Over-rounding turns a square into a squoval—avoid this unless intentional. - Smooth and Buff
Use a buffer block in gentle circular motions to smooth ridges and seal the surface. Do not over-buff; excessive friction thins the nail. - Seal and Protect
Apply a strengthening base coat or clear topcoat to reinforce the nail and reduce chipping.
Timeline for Best Results
| Step | Time Required | Key Focus |
|---|---|---|
| Preparation | 5 minutes | Clean, dry nail surface |
| Trimming | 2 minutes | Precise length control |
| Filing Sides | 8 minutes | Straight, parallel edges |
| Shaping Tip | 5 minutes | Perfectly flat edge |
| Final Smoothing | 3 minutes | No roughness or snags |
Avoiding Common Mistakes: Do’s and Don’ts
Even experienced DIY nail enthusiasts make errors that compromise results. Use this checklist to stay on track.
| Do’s | Don’ts |
|---|---|
| File in one direction only | Never use a sawing motion |
| Check symmetry in natural light | Don’t rely solely on overhead lighting |
| Moisturize cuticles after filing | Don’t neglect hydration—dry skin pulls on nail edges |
| Use a guide tape for even tips | Don’t freehand if you’re new to shaping |
| Reinforce with a strengthening serum | Don’t skip protection after filing |
Real Example: From Jagged Edges to Salon-Quality Squares
Sophia, a graphic designer from Portland, struggled for months with uneven square nails. She’d file at night after work, often under dim light, resulting in one nail longer than the others. After snapping a tip while typing, she decided to reevaluate her process. She invested in a dual-grit file, started using small strips of tape as visual guides across her fingertips, and began filing in the morning when her hands were steadier. Within two weeks, she achieved consistent, strong square nails that lasted three weeks without chipping. “The tape was a game-changer,” she says. “It gave me a line to follow, like training wheels for nails.”
Expert Tips for Long-Term Nail Health
Shaping is only part of the equation. Maintaining healthy, resilient nails ensures your square style lasts. Consider these advanced practices:
- Hydrate daily: Apply cuticle oil morning and night. Dry cuticles lead to lifting and infections.
- Limit water exposure: Prolonged soaking softens acrylics and natural nails alike. Wear gloves when washing dishes.
- Rotate nail styles: Wearing ultra-long squares continuously stresses the nail matrix. Alternate with shorter shapes every few weeks.
- Inspect weekly: Look for signs of lifting, discoloration, or pain—early detection prevents bigger issues.
“Your nails are a canvas, but they’re also living structures. Beauty should never come at the cost of health.” — Dr. Amara Patel, Dermatologist specializing in nail disorders
Frequently Asked Questions
How often should I reshape my square nails?
Every 7–10 days, depending on growth rate and wear. Regular maintenance prevents drastic changes and reduces filing time. Quick touch-ups keep edges crisp and prevent snags.
Can I shape acrylic nails the same way as natural nails?
Yes, but with caution. Acrylics are harder and more brittle. Use a 180-grit file and avoid aggressive pressure. Never soak acrylics in acetone before reshaping—this weakens the bond and risks separation.
Why do my square nails keep breaking at the corners?
This usually stems from over-filing or insufficient support. Ensure you’re not thinning the nail edges excessively. Apply a ridge-filling base coat and consider reinforcing with a gel top layer for added durability.
Final Thoughts: Confidence Starts at Your Fingertips
Shaping extra long square nails at home isn’t just about appearance—it’s about cultivating skill, patience, and self-care. When done correctly, the result is more than a manicure; it’s a reflection of attention to detail and personal pride. With the right tools, a structured routine, and awareness of common pitfalls, you can maintain stunning, long-lasting square nails without stepping into a salon.


 浙公网安备
33010002000092号
浙公网安备
33010002000092号 浙B2-20120091-4
Comments
No comments yet. Why don't you start the discussion?