
Sourdough bread has captivated home bakers and artisanal chefs alike with its tangy flavor, chewy texture, and satisfying crust. At the heart of every great loaf lies a healthy, active sourdough starter—a living culture of wild yeast and lactic acid bacteria. Unlike commercial yeast, which provides predictable but uniform fermentation, a sourdough starter brings complexity, depth, and a touch of unpredictability that makes each bake unique.
Creating and maintaining a sourdough starter isn’t difficult, but it does require patience, consistency, and attention to detail. Many beginners abandon the process when their starter doesn’t bubble within 24 hours or develops an odd smell. However, understanding the science behind fermentation and following a reliable method can transform confusion into confidence. This guide walks you through every stage—from your first flour-and-water mixture to a thriving, bubbly culture ready to leaven your bread.
The Science Behind Sourdough Starters
A sourdough starter is a symbiotic culture of wild yeast and lactic acid bacteria (LAB), primarily Lactobacillus species. These microorganisms naturally exist in flour and the surrounding environment. When mixed with water, they begin to ferment the carbohydrates in flour, producing carbon dioxide (which causes dough to rise) and organic acids (which give sourdough its characteristic tang).
Unlike packaged yeast, which contains a single strain (Saccharomyces cerevisiae), wild sourdough cultures are diverse. The specific microbes present depend on your local environment, flour type, temperature, and feeding schedule. This is why no two starters behave exactly alike—even if made using the same recipe.
Fermentation begins almost immediately after mixing flour and water. Within hours, bacteria dominate, lowering the pH and creating an acidic environment that discourages harmful microbes while favoring acid-tolerant wild yeast. Over several days, this balance stabilizes into a self-sustaining ecosystem—your mature starter.
“Sourdough is not just baking—it’s microbiology in action. A well-maintained starter reflects both care and local terroir.” — Dr. Karl DeSautel, Fermentation Scientist, University of Oregon
Step-by-Step Guide to Creating Your Starter
Building a sourdough starter typically takes 5–7 days, though cooler temperatures may extend this timeline. Use unbleached all-purpose or whole grain flour (rye or whole wheat work exceptionally well in early stages due to higher nutrient content). Always use filtered or non-chlorinated water, as chlorine can inhibit microbial growth.
- Day 1: Initial Mix
Create a slurry by combining 60g whole wheat flour and 60g lukewarm water (about 75–80°F / 24–27°C) in a clean glass or plastic container. Stir until smooth. Cover loosely with a lid or cloth to allow airflow while keeping out debris. Let sit at room temperature (ideally 70–75°F / 21–24°C). - Day 2: Observe and Wait
You may see little activity. Bubbles might appear, or there could be a faint fruity or yogurt-like aroma. Do not feed yet. This is normal. Wild microbes need time to establish. - Day 3: Begin Feedings
Discard half the starter (about 60g). Feed the remaining 60g with 60g all-purpose flour and 60g water. Mix thoroughly. Repeat this feeding every 12 hours (morning and evening). - Days 4–5: Watch for Activity
This is often the “slump” phase. Your starter may smell vinegary, cheesy, or unpleasant. It might expand slightly then collapse. Keep feeding twice daily. Signs of progress include consistent bubbling, rising after feeding, and a pleasant sour aroma. - Days 6–7: Test Readiness
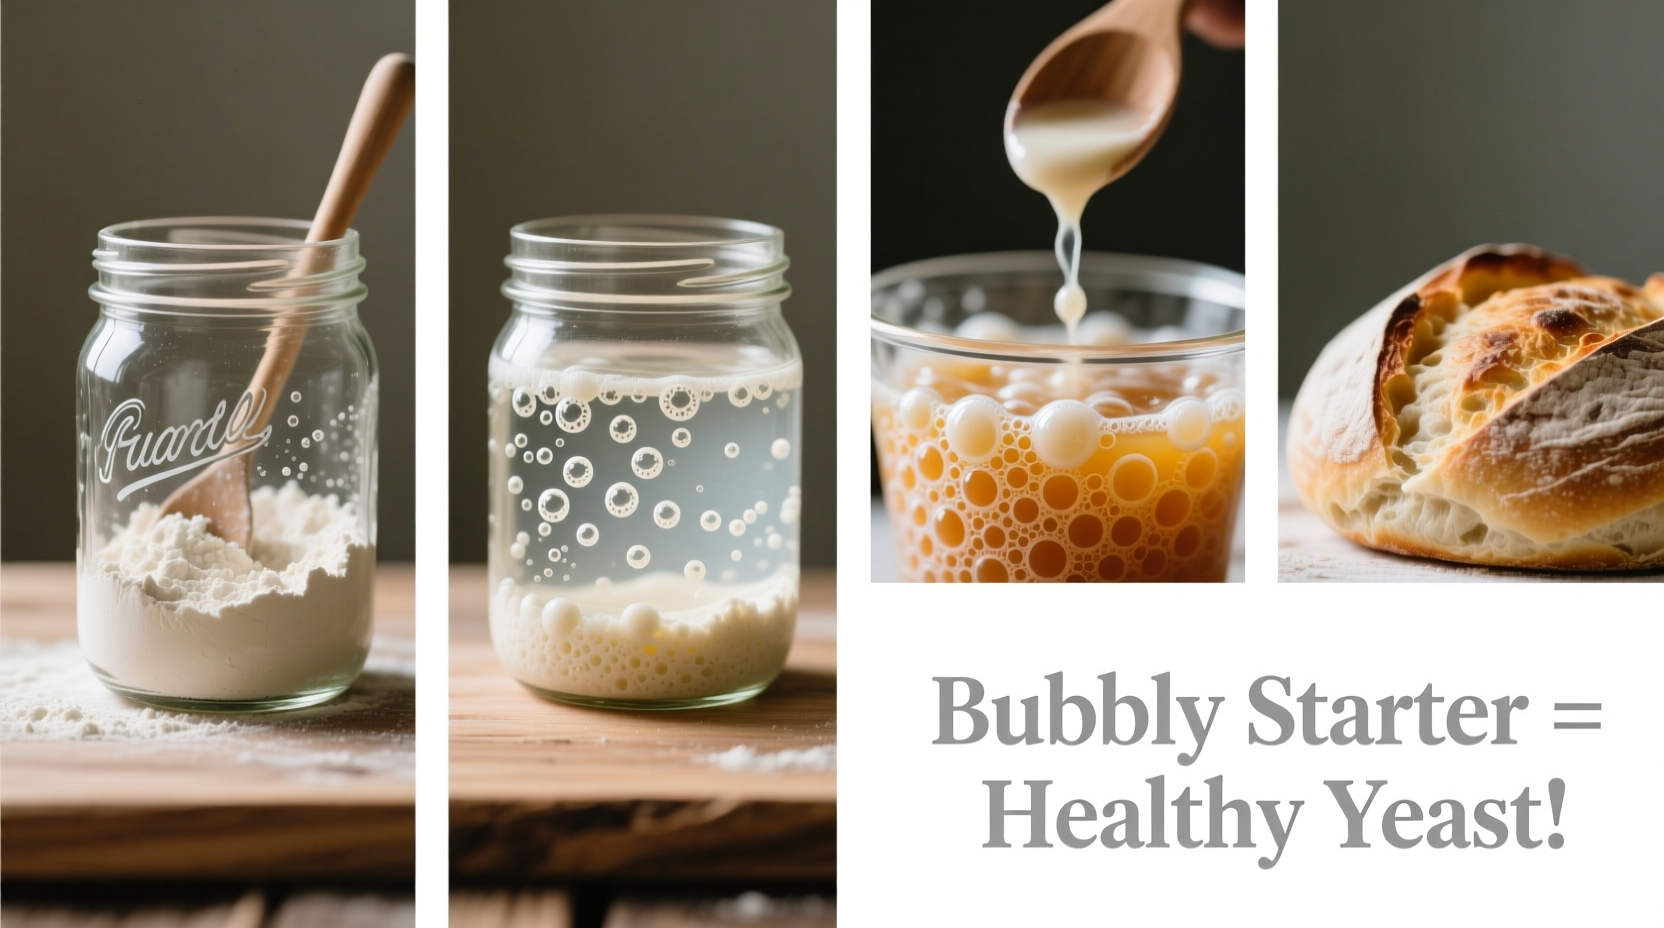
Your starter should double in size within 4–6 hours of feeding, be full of bubbles, and pass the float test (drop a small spoonful into a glass of water—if it floats, it’s ready).
Maintenance: Feeding, Storing, and Reviving
Once established, your starter needs regular nourishment. How you maintain it depends on how often you bake.
Daily Maintenance (For Frequent Baking)
If you bake every few days, keep your starter at room temperature and feed it once or twice daily. Use a 1:1:1 ratio (starter:flour:water by weight) for maintenance. For example: 50g starter + 50g flour + 50g water.
Refrigerated Storage (For Occasional Use)
Store your starter in the refrigerator between uses. Feed it well, let it sit at room temperature for 1–2 hours, then refrigerate. It can remain dormant for up to 3 weeks. Before baking, remove it from the fridge and perform 2–3 consecutive feedings at room temperature to reactivate.
Reviving a Neglected Starter
If you find a jar of starter with gray liquid (hooch) on top and a stale odor, don’t discard it. Pour off the hooch, discard most of the starter, and begin feeding twice daily with fresh flour and water. Most starters recover within 2–3 days.
| Maintenance Type | Feeding Frequency | Storage Location | Best For |
|---|---|---|---|
| Active Daily | Every 12–24 hours | Room temperature | Daily or weekly bakers |
| Refrigerated | Once weekly (before storage) | Refrigerator | Occasional bakers |
| Dry Backup | None (rehydrate before use) | Pantry (dried flakes) | Long-term preservation |
Common Challenges and How to Solve Them
Even experienced bakers encounter issues. Recognizing problems early ensures quick recovery.
- No Bubbles After Day 3: Temperature may be too low. Move the starter to a warmer spot (near an oven, on top of the fridge, or in a turned-off microwave with a cup of warm water).
- Strong Acetone Smell: Indicates hunger. Feed more frequently or increase the amount of food per feeding.
- Mold Growth: Pink, orange, or fuzzy spots mean contamination. Discard entirely and sterilize the container. Prevent recurrence by using clean tools and avoiding cross-contamination.
- Starter Rises Then Collapses: Normal behavior. It peaks and deflates as CO₂ escapes. Time your baking to use the starter at peak rise.
- Too Runny or Too Thick: Adjust hydration. For a stiffer starter, use less water (e.g., 50g water to 100g flour). For a more fluid culture, go 100% hydration (equal weights).
Mini Case Study: Recovering a Dormant Starter
Sarah, a home baker in Vermont, returned from a month-long trip to find her sourdough starter covered in dark liquid and emitting a sharp, alcoholic odor. Instead of discarding it, she poured off the hooch, removed all but 20g of the old starter, and fed it with 40g rye flour and 40g water. She repeated this every 12 hours. By the third day, bubbles appeared. On day four, it doubled within five hours. Sarah saved her starter and used it to bake a successful boule the following weekend.
Optimizing Your Starter for Bubbly Results
A truly bubbly, vigorous starter isn’t just about survival—it’s about performance. To maximize activity, consider these refinements:
Use High-Quality Flour
Organic, stone-ground flours often contain more native microbes and nutrients. While not essential, they can accelerate starter development and enhance flavor complexity.
Control Temperature
Yeast and bacteria thrive between 70–80°F (21–27°C). Below 65°F, fermentation slows significantly. In colder kitchens, place the starter in a proofing box, near a heat source, or inside an insulated cooler with a warm water bottle.
Adjust Hydration
Most starters are maintained at 100% hydration (equal parts water and flour by weight), but some bakers prefer stiffer starters (e.g., 50–60% hydration) for better structure and slower acid development. Experiment to see what works best with your flour and climate.
Time Feedings Strategically
Feed your starter when it’s ripe—just after it peaks and begins to fall. This ensures maximum yeast activity. If feeding too early or too late, you risk weakening the culture over time.
Incorporate Pineapple Juice Trick (Early Days)
Some bakers use unsweetened pineapple juice for the first two feedings. The natural acidity inhibits undesirable bacteria while allowing acid-loving LAB to flourish. After two feedings, return to water.
“Many failed starters aren’t dead—they’re just cold, hungry, or misunderstood. Patience and routine make all the difference.” — Ken Forkish, Author of *The Elements of Pizza*
Essential Sourdough Starter Checklist
Follow this checklist to build and maintain a healthy culture:
- ✅ Use unbleached flour (whole grain preferred in early stages)
- ✅ Use filtered or dechlorinated water
- ✅ Feed consistently every 12–24 hours during establishment
- ✅ Discard half before each feeding (unless building volume)
- ✅ Store in a clean, non-airtight container
- ✅ Keep at stable room temperature (70–75°F)
- ✅ Monitor for bubbles, rise, and pleasant sour aroma
- ✅ Perform float test before baking
- ✅ Refresh refrigerated starter 2–3 times before baking
- ✅ Label and log feeding times
Frequently Asked Questions
Can I use tap water for my starter?
It depends. If your tap water is heavily chlorinated, it may hinder microbial growth. Chloramine, commonly used in municipal supplies, is especially persistent. To be safe, leave tap water uncovered for 24 hours to allow chlorine to evaporate, or use filtered or bottled water.
Why does my starter smell like vinegar or nail polish remover?
A strong acetone or vinegar smell indicates the starter is underfed. The bacteria are consuming available sugars and producing acetic acid. Simply feed it more frequently or increase the amount of flour per feeding to restore balance.
Can I switch flour types after my starter is established?
Absolutely. Many bakers maintain starters on all-purpose flour but feed with rye or whole wheat before baking for added flavor and activity. Switching flours gradually won’t harm the culture and can even boost microbial diversity.
Conclusion: Turn Knowledge Into Loaves
Mastering the art of sourdough starter is less about perfection and more about partnership—with the microbes, the flour, and the rhythm of daily life. A bubbly, active starter doesn’t happen overnight, but with consistent care, it becomes a reliable kitchen companion. Each feeding strengthens the culture; each discard and refresh deepens your understanding.
Now that you have the tools, timeline, and troubleshooting insights, it’s time to begin. Mix your first batch, observe patiently, and trust the process. Whether your starter thrives in three days or takes ten, the reward—a golden, crackling loaf of homemade sourdough—is worth every moment.


 浙公网安备
33010002000092号
浙公网安备
33010002000092号 浙B2-20120091-4
Comments
No comments yet. Why don't you start the discussion?