
Quilting is as much about precision as it is about creativity. A beautifully designed quilt can lose its impact if the blocks are uneven or the edges don’t align cleanly. One of the most critical yet often overlooked skills in quilting is squaring up—trimming your blocks and finished quilt to ensure they are perfectly square or rectangular, with straight edges and consistent dimensions. Whether you're a beginner or an experienced quilter, mastering this technique elevates your work from homemade to high-quality craftsmanship.
Squaring up isn't just about aesthetics; it ensures that blocks fit together seamlessly during assembly, reduces distortion in piecing, and contributes to a flat, wrinkle-free final product. When done correctly, it sets the foundation for accurate seam allowances, smooth borders, and crisp corners. This guide breaks down the essentials of squaring up, offering practical advice, tools, and techniques to help you achieve flawless results every time.
Why Squaring Up Matters
Inaccurate block sizes may seem minor when viewed individually, but these small discrepancies compound across a quilt top. A quarter-inch difference per block can result in significant misalignment by the time you reach the outer edges. This leads to puckering, tugging, and difficulty when adding borders or binding.
Squaring up stabilizes each block before joining, ensuring uniformity throughout the quilt. It also corrects slight distortions caused by sewing tension, fabric stretch, or pressing inconsistencies. The process gives you control over the final dimensions, making assembly predictable and stress-free.
“Precision in quilting starts long before the final stitch. Taking the time to square each block transforms chaos into order.” — Linda Jenkins, Award-Winning Quilt Instructor
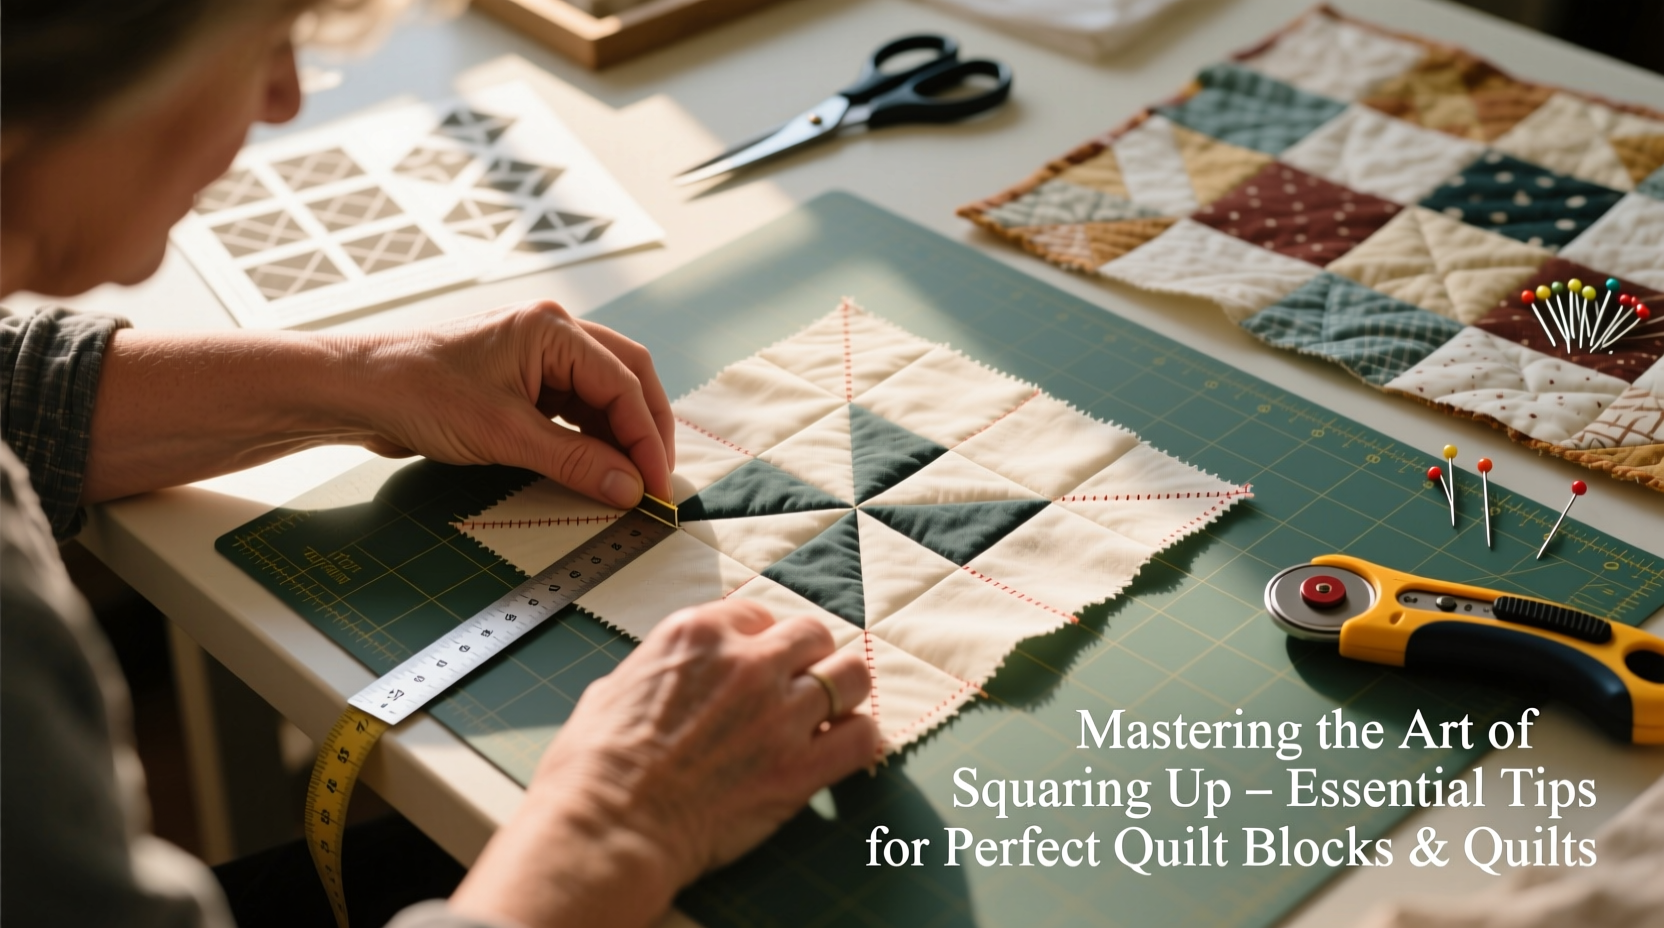
The Right Tools for the Job
Using proper tools makes squaring up faster, safer, and more accurate. Invest in quality equipment that supports repeatable measurements and clean cuts.
- Rotary cutter: Choose one with a comfortable grip and sharp blade (45mm is standard).
- Self-healing cutting mat: Large enough to accommodate your largest block, with clear grid lines marked in ¼”, ½”, and 1” increments.
- Clear acrylic ruler: Look for non-slip backing, bold markings, and angle lines. A 6” x 24” ruler handles most tasks, while smaller square rulers (e.g., 6” or 12”) are ideal for individual blocks.
- Design wall or large flat surface: Helps visualize layout and identify misshapen blocks early.
Step-by-Step Guide to Squaring Up Quilt Blocks
Follow this methodical approach to ensure every block meets exact size specifications after piecing.
- Press your block carefully. Use steam and a dry press to flatten seams without distorting the shape. Avoid ironing back and forth, which stretches bias edges.
- Align the block on your cutting mat. Place it so that the longest edge runs parallel to the mat’s horizontal line. Don’t force it—let the block settle naturally.
- Find the center reference point. If your block has a symmetrical design, fold it gently in half vertically and horizontally to locate the center. Match this point with the intersecting lines on your ruler.
- Select the correct ruler size. For example, if your finished block should be 6” x 6”, use a square ruler slightly larger than 6½” (to allow for seam allowance).
- Trim two adjacent sides first. Position the ruler so the desired measurement aligns with the outside edges of the block. Make sure the grid lines on the ruler match those on the mat. Trim the right and top edges.
- Rotate and complete the opposite sides. Flip the block so the freshly cut edges are now against the ruler’s bottom and left. Realign the ruler using the same measurement and trim the remaining sides.
- Double-check dimensions. Measure all four sides to confirm consistency. Corners should form true 90-degree angles.
Common Pitfalls and How to Avoid Them
Even experienced quilters make mistakes when squaring up. Recognizing these issues helps prevent frustration later.
| Issue | Why It Happens | How to Fix / Prevent |
|---|---|---|
| Blocks end up smaller than intended | Cutting too aggressively or misaligned ruler placement | Trim conservatively in stages; verify seam allowance alignment before final cut |
| Uneven corners or trapezoidal shapes | Fabric stretched during sewing or pressing | Support fabric fully on mat; avoid pulling or tugging while cutting |
| Design appears off-center | Center point not aligned with ruler | Use folded center marks or visual symmetry to reposition block accurately |
| Wavy or skewed edges | Dull blade or inconsistent pressure on ruler | Replace blades regularly; apply firm, even pressure along entire ruler edge |
Real Example: From Misfit to Masterpiece
Sarah, an intermediate quilter, was assembling a nine-patch quilt when she noticed gaps forming between several blocks. Despite careful piecing, some units appeared slightly larger or skewed. Frustrated, she laid out the top and discovered that five blocks varied by up to 3/8”. Instead of pressing forward, she decided to re-square each one.
She pressed them flat, used her 6½” square ruler to realign centers, and trimmed each block in sequence. After reassembling, the seams matched perfectly, and the quilt lay completely flat. “I wasted less than 20 minutes,” she said, “but saved hours of frustration and potential ripping later.”
Expert Tips for Squaring the Entire Quilt Top
After completing the quilt top, especially one with multiple rows or complex layouts, squaring the entire piece ensures clean edges before adding borders or basting.
- Lay the quilt on a large, clean floor or design wall. Smooth gently from the center outward.
- Use long rulers (e.g., 8” x 24”) to assess overall straightness. Check both horizontal and vertical edges.
- Start at one corner and trim a small amount from two adjacent sides, establishing a clean 90-degree starting point.
- Work systematically across the top and down the side, matching new cuts to the initial corner.
- For large quilts, consider doing this in sections or enlist a helper to hold rulers steady.
“A perfectly squared quilt top doesn’t happen by accident. It’s the result of intentional trimming and respect for geometry.” — Carlos Mendez, Professional Longarm Quilter
Checklist: Perfect Squaring Routine
Keep this checklist handy whenever you begin trimming blocks or quilt tops:
- ✅ Press blocks flat without stretching
- ✅ Use a sharp rotary blade
- ✅ Align block center with ruler intersection
- ✅ Trim two adjacent sides first
- ✅ Rotate and trim remaining sides
- ✅ Verify all four sides meet target size
- ✅ Repeat for each block before assembly
- ✅ Square entire quilt top before border application
FAQ
Do I need to square up every single block?
Yes, especially in precision patterns like foundation paper piecing or intricate geometrics. Even slight variations affect alignment. Simple patchwork may tolerate minor differences, but consistency always improves results.
What if my block is too small after trimming?
If you’ve accidentally cut into the seam allowance, the block is unusable for its original purpose. To prevent this, always measure seam allowances before final trimming. Consider redesigning the layout or using undersized blocks as accents elsewhere.
Can I square up after the quilt is quilted?
Minor edge tidying is possible, but major reshaping risks damaging stitching and layers. Always square the top before layering and quilting. Final trimming should occur only if necessary and done with extreme care.
Conclusion
Squaring up is not a shortcut—it’s a cornerstone of expert quilting. By treating each block with attention to dimension, alignment, and balance, you create a foundation that supports beauty, durability, and structural integrity. These habits separate functional quilts from extraordinary ones.
Take pride in precision. Let every cut reflect intention. Your future self—and anyone who uses your quilts—will appreciate the care embedded in every straight edge and perfect corner.


 浙公网安备
33010002000092号
浙公网安备
33010002000092号 浙B2-20120091-4
Comments
No comments yet. Why don't you start the discussion?