
Woodturning is both a craft and a meditation in motion. The rhythmic hum of the lathe, the curl of shavings forming beneath a sharp tool—there’s a quiet satisfaction in shaping raw wood into a functional piece of art. Among the most rewarding projects for beginners is turning a wooden bowl. It introduces core skills while producing something beautiful and usable. But without proper guidance, even simple mistakes can lead to frustration or unsafe conditions. This guide breaks down the essentials: from selecting the right wood to mastering basic cuts and applying a durable finish.
Choosing the Right Wood for Your First Bowl
The foundation of a successful bowl begins long before it touches the lathe—with the wood itself. Beginners often gravitate toward exotic species, but stability and workability matter more than rarity when starting out. Green (freshly cut) wood is ideal for bowl turning because it’s easier to shape and less likely to cause excessive wear on tools.
Hardwoods like maple, walnut, and cherry are excellent choices. They’re dense enough to hold form yet soft enough to cut cleanly with beginner-level technique. Avoid overly brittle or resinous woods such as pine or poplar for your first attempts—they tend to tear out or chatter under the tool.
Recommended Woods for Beginner Bowls
| Wood Type | Workability | Appearance | Drying Notes |
|---|---|---|---|
| Maple (Sugar) | Excellent | Creamy white, fine grain | Stable when dried slowly |
| Black Walnut | Very Good | Rich brown, warm tones | Prone to checking if dried too fast |
| Cherry | Good | Pinkish hue that deepens with age | Minimal movement during drying |
| Oak (White) | Fair | Prominent grain, rustic look | Can warp; requires sealing end grain |
Essential Tools and Setup for Safe Turning
A well-equipped workspace is half the battle. You don’t need every specialty tool at the start, but investing in quality basics pays dividends in control and safety.
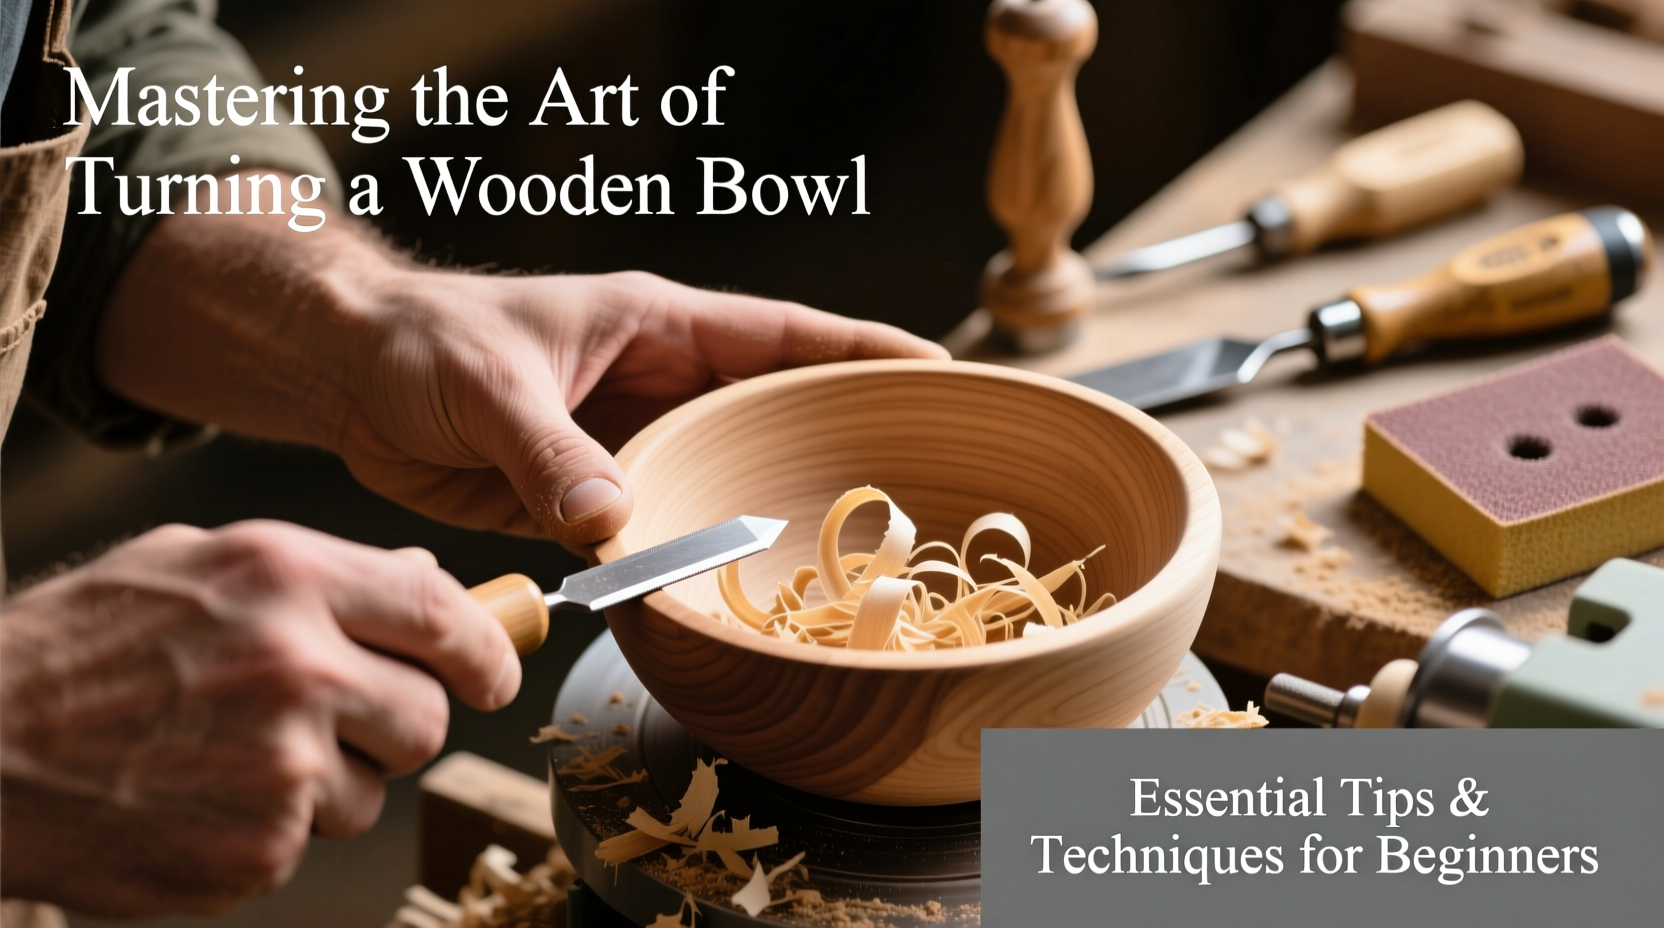
The lathe should be sturdy and rated for bowl turning (minimum 1 HP, variable speed). A 4-jaw chuck securely holds the blank once mounted between centers. Essential hand tools include a roughing gouge (for initial shaping), a bowl gouge (for interior curves), a scraper (for smoothing), and a parting tool (for trimming tenons).
“Your lathe isn’t just a machine—it’s an extension of your hands. Respect its power, maintain balance, and always secure your stock properly.” — Daniel Riley, Master Turner & Educator
Mount the lathe on a solid bench or stand to minimize vibration. Keep the area clean and free of clutter. Most accidents occur due to poor setup or distraction, not lack of skill.
Safety Checklist Before Starting
- Wear a full-face shield or safety goggles plus a dust mask
- Tie back long hair and avoid loose clothing
- Ensure all tool rest adjustments are tight and close to the workpiece (~1/8 inch gap)
- Verify the blank is centered and firmly secured
- Start at lower RPMs (600–800) for larger blanks to reduce centrifugal force
Step-by-Step Guide to Turning Your First Bowl
Turning a bowl follows a logical sequence: mounting, roughing, shaping exterior, hollowing interior, finishing, and removal. Each phase builds on the last, requiring patience and incremental refinement.
- Prepare the Blank: Cut a round or square blank slightly oversized (e.g., 8” diameter x 3” thick). Seal the end grain with wax or commercial sealer to slow drying and prevent cracks.
- Mount Between Centers: Use drive and live centers to begin. True the face using a spindle roughing gouge to create a flat surface.
- Rough Out the Exterior: Shape the outside profile gradually. Focus on symmetry and smooth transitions from rim to base.
- Reverse Mount for Hollowing: Once the exterior is shaped, cut a tenon and remount the bowl in a chuck. This allows safe access to the interior.
- Hollow the Interior: Using a swept-flute bowl gouge, begin from the center and work outward in overlapping passes. Maintain consistent wall thickness—aim for 3/8” to 1/2” depending on size.
- Refine and Finish: Smooth both inside and outside with a scraper followed by sanding at increasing grits (start at 80, go up to 400).
- Remove and Final Sand: Part off the tenon with a narrow parting tool, then sand any remaining bumps by hand.
Avoiding Common Mistakes: What New Turners Get Wrong
Even careful beginners fall into predictable traps. Recognizing them early prevents wasted material and discouragement.
One frequent error is removing too much wood too quickly, especially during hollowing. This leads to thin spots, chatter, or collapse. Work in light, controlled cuts instead. Another issue is improper tool presentation—dipping the handle too low or lifting too high causes catching and dangerous kickback.
Many novices also neglect tool sharpness. A dull gouge requires more pressure, increasing the risk of slipping. Hone tools frequently using a bench grinder or diamond wheel, then strop for a mirror edge.
“Sharp tools are safer tools. A keen edge removes wood efficiently with minimal force, giving you greater control.” — Linda Chen, Woodworking Instructor
Do’s and Don’ts of Bowl Turning
| Do | Don't |
|---|---|
| Use support from the tool rest for every cut | Freehand cuts without rest contact |
| Take light, progressive passes | Force the tool through deep cuts |
| Keep elbows tucked for stability | Lean over the lathe or stretch awkwardly |
| Check wall thickness with calipers regularly | Guess thickness based on appearance |
| Let the tool do the work—don’t push | Apply excessive downward pressure |
Finishing and Caring for Your Hand-Turned Bowl
The final step transforms your bowl from raw object to heirloom-quality piece. Food-safe finishes are essential if the bowl will hold fruit, bread, or salads.
Mineral oil and beeswax blends are popular and easy to apply. Soak the bowl with oil, let it sit 15 minutes, then wipe off excess. Repeat weekly for the first month, then monthly thereafter. For longer-lasting protection, consider FDA-approved salad bowl finish—a catalyzed varnish that resists moisture and wear.
Never put a wooden bowl in the dishwasher or soak it in water. Clean gently with a damp cloth and dry immediately. Store in a place with moderate humidity to prevent cracking or warping.
Real Example: From Fallen Tree to Family Heirloom
Tom, a hobbyist in Vermont, found a sugar maple limb after a storm. He milled a 7-inch blank, sealed the ends, and waited two weeks before mounting it on his lathe. Using only a bowl gouge and scraper, he shaped a shallow fruit bowl with soft curves. After sanding and three coats of mineral oil, he gifted it to his mother for her birthday. Two years later, she uses it daily—and Tom has since turned over 20 bowls, teaching neighbors in weekend workshops.
This story reflects a common journey: one project sparks confidence, which fuels deeper engagement. The key was starting small, respecting the process, and valuing each mistake as feedback.
Frequently Asked Questions
How long does it take to turn a beginner bowl?
Allow 3–5 hours total, including setup, turning, sanding, and finishing. Much depends on experience and drying time for the blank. Don’t rush—precision matters more than speed.
Can I use a handheld angle grinder instead of lathe tools?
No. Angle grinders are extremely dangerous on a spinning bowl and offer no control. Stick to purpose-made woodturning tools designed for cutting at precise angles.
Why did my bowl crack after turning?
Cracking usually occurs due to uneven drying. Always seal end grain immediately after cutting the blank. Allow green wood to dry slowly (6–12 months depending on thickness) before final finishing.
Conclusion: Begin Your Journey with Confidence
Turning a wooden bowl is more than a woodworking project—it’s a rite of passage. With the right wood, sharp tools, and mindful technique, you’ll create pieces that carry warmth, history, and human touch. Every curve tells a story of focus and care. Start with modest goals, embrace imperfections, and let each bowl teach you something new. The rhythm of the lathe rewards patience. Pick up your gouge, fire up the lathe, and carve beauty from the grain.


 浙公网安备
33010002000092号
浙公网安备
33010002000092号 浙B2-20120091-4
Comments
No comments yet. Why don't you start the discussion?