
Drawing is one of the most accessible forms of creative expression. Unlike other art forms that may require expensive equipment or specialized training, drawing begins with just a pencil and paper. For many, the idea of learning to draw feels intimidating—especially if you believe you “can’t draw a straight line.” But the truth is, drawing is a skill, not an innate talent. With consistent practice and the right approach, anyone can learn to draw.
This guide breaks down the fundamentals into clear, manageable steps. Whether your goal is to sketch portraits, capture landscapes, or simply improve hand-eye coordination, mastering these foundational concepts will set you on a path of steady progress.
Gather the Right Tools
Starting with the correct materials makes a noticeable difference in both comfort and results. You don’t need to invest in professional gear right away, but choosing quality basics helps build good habits from day one.
| Tool | Recommended Option | Why It Matters |
|---|---|---|
| Pencil | HB, 2B, 4B | Different hardness levels allow for varied line weight and shading. |
| Paper | Sketchbook (90–100 gsm) | Smooth enough for detail, durable for erasing and layering. |
| Eraser | Kneaded eraser + vinyl eraser | Kneaded lifts graphite gently; vinyl removes stubborn marks. |
| Ruler & Sharpener | Metal ruler, blade sharpener | Helps maintain clean lines and precise points. |
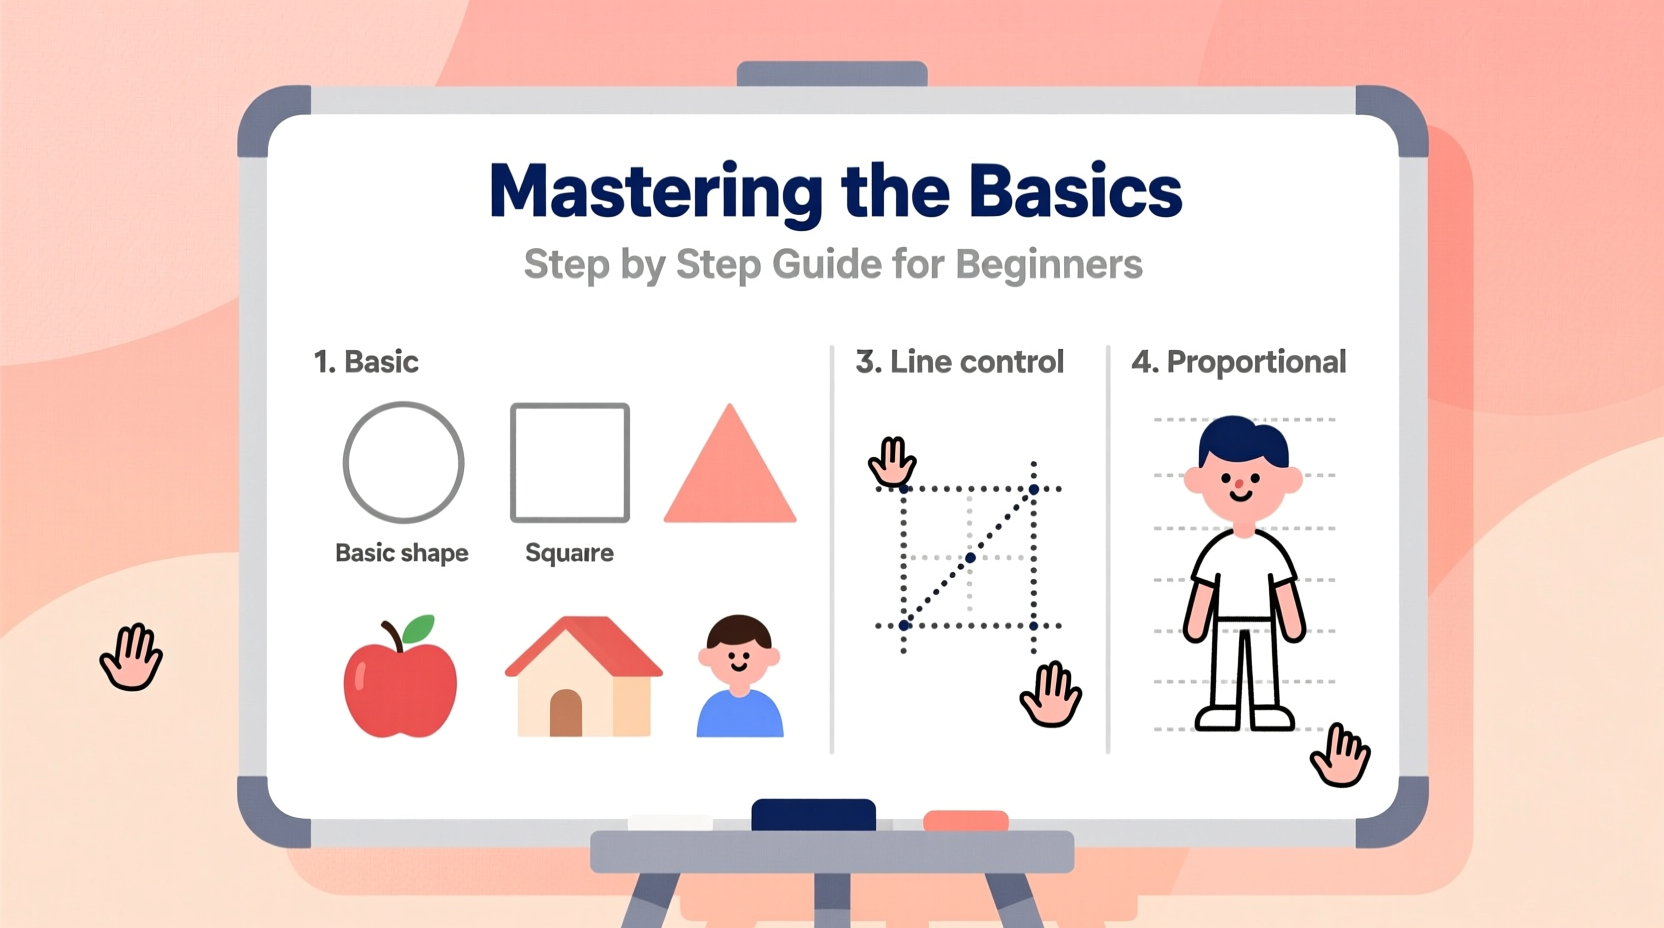
Understand Basic Drawing Principles
Before attempting detailed drawings, it’s crucial to understand core principles that underlie all visual art. These concepts form the language of drawing and help translate what you see into marks on paper.
- Line: The foundation of all drawings. Lines define edges, contours, and movement.
- Shape: A closed line creates a shape. Recognizing basic geometric shapes (circles, squares, triangles) in complex objects simplifies drawing.
- Form: Adding dimension turns a flat shape into a three-dimensional form using light and shadow.
- Proportion: The relative size and placement of elements within a drawing. Poor proportion distracts even if details are accurate.
- Value: The range of lightness and darkness. Mastering value creates depth and realism.
“Drawing is not what you see, but what you can make others see.” — Edgar Whitney, watercolorist and educator
Step-by-Step Guide to Your First Drawing
Follow this structured process to complete your first observational drawing. This exercise builds confidence and reinforces key skills.
- Choose a Simple Object: Start with something like a coffee mug, apple, or pair of scissors. Avoid cluttered scenes.
- Set Up Good Lighting: Use natural light from one direction to create clear highlights and shadows.
- Observe Before Drawing: Spend two minutes studying the object. Note its overall shape, where shadows fall, and any unique features.
- Lightly Sketch the Outline: Use an HB pencil to draw basic shapes. For a mug, begin with a cylinder and handle as a curved rectangle.
- Refine the Proportions: Compare the height to width, spacing between parts. Adjust lines gently—don’t press too hard yet.
- Add Contours and Details: Define curves, handles, stems, or textures with slightly darker lines.
- Apply Shading: Identify the light source. Shade opposite areas using a 2B pencil. Blend with a tissue or fingertip for smooth gradients.
- Finalize and Evaluate: Step back and compare your drawing to the object. Make minor corrections with an eraser or additional shading.
Essential Beginner Exercises to Build Skill
Skill in drawing develops through repetition and targeted practice. Incorporate these exercises into your weekly routine for measurable improvement.
- Gesture Drawing: Set a timer for 30 seconds to 2 minutes and quickly sketch moving subjects (people, pets). Focus on motion and flow, not accuracy.
- Contour Drawing: Draw the outline of an object slowly without lifting your pencil. Train your eyes to follow every curve.
- Blind Contour Drawing: Same as above, but don’t look at your paper. This strengthens hand-eye coordination dramatically.
- Grid Drawing: Place a grid over a photo and replicate it square by square. Helps with proportion and detail placement.
- Value Scale Practice: Draw a row of 10 squares and gradually transition from white to black using different pencil grades.
“You haven’t failed until you stop trying. Every mark you make teaches your hand something new.” — James Gurney, author of *Color and Light*
Common Mistakes and How to Avoid Them
Every beginner encounters setbacks. Recognizing common errors early prevents frustration and accelerates growth.
| Mistake | Why It Happens | How to Fix It |
|---|---|---|
| Pressing too hard too soon | Nervousness or desire for bold lines | Start light. Use HB pencil for initial sketching; darken only when confident. |
| Ignoring proportions | Focusing on details before structure | Use measuring techniques: hold pencil at arm’s length and compare heights/widths. |
| Overworking the drawing | Trying to “fix” everything at once | Take breaks. Step back frequently to assess the whole image, not just one area. |
| Avoiding erasing | Fear of making mistakes | Embrace the eraser as a tool. Redrawing is part of the process. |
Mini Case Study: From Stick Figures to Confident Sketches
Lena, a 28-year-old office worker with no prior art experience, decided to learn drawing during her lunch breaks. She started with five-minute daily contour drawings of household items. At first, her sketches were shaky and disproportionate. But after four weeks of consistent practice—using the grid method and focusing on simple still lifes—she completed a shaded drawing of a potted plant that surprised her coworkers. By week eight, she was sketching coworkers’ profiles during meetings (with permission) and noticed improved focus and observational skills in her daily life. Her progress wasn’t due to talent—it came from showing up, embracing mistakes, and following a structured approach.
Checklist: Your First 30 Days of Drawing
Follow this actionable checklist to build momentum and avoid overwhelm.
- ☐ Buy a sketchbook and set of pencils (HB, 2B, 4B)
- ☐ Dedicate 15 minutes daily to drawing practice
- ☐ Complete 5 contour drawings of everyday objects
- ☐ Practice blind contour drawing twice this week
- ☐ Draw a value scale from white to black
- ☐ Choose a photo and recreate it using the grid method
- ☐ Review your first and latest drawings to track progress
- ☐ Share one sketch with a friend or online community for feedback
FAQ
How long does it take to learn how to draw?
There’s no fixed timeline. Most beginners see noticeable improvement within 4–6 weeks of consistent practice (15–30 minutes daily). Mastery takes months or years, but enjoyment begins immediately.
Do I need to know how to draw to be creative?
No. Creativity exists in many forms. Drawing enhances it by training observation and problem-solving, but it’s just one outlet. Many artists start late and thrive.
Can I learn to draw if I’m left-handed?
Absolutely. Left-handed artists may smudge more, so try drawing from right to left and use a glove or scrap paper under your hand. Many professionals are left-handed drawers.
Conclusion
Drawing opens a world of self-expression, mindfulness, and visual understanding. The journey begins not with perfection, but with a single line. By mastering the basics—tools, principles, practice routines—you lay a foundation that supports every future artwork. Progress isn’t measured in masterpieces, but in the willingness to keep going after a crooked line or a misshapen circle.


 浙公网安备
33010002000092号
浙公网安备
33010002000092号 浙B2-20120091-4
Comments
No comments yet. Why don't you start the discussion?