
The clean is one of the most dynamic and powerful movements in strength training. Whether you're an athlete aiming to improve explosive power or a fitness enthusiast looking to build full-body strength, mastering the clean is essential. This compound lift engages the legs, hips, back, shoulders, and arms in a coordinated sequence that develops speed, coordination, and raw power. However, due to its complexity, improper execution can lead to inefficiency or injury. A structured, progressive approach ensures safe learning and long-term gains.
Understanding the Clean: Purpose and Benefits
The clean involves lifting a barbell from the floor to the front rack position in one explosive motion. It’s a foundational movement in Olympic weightlifting but has broad applications across sports performance, functional fitness, and general strength development.
Key benefits include:
- Explosive Power Development: Trains fast-twitch muscle fibers through rapid extension of the hips, knees, and ankles.
- Full-Body Coordination: Enhances neuromuscular efficiency by synchronizing multiple muscle groups.
- Increased Strength: Builds posterior chain strength—hamstrings, glutes, and lower back—critical for athletic performance.
- Improved Posture and Stability: Reinforces bracing mechanics and core engagement under load.
“Learning the clean isn’t just about moving weight—it’s about mastering timing, tension, and precision.” — Coach Lena Reyes, USAW Level 3 Educator
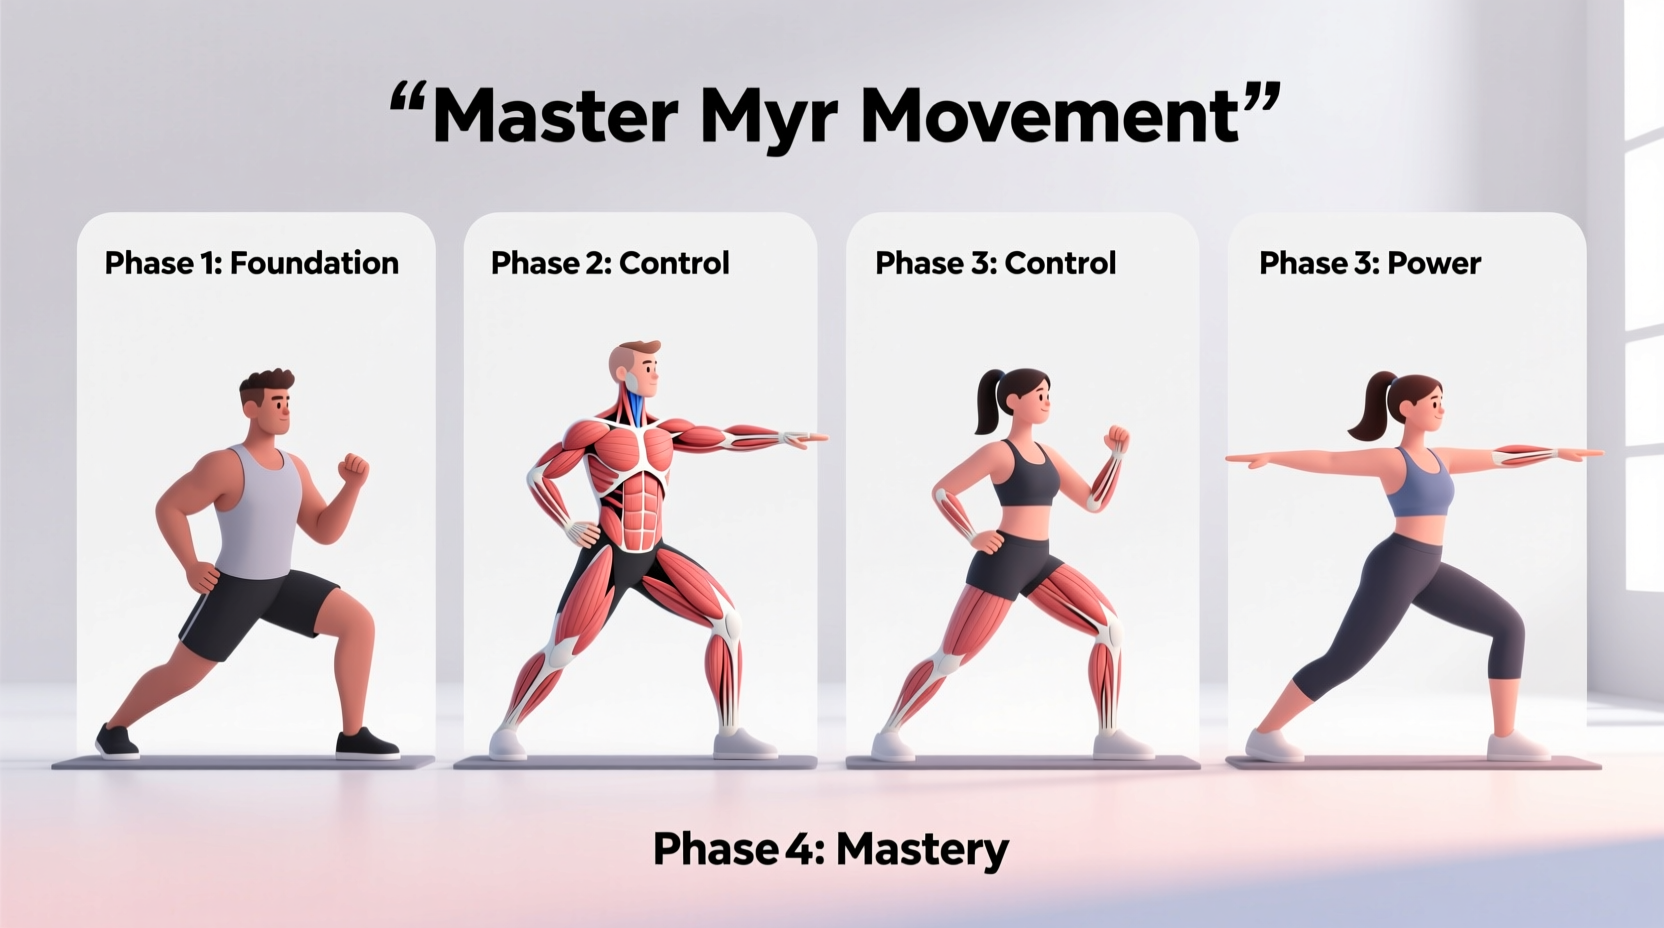
Step-by-Step Breakdown of the Clean
Success in the clean comes from breaking it down into manageable phases. Each stage builds on the previous one, allowing for focused practice and technical refinement.
- The Setup: Stand with feet hip-width apart, toes slightly turned out. The bar should be over the mid-foot. Grip slightly wider than shoulder-width. Keep your chest up, spine neutral, and shoulders over the bar. Hips high enough so arms hang straight down.
- The First Pull (Floor to Knee): Initiate the lift by driving through the whole foot while keeping the bar close. Maintain a constant back angle until the bar passes the knees. Focus on control and balance—don’t rush.
- The Transition (Scoop Phase): As the bar rises past the knees, shift your weight slightly back toward the heels and begin guiding the bar upward by extending the torso. Slight knee bend helps maintain leverage—this is not a pause, but a repositioning.
- The Second Pull (Explosion): Once the bar reaches mid-thigh, explosively extend the hips, knees, and ankles (triple extension). Keep the bar close as you “jump” the weight upward. Elbows stay high and outside—do not pull with the arms yet.
- The Catch (Front Rack Position): After full extension, quickly drop under the bar by rotating the elbows forward and flipping them under the bar. Land with knees bent, back upright, and bar resting across the clavicles and fingertips. Feet shoulder-width apart, heels down.
- The Recovery: Stand up fully from the squat position, maintaining a tight core and stable front rack. Lower the bar under control or perform a controlled drop if using bumper plates.
Common Mistakes and How to Fix Them
Even experienced lifters fall into technical traps. Recognizing and correcting these errors early accelerates progress.
| Mistake | Why It’s a Problem | Solution |
|---|---|---|
| Hips rise too fast (early extension) | Shifts center of gravity forward; reduces power transfer | Focus on keeping chest over bar longer during first pull |
| Pulling with arms too early | Prevents full hip extension; limits height of pull | Emphasize \"arms as straps\" until full triple extension |
| Bar drifting away from body | Reduces efficiency and makes catching difficult | Practice power shrugs and tall cleans to reinforce vertical path |
| Inconsistent foot placement in catch | Leads to instability and missed lifts | Mark ideal foot spacing with tape; rehearse footwork drills |
Progression Plan: Building Technique and Strength
Mastery requires patience and structure. Follow this 6-week progression to develop confidence and competence.
- Week 1–2: Movement Familiarization
Perform 3 sets of 5 reps of:- Deadlifts (to reinforce setup and first pull)
- Hang power cleans from knee level (focus on explosion and catch)
- Front squats (build rack stability)
- Week 3–4: Technical Refinement
Add segment work:- Slow-mo first pulls (3x3 with 3-second ascent)
- High-hang cleans (3x5)
- Power cleans (3x3 at moderate intensity)
- Week 5–6: Integration and Loading
Combine full cleans with accessory lifts:- Cleans (4x3 increasing intensity weekly)
- Snatch-grip deadlifts (3x5 for posterior strength)
- Overhead presses (3x5 for shoulder stability)
Real Example: From Novice to Competent Lifter
James, a 28-year-old CrossFit beginner, struggled with inconsistent cleans. He often missed lifts due to poor bar path and weak rack positioning. His coach broke the movement into segments, starting with deadlifts and tall cleans to establish posture. Over four weeks, James practiced hang cleans three times per week using 40% of his estimated 1RM. By week five, he could perform five clean reps with 70 lbs using proper technique. At week eight, he hit his first unbroken set of 5x3 at 95 lbs. The key wasn’t adding weight quickly—it was respecting the learning curve and drilling fundamentals daily.
Essential Checklist for Every Clean Session
Before each workout, run through this checklist to ensure readiness:
- ✅ Warm up hips, hamstrings, shoulders, and wrists
- ✅ Check grip width and hook grip comfort
- ✅ Set up with bar over mid-foot, chest up, spine neutral
- ✅ Visualize the full movement sequence
- ✅ Record at least one set for later review
- ✅ Cool down with front rack stretch and thoracic mobility
Frequently Asked Questions
Can beginners learn the clean safely?
Absolutely. With proper coaching and gradual progression, beginners can master the clean safely. Start with lighter variations like the dumbbell clean or high-hang clean, and prioritize technique over weight. Video feedback and coach checks are invaluable.
How heavy should I go when learning?
Begin with just the bar or even lighter implements (e.g., PVC pipe or broomstick) to groove the movement. When adding weight, stay below 50% of your maximum capacity until you can perform 3 sets of 5 with flawless form. Only then should you gradually increase load.
What’s the difference between a power clean and a squat clean?
The power clean ends in a partial squat (typically thighs parallel to the ground), while the squat clean requires dropping into a full overhead squat to receive the bar. Most beginners start with the power clean because it demands less mobility and allows better focus on timing and turnover.
Final Thoughts: Commit to the Process
The clean is not mastered in a day. It demands repetition, attention to detail, and humility. Progress may feel slow, but each rep builds neurological pathways that translate into greater strength, speed, and body awareness. Avoid the temptation to rush loading. Instead, celebrate small wins—cleaner bar paths, faster elbow rotation, more confident catches. These are the markers of real improvement.


 浙公网安备
33010002000092号
浙公网安备
33010002000092号 浙B2-20120091-4
Comments
No comments yet. Why don't you start the discussion?