
The fisherman’s knot is one of the most trusted knots in outdoor and aquatic environments. Known for its strength and simplicity, it’s used to join two lines of similar thickness—especially when reliability under tension is critical. Whether you're fly fishing on a remote river, securing gear for a backpacking trip, or anchoring a tarp in the woods, mastering this knot ensures your line holds when it matters most.
Unlike many decorative or situational knots, the fisherman’s knot is functional, fast to tie, and exceptionally secure once tightened. However, its effectiveness depends on correct technique and understanding its mechanics. This guide breaks down every aspect of the fisherman’s knot, from tying it properly to knowing when—and when not—to use it.
Why the Fisherman’s Knot Matters
The fisherman’s knot has endured for generations because it performs well under load, especially with slippery synthetic lines like nylon monofilament. It consists of two overhand knots, each tied around the standing part of the opposing line. When pulled tight, these interlocking knots grip firmly, minimizing slippage.
Its primary purpose is joining two ends of rope or fishing line. Anglers use it to attach leader lines to main lines, hikers use it to extend paracord, and climbers occasionally rely on variations for emergency repairs. Despite its name, the fisherman’s knot isn’t limited to fishing—it’s a universal tool for anyone who depends on strong, dependable connections in the field.
“Few knots offer the balance of simplicity and holding power that the fisherman’s knot provides. When tied correctly with appropriate materials, it’s nearly fail-safe.” — Dr. Alan Prescott, Outdoor Safety Researcher and Rope Dynamics Specialist
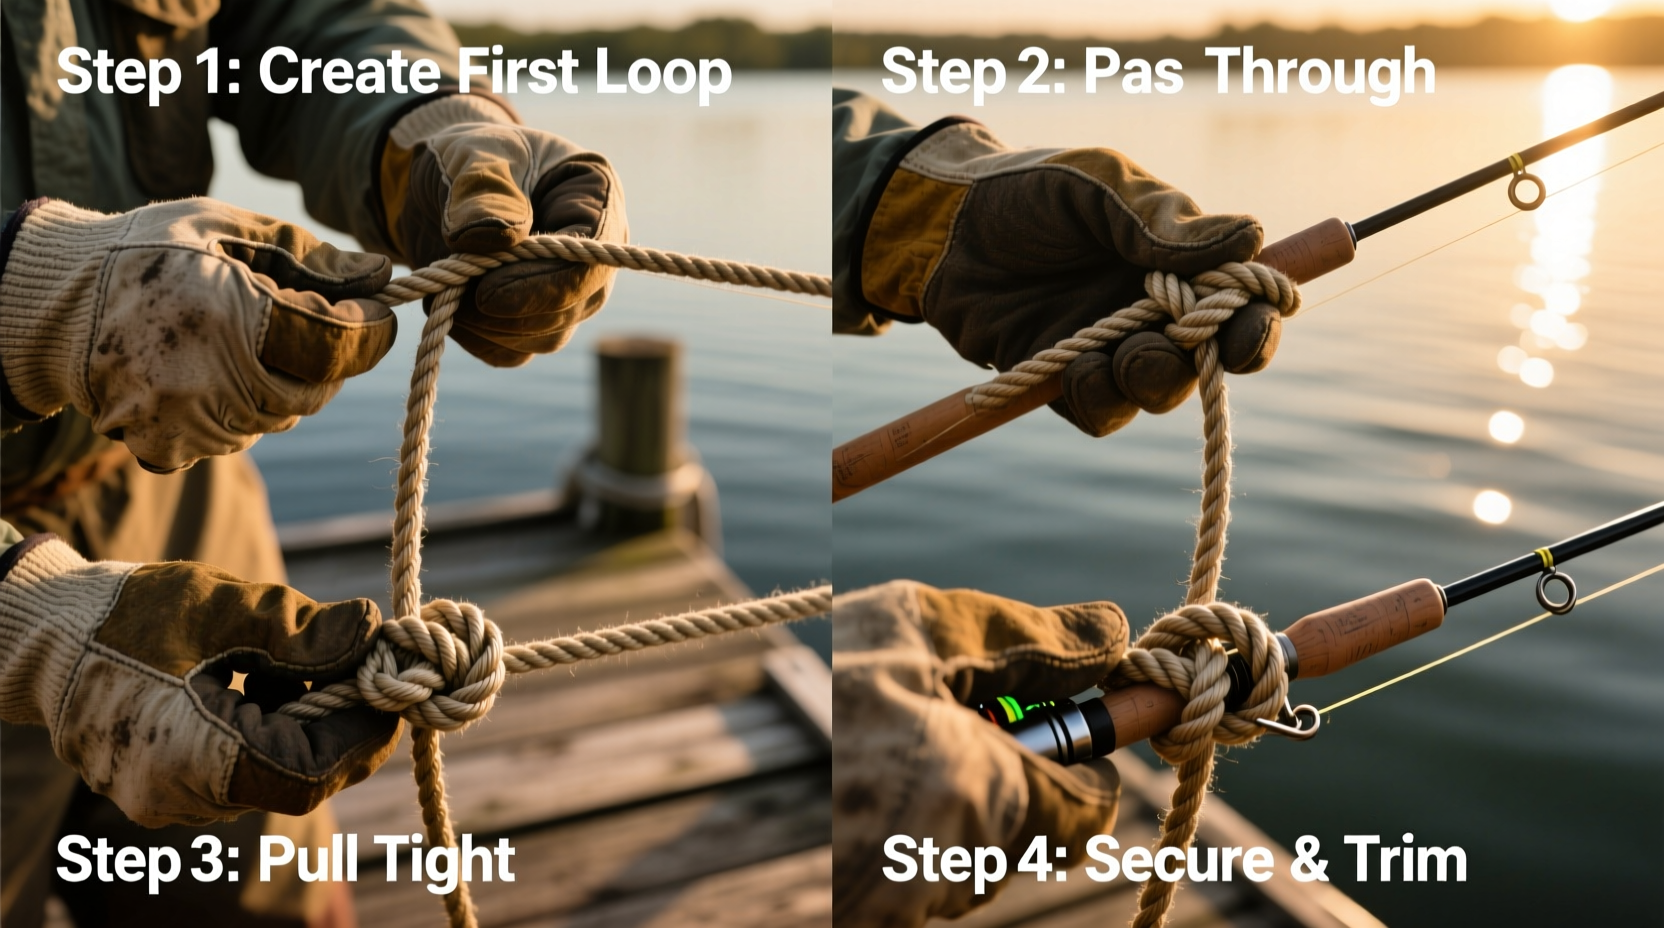
Step-by-Step: How to Tie a Fisherman’s Knot
Tying a proper fisherman’s knot takes precision. Follow these steps carefully to ensure maximum strength and security:
- Align the two lines: Hold the ends of both ropes parallel, overlapping about 6 inches. Ensure they are of similar diameter for optimal performance.
- Tie the first overhand knot: Take the end of Rope A and wrap it around the standing part of Rope B, forming an overhand knot. Do not tighten yet.
- Tie the second overhand knot: Now take the end of Rope B and wrap it around the standing part of Rope A, creating a mirror-image overhand knot.
- Dampen the lines: Before tightening, moisten the knots slightly (with water or saliva if necessary). This reduces friction and prevents heat damage to synthetic fibers during cinching.
- Pull steadily to tighten: Grasp both standing parts and pull in opposite directions. The two overhand knots should slide toward each other and lock tightly.
- Trim excess: Once secure, trim the tag ends to about 1/4 inch to reduce snagging without compromising safety.
When to Use (and Avoid) the Fisherman’s Knot
While effective, the fisherman’s knot isn’t ideal for every situation. Understanding its strengths and limitations improves safety and efficiency.
| Scenario | Recommended? | Reason |
|---|---|---|
| Fishing line splicing (mono to mono) | Yes | High grip on slick surfaces; minimal stretch loss |
| Joining dissimilar rope diameters | No | Uneven stress leads to slippage or breakage |
| Backpacking cord extensions | Yes | Secure for lightweight loads like tent guylines |
| Climbing or life-support applications | No | Not rated for dynamic loads; use double fisherman’s instead |
| Wet or icy conditions | With caution | Ensure full tightening; frozen lines may resist compression |
Variations and Upgrades
For higher-stakes applications, consider upgraded versions of the basic fisherman’s knot:
- Double Fisherman’s Knot (Blood Knot): Uses two wraps per side before completing the overhand knots. Offers greater surface contact and is standard in climbing for joining ropes.
- Triple Fisherman’s Knot: Adds a third wrap for ultra-slippery lines like fluorocarbon leaders. Increases friction and holding power significantly.
- Improved Clinch Knot: Not a joining knot, but often confused. Used to attach line directly to hooks or lures—better suited for terminal tackle than line-to-line connections.
The double fisherman’s version is preferred in technical settings due to its resistance to rolling under cyclic loading. In fact, search and rescue teams routinely use it to create prusik loops because of its jam-resistant design when properly dressed.
Real-World Example: A Day Gone Right on the Snake River
Angler Mark Reynolds was mid-cast on Idaho’s Snake River when his 8-pound test line snapped at the connection between his mainline and leader. Instead of cutting his day short, he pulled out his knot-tying card, re-spliced the connection using a double fisherman’s knot, and resumed casting.
Within minutes, he hooked a 17-inch cutthroat trout—the largest of the trip. “I’ve redone that knot three times now,” he said later. “It held through every run and jump. I trust it more than the factory splice ever did.”
This scenario underscores the value of knowing how to tie a reliable knot in real time. A few seconds spent tying correctly saved hours of lost opportunity—and possibly spoiled gear.
Common Mistakes That Weaken the Knot
Even small errors can compromise the integrity of a fisherman’s knot. Watch out for these frequent issues:
- Incorrect alignment: Lines must lie parallel during tying. Crossing or twisting creates weak points.
- Insufficient wraps: One-wrap versions slip easily under pressure, especially with modern low-friction lines.
- Over-tightening too fast: Jerking the lines can melt synthetic fibers or distort knot geometry.
- Skipping moisture: Dry nylon heats up and weakens during tightening. A quick wet-down prevents micro-fractures.
- Leaving long tags: Excess length catches on brush or reels, increasing the chance of accidental snagging and failure.
Essential Checklist: Tying a Reliable Fisherman’s Knot
Before relying on any knot in the field, verify these key points:
- ☑ Both lines are clean and free of nicks or abrasions
- ☑ Lines are approximately the same diameter
- ☑ Ends overlap at least 6 inches
- ☑ Each overhand knot is formed correctly and seated
- ☑ Knots are moistened before final tightening
- ☑ Tension is applied gradually and evenly
- ☑ Tag ends are trimmed to 1/4 inch
- ☑ Final knot is inspected for symmetry and snugness
Frequently Asked Questions
Can I reuse a fisherman’s knot after untying it?
No. Once a fisherman’s knot has been under heavy load, the fibers are permanently deformed. Even if untied carefully, the structural integrity is compromised. Always retie fresh knots for critical uses.
Is the fisherman’s knot stronger than the surgeon’s knot?
It depends on context. The surgeon’s knot has more bulk and initial friction, making it easier to tie with cold hands, but it can slip under sustained load. The fisherman’s knot, particularly the double version, offers superior tensile strength and is less prone to loosening over time.
What kind of line works best with this knot?
Nylon monofilament is ideal due to its moderate memory and friction coefficient. Fluorocarbon requires the double or triple variation due to its slickness. Braided lines generally require specialized knots like the Albright or FG knot instead.
Mastery Through Practice
Becoming proficient with the fisherman’s knot isn’t about memorizing steps—it’s about building muscle memory and judgment. Spend ten minutes each week practicing with different line types. Try tying it blindfolded, with wet hands, or while wearing gloves. These drills prepare you for real-world conditions where visibility, dexterity, and environment work against you.
Carry a small swatch of paracord in your pack or wallet. Use downtime—on commutes, during coffee breaks—to rehearse. Over time, tying becomes instinctive, and confidence grows.


 浙公网安备
33010002000092号
浙公网安备
33010002000092号 浙B2-20120091-4
Comments
No comments yet. Why don't you start the discussion?