
Upgrading your Apple Watch with a clover leather band enhances both comfort and style. Known for their refined texture, natural grain, and signature four-leaf clasp design, clover leather bands offer a sophisticated alternative to standard sport or metal options. However, installing one correctly—especially if you're new to third-party accessories—can be tricky. A misaligned band or improperly secured latch may lead to discomfort, slippage, or even accidental detachment. This guide walks you through every step of the process with precision, ensuring a secure, elegant fit that lasts.
Understanding the Clover Leather Band Design
The clover leather Apple Watch band is distinct not only in appearance but in functionality. It typically features full-grain Italian leather, soft inner lining, and a proprietary quick-release spring bar system integrated into a minimalist stainless steel or titanium clover-shaped connector. Unlike generic bands, these connectors are engineered for a snug, tool-free attachment directly into the watch case’s side slots.
Because of its precise tolerances, force should never be used during installation. The band relies on calibrated spring tension to lock securely without damaging the watch housing. Understanding this mechanism is key to avoiding unnecessary wear or breakage.
“High-end leather bands like the clover style aren’t just about aesthetics—they’re precision accessories. Treat them with care during installation to preserve both function and longevity.” — Daniel Reeves, Wearable Accessory Designer
Step-by-Step Installation Process
Installing a clover leather band correctly takes attention to detail, not strength. Follow this timeline to ensure a flawless setup:
- Power down your Apple Watch (optional but recommended): While not required, turning off your device minimizes screen stress and prevents accidental inputs during handling.
- Remove the existing band: Flip the watch over and locate the release button on the current band’s connector. Press it firmly while sliding the band out horizontally. Repeat for the other side.
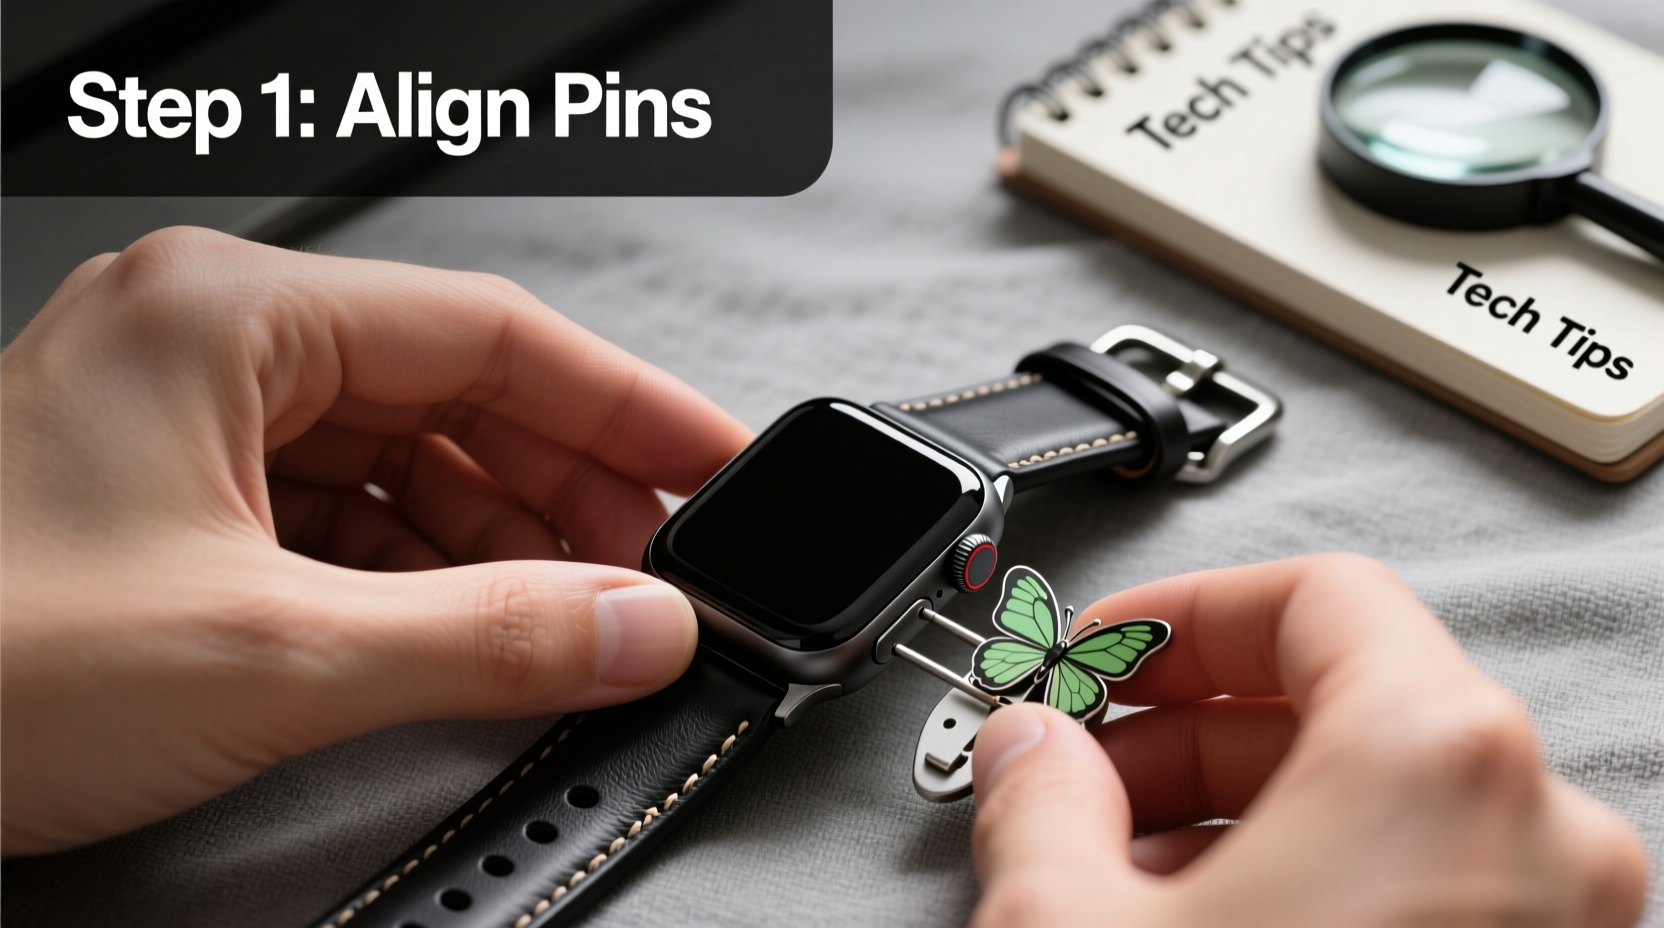
- Inspect the new clover band connectors: Check that the spring-loaded pins on the clover ends are flush and move slightly when pressed. They should retract smoothly and snap back into place.
- Align the first connector: Hold the clover end so the pin faces the slot on your watch. Angle it slightly upward, then insert the pin into the top groove of the slot.
- Engage the spring mechanism: Gently push the connector inward while angling the base downward. You’ll feel a soft click as the internal spring expands and locks into the channel.
- Attach the second side: Repeat steps 4 and 5 on the opposite side. Do not force the connection. If resistance occurs, recheck alignment before proceeding.
- Test stability: Once both sides are attached, gently tug the band from each end. There should be no lateral movement or wobbling.
- Adjust fit on wrist: Secure the band using the natural perforations and clover clasp. Ensure the display sits flat against your skin without pinching.
Common Mistakes and How to Avoid Them
Even experienced users occasionally make errors when switching bands. These pitfalls can compromise both safety and comfort:
- Forcing the connector: Resistance usually indicates misalignment, not lack of pressure. Forcing it may bend the pin or damage the watch’s internal rails.
- Incorrect orientation: Some clover bands are directional. Ensure the brand logo or textured side faces outward according to manufacturer guidelines.
- Skipping the dry-fit test: Before wearing, perform a 30-second wear test without syncing. Confirm the band stays secure during arm movements.
- Ignoring moisture exposure: Leather degrades faster when exposed to sweat or water. Remove the band after workouts and allow it to air-dry naturally.
| Do | Don’t |
|---|---|
| Align the pin with the upper slot groove before pushing | Insert the connector at a sharp angle or sideways |
| Use fingers only—no tools | Use pliers or screwdrivers to assist attachment |
| Clean hands before handling leather | Install with oily or lotion-covered fingers |
| Store in a breathable pouch when not in use | Leave the band in direct sunlight or humid areas |
Real-World Example: A Commuter’s Experience
James, a financial analyst in Chicago, upgraded his Series 8 to a dark brown clover leather band for client meetings. Excited to wear it on Monday morning, he rushed installation while late for work. He forced the second connector, hearing a faint snap. By noon, the band detached as he reached for his coffee, narrowly avoiding damage to the watch face.
After contacting customer support, he learned the pin had been bent during insertion. He received a replacement band and followed the correct method outlined here. Since then, he preps his accessories the night before and performs a quick stability check each morning. His band has lasted over ten months with no signs of loosening or wear.
Maintenance Tips for Longevity
Proper installation is only the beginning. To extend the life of your clover leather band, incorporate these habits:
- Condition the leather every 6–8 weeks using a cream formulated for aniline leather. Apply sparingly and buff gently.
- Avoid folding or creasing the band during storage. Use a watch roll or lay it flat in a drawer.
- Rotate between two bands if worn daily. This reduces continuous moisture buildup and allows the leather to breathe.
- Replace the spring bars every 18 months, especially if you notice reduced tension or looseness.
Frequently Asked Questions
Can I install a clover leather band on any Apple Watch model?
Yes, provided the band specifies compatibility with your watch size (e.g., 41mm, 45mm). All Apple Watch models from Series 1 onward use the same lug system, so clover bands designed for Apple Watch will fit as long as the sizing matches.
Why does my band feel loose after a few weeks?
Leather naturally stretches slightly with body heat and use. If the connectors remain tight but the strap feels slack, try using a lower hole adjustment. If the connection itself wobbles, inspect the spring bars for wear or debris in the watch lugs.
Is it safe to clean the band with alcohol wipes?
No. Alcohol-based cleaners strip natural oils from leather, leading to cracking and discoloration. Use a damp cloth with pH-neutral soap instead, and never submerge the band.
Final Checklist Before Wearing
- ✅ Watch powered off or locked
- ✅ Old band fully removed and stored safely
- ✅ Clover connectors inspected for damage
- ✅ Alignment confirmed on both sides
- ✅ Smooth, click-free attachment achieved without force
- ✅ Stability tested with gentle pull
- ✅ Clasp adjusted for snug but comfortable fit
Conclusion
Mastering the installation of a clover leather Apple Watch band transforms a simple accessory change into an act of craftsmanship. With the right technique, you protect your investment, enhance daily comfort, and maintain the sleek elegance that drew you to the band in the first place. Whether you're upgrading for professional settings or personal style, taking a few extra minutes to install it properly pays dividends in durability and confidence.


 浙公网安备
33010002000092号
浙公网安备
33010002000092号 浙B2-20120091-4
Comments
No comments yet. Why don't you start the discussion?