
The release of the iPhone 16 has brought not only technological advancements but also a surge in stylish, functional accessories. Among the most popular is the clover pattern phone case—a design that blends aesthetic charm with practical protection. However, even the most beautifully crafted case can fail to perform if not installed correctly. Misalignment, trapped dust, or improper pressure during installation can compromise both fit and function. This guide provides a comprehensive walkthrough for installing your iPhone 16 clover pattern case with precision, ensuring optimal protection, full access to ports, and long-term durability.
Understanding the Clover Pattern Case Design
The clover pattern case isn’t just about visual appeal. Its textured surface offers improved grip, reducing the likelihood of accidental drops. Typically made from flexible TPU (thermoplastic polyurethane) or hybrid materials combining silicone and polycarbonate, these cases are designed to absorb shock while maintaining a slim profile. The clover motif often features raised elements that enhance tactile feedback and add a layer of sophistication.
Crucially, the internal dimensions of the case are engineered specifically for the iPhone 16’s exact measurements—down to the millimeter. This means any debris on the phone’s surface or incorrect alignment during installation can prevent a snug fit, potentially leading to gaps, looseness, or camera misalignment.
“Precision in installation is as important as the quality of the case itself. A poorly fitted case negates its protective benefits.” — Jordan Lee, Mobile Accessory Engineer at TechShield Labs
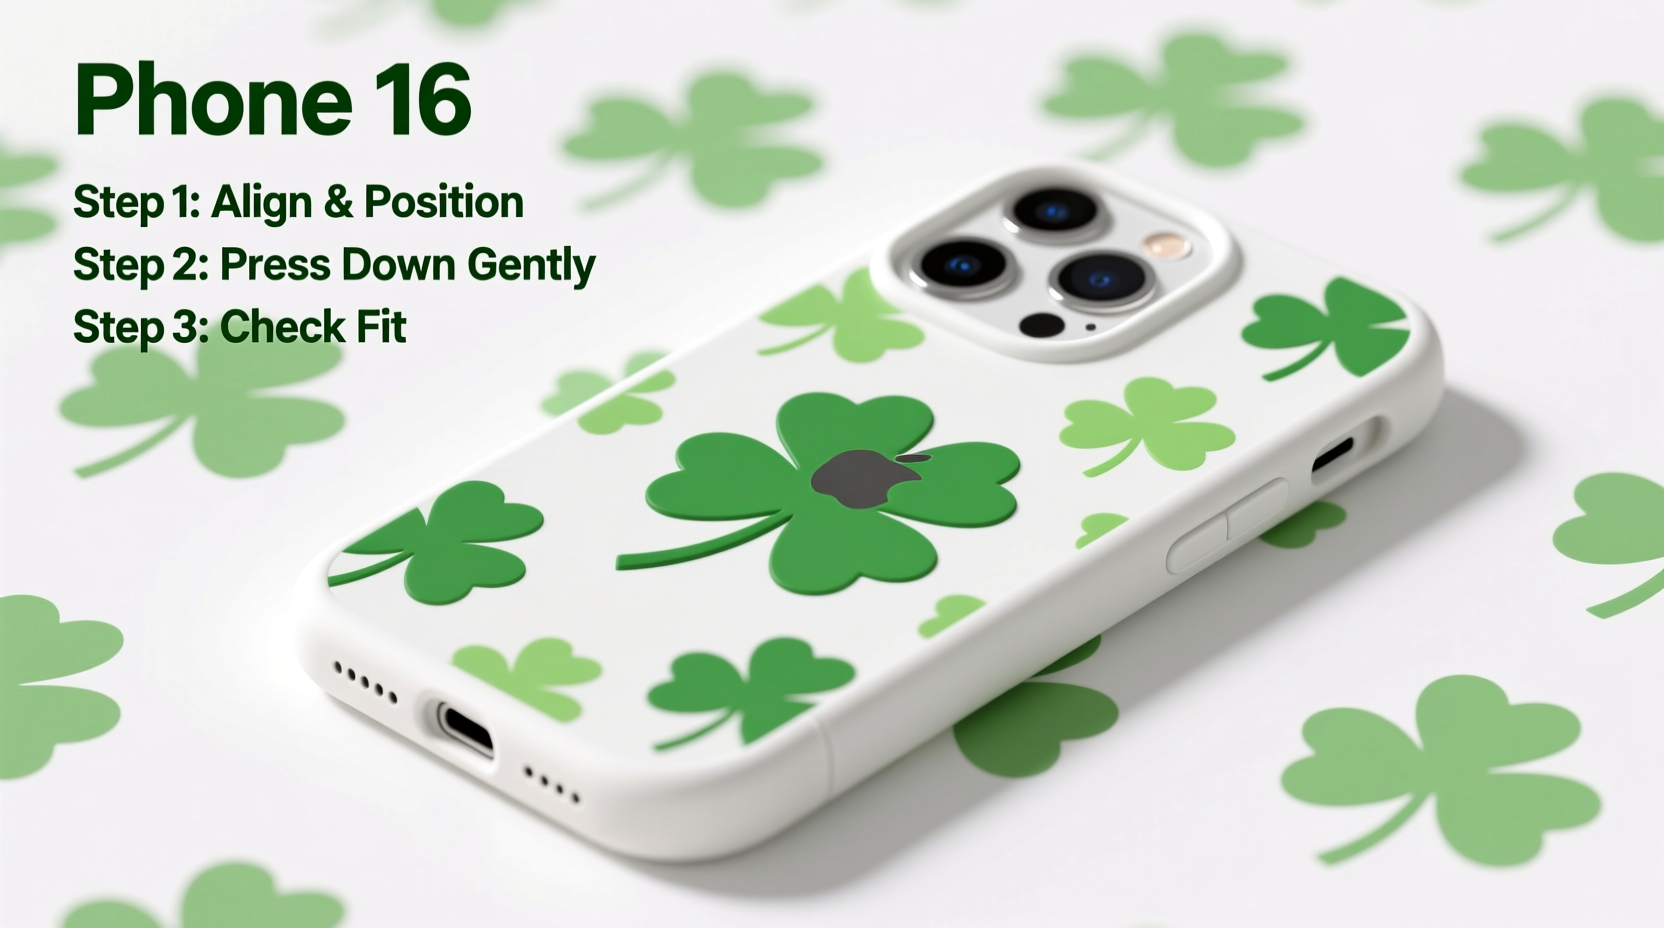
Step-by-Step Installation Process
Installing your clover pattern case doesn’t require tools, but it does demand attention to detail. Follow this timeline to ensure a flawless application:
- Power off your iPhone 16 – While not mandatory, turning off the device minimizes risk of accidental input during installation and allows you to focus entirely on positioning.
- Clean the phone’s exterior – Use a microfiber cloth slightly dampened with isopropyl alcohol (70%) to wipe down the back and sides. Pay special attention to edges and corners where lint accumulates.
- Inspect the case interior – Hold the case up to light and check for dust, fibers, or manufacturing residue. Gently blow into it or use compressed air to clear particles.
- Align the bottom edge first – Position the Lightning port area of the phone directly over the corresponding cutout in the case. Ensure perfect symmetry before applying pressure.
- Press the top into place gradually – Starting from the center, apply firm but gentle pressure along the top edge. You should hear a soft snap as the case locks around the frame.
- Check all buttons and ports – Test volume rocker, side button, mute switch, speaker grilles, and charging port. The clover texture should not obstruct any controls.
- Verify camera cutout alignment – Look straight down at the rear camera module. There should be no overlap or restriction. The ring around the lenses must remain fully exposed.
Common Installation Mistakes and How to Avoid Them
Even experienced users make errors when rushing through setup. Below is a comparison of typical missteps versus recommended practices:
| Mistake | Consequence | Best Practice |
|---|---|---|
| Skipping cleaning steps | Dust becomes trapped, causing bumps and poor adhesion | Always clean both phone and case before installation |
| Starting from the top instead of the bottom | Bottom gap forms, exposing vulnerable corners | Begin at the base near the charging port |
| Using excessive force | Potential warping or cracking of case material | Apply steady, even pressure; let flexibility do the work |
| Ignoring button responsiveness | Sticky or unresponsive controls over time | Test each button immediately after installation |
Expert Tips for Long-Term Case Performance
Proper installation sets the foundation, but ongoing care ensures lasting performance. The clover pattern’s recessed areas can collect oils and dirt, especially with frequent handling.
- Remove the case weekly for thorough cleaning using mild soap and water. Dry completely before reinstalling.
- Avoid leaving the phone in direct sunlight or hot environments. Heat can degrade TPU, causing yellowing or softening.
- Rotate between two cases if possible—one daily driver, one backup—to reduce wear and extend lifespan.
Mini Case Study: Sarah’s First-Time Installation Experience
Sarah purchased her iPhone 16 Pro Max with a limited-edition rose-gold clover case. Excited to use it, she skipped cleaning and attempted installation within minutes of unboxing. She noticed uneven gaps along the left edge and muffled sound from the speaker. After removing the case, she discovered a small thread embedded between the phone and case lining. Following the steps outlined here—especially interior inspection and bottom-first alignment—she successfully reinstalled it. Now, after three months of daily use, her case remains secure, responsive, and visually pristine.
Essential Checklist Before Finalizing Installation
Before declaring the job complete, run through this verification list:
- ✅ Phone screen sits flush with case lip (no overhang)
- ✅ All ports are fully accessible without obstruction
- ✅ Camera lens ring is completely uncovered
- ✅ Buttons have crisp tactile feedback
- ✅ No visible gaps or twisting along edges
- ✅ Clover pattern appears symmetrical and undistorted
- ✅ Wireless charging works without removal
Frequently Asked Questions
Can I install the clover case without removing my screen protector?
Yes. Most high-quality clover pattern cases are designed to accommodate phones with factory-installed or aftermarket screen protectors. Just ensure the protector doesn’t extend beyond the glass edge, which could interfere with the case’s front lip.
Why does my case feel loose after installation?
A loose fit usually indicates either dust interference or a defective case. Re-clean both surfaces and retry. If the issue persists, contact the manufacturer—some batches may have slight molding inconsistencies.
Is it safe to use third-party clover pattern cases?
Many third-party options offer excellent quality, but verify compatibility with “Designed for iPhone 16” certification. Poorly made clones may lack precise cutouts or drop protection standards.
Final Thoughts: Elevate Your iPhone Experience Through Precision
The iPhone 16 represents cutting-edge innovation, and pairing it with a well-designed clover pattern case enhances both safety and personal expression. But true mastery lies not in purchase alone—it’s in the careful execution of installation and maintenance. By following the detailed steps, avoiding common pitfalls, and treating the process with intention, you ensure your investment performs optimally for months to come.


 浙公网安备
33010002000092号
浙公网安备
33010002000092号 浙B2-20120091-4
Comments
No comments yet. Why don't you start the discussion?