
For many, email is the backbone of daily communication—whether for work, personal matters, or staying on top of subscriptions. The iPhone Mail app, while often overlooked in favor of third-party alternatives, offers robust tools that, when used effectively, can transform how you handle your inbox. From intelligent sorting to powerful swipe gestures, Apple has packed features into its native app that rival even the most popular external options. The key lies not in what the app can do, but in how well you use it.
Optimize Your Inbox Layout and View Settings
The first step to mastering the iPhone Mail app is tailoring the interface to your habits. A cluttered or poorly configured view slows down decision-making and increases mental fatigue. Start by adjusting the preview length: go to Settings > Mail > Preview and choose how many lines of each message you want visible. For fast scanning, 2–3 lines are ideal. Too many, and the screen becomes overwhelming.
Next, consider enabling the “Conversation View” under Settings > Mail. This groups replies into threads, reducing redundancy and making it easier to follow ongoing discussions. If you receive high volumes of messages from mailing lists or newsletters, this setting helps keep related emails together without duplication.
Use Smart Mailboxes and Filters to Reduce Clutter
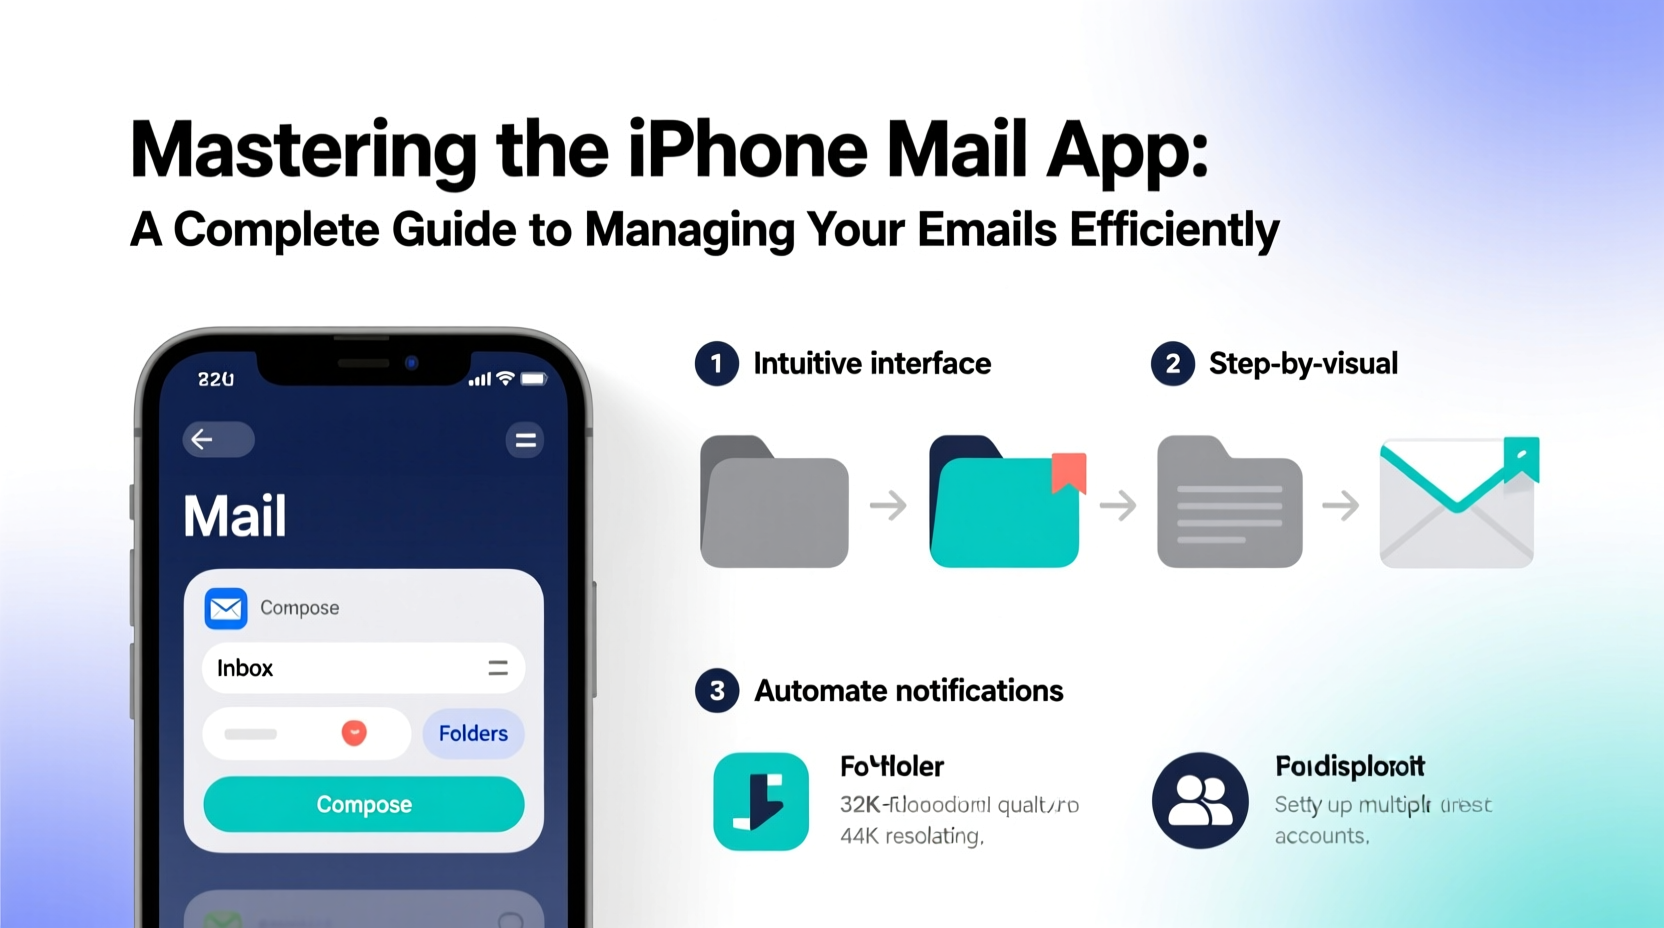
iOS supports custom smart mailboxes—dynamic folders that automatically collect messages based on criteria like sender, subject, or keywords. Unlike static folders, these update in real time, giving you instant access to relevant emails without manual sorting.
To create one, open the Mail app, tap your inbox list, then select “Edit Smart Mailboxes.” Choose “Add Smart Mailbox” and define rules such as:
- From: contains “newsletter@techdaily.com”
- Subject: contains “receipt”
- Flagged: Yes
For example, a smart mailbox labeled “Pending Action” could include all emails with unread status and the word “review” in the subject. Another might collect flagged messages from your manager. These virtual containers act like personalized filters, letting you triage efficiently.
“Smart mailboxes turn passive inbox scrolling into active workflow management. They’re the difference between reacting and controlling.” — Jordan Lee, Productivity Consultant
Master Swipe Gestures for Faster Email Processing
One of the iPhone Mail app’s greatest strengths is gesture-based navigation. With a simple swipe, you can archive, delete, mark as read, or flag a message—all without tapping through menus. But default settings may not match your workflow. Customize them via Settings > Mail > Swipe Options.
For instance, set left swipe to “Archive” (ideal for users who process emails linearly) and right swipe to “Mark as Unread” for items needing follow-up. Alternatively, assign “Flag” to one direction and “Trash” to the other if you prioritize quick decisions.
These micro-interactions compound over time. Processing 50 emails with taps might take five minutes; with optimized swipes, it drops to two.
| Gesture | Action | Best For |
|---|---|---|
| Left Swipe | Archive | Completed tasks, no need to keep |
| Right Swipe | Flag | Follow-ups, pending reviews |
| Swipe + Hold | Move to Folder | Filing receipts, contracts, or references |
| Long Press | Select Multiple | Bulk actions (delete, move, mark) |
Set Up Priority Inbox with Focus Mode Integration
Introduced in iOS 15, the “Priority” inbox uses on-device learning to separate important messages from less urgent ones. It analyzes who you interact with most, which emails you open quickly, and how you respond. Over time, it surfaces critical messages at the top while tucking newsletters and promotions below.
To maximize its effectiveness, engage consistently. Open important emails promptly, reply when needed, and archive or delete junk. Avoid opening promotional messages if you don’t intend to act—they can skew the algorithm.
Pair this with Focus Modes. Create a “Work” focus that silences non-urgent notifications and only allows alerts from specific contacts or domains. When activated, your Mail app will reflect this priority layer, showing only filtered, relevant messages during focused hours.
Step-by-Step: Build a Zero-Inbox Workflow
Achieving inbox zero isn’t about having no emails—it’s about having no unresolved decisions. Follow this sequence daily to maintain control:
- Start with a clean slate: Schedule 10 minutes each morning to clear yesterday’s backlog.
- Process top to bottom: Open each unread message once. Decide: Delete, Archive, Reply, or Flag.
- Use flags wisely: Limit active flags to 5–7 items. More creates paralysis.
- Batch replies: Use “Mark as Unread” for messages requiring research. Return to them later.
- Unsubscribe ruthlessly: Tap any newsletter, then “Unsubscribe” at the top. Remove noise at the source.
- End with zero unread: Even if some remain unactioned, mark them unread so they reappear tomorrow.
This method prevents accumulation and turns email into a task list rather than a storage unit.
Real-World Example: How a Freelancer Regained Control
Sophie, a freelance graphic designer, used to spend over an hour daily sifting through client requests, invoices, and marketing emails. Her inbox had over 3,000 messages, many unopened. After implementing smart mailboxes—“Clients,” “Invoices Due,” and “Feedback Requests”—she reduced her processing time to 18 minutes per day.
She customized swipe gestures to archive completed jobs and flag pending approvals. By enabling Focus Mode during creative hours, she stopped getting interrupted by non-urgent messages. Within two weeks, her response time improved, and she reported feeling less stressed. “I finally trust my inbox instead of fearing it,” she said.
Email Management Checklist
Apply these steps weekly to stay efficient:
- ✅ Review and refine smart mailbox rules
- ✅ Unsubscribe from at least three unused newsletters
- ✅ Clear all flags and reassess pending items
- ✅ Check account sync settings for accuracy
- ✅ Test swipe gestures to ensure they match current needs
- ✅ Run a search for “has attachment” to locate forgotten files
Frequently Asked Questions
Can I use multiple email accounts effectively in the iPhone Mail app?
Yes. The app supports iCloud, Gmail, Outlook, Yahoo, and most IMAP providers. You can switch between accounts seamlessly or view all messages in a unified inbox. To avoid confusion, use color-coded inboxes (available in iOS 16+) or prefix account names (e.g., “Work – Gmail”) for clarity.
Why aren’t my emails syncing properly?
Check Settings > Mail > Accounts to ensure each account is active and configured correctly. For Gmail, make sure two-factor authentication isn’t blocking access and that app-specific passwords are updated. Also, verify that “Fetch New Data” is enabled under Settings > Mail > Accounts > Fetch New Data.
Is the iPhone Mail app secure?
Apple prioritizes privacy. Emails are protected with end-to-end encryption for iCloud+ users with Advanced Data Protection enabled. Third-party accounts rely on their provider’s security, but Apple does not scan your emails for advertising. For sensitive communications, consider using encrypted email services compatible with IMAP.
Take Control of Your Digital Communication
The iPhone Mail app is more than just a place to read messages—it’s a tool for managing attention, time, and priorities. By configuring smart filters, mastering gestures, and adopting structured workflows, you shift from being reactive to intentional. Efficiency isn’t about speed alone; it’s about consistency, clarity, and control.


 浙公网安备
33010002000092号
浙公网安备
33010002000092号 浙B2-20120091-4
Comments
No comments yet. Why don't you start the discussion?