
In Minecraft, few structures combine elegance, utility, and raw power like the beacon. When properly constructed and optimized, a fully powered beacon can grant players unparalleled advantages—speed, strength, resistance, and even regeneration—at their highest possible levels. However, achieving \"max beacon\" status requires more than just slapping down a pyramid of iron blocks. It demands precision, resource planning, and an understanding of game mechanics. This guide walks through every stage of creating the ultimate beacon setup, ensuring you harness its full potential efficiently and effectively.
Understanding Beacon Mechanics
A beacon is a functional block that emits a light beam into the sky and provides status effects to nearby players. To activate it, you must place it atop a pyramid made of iron, gold, diamond, emerald, or netherite blocks. The larger the base, the stronger the effects—and the more choices you have in selecting them.
The beacon’s power is tiered based on the size of the pyramid beneath it:
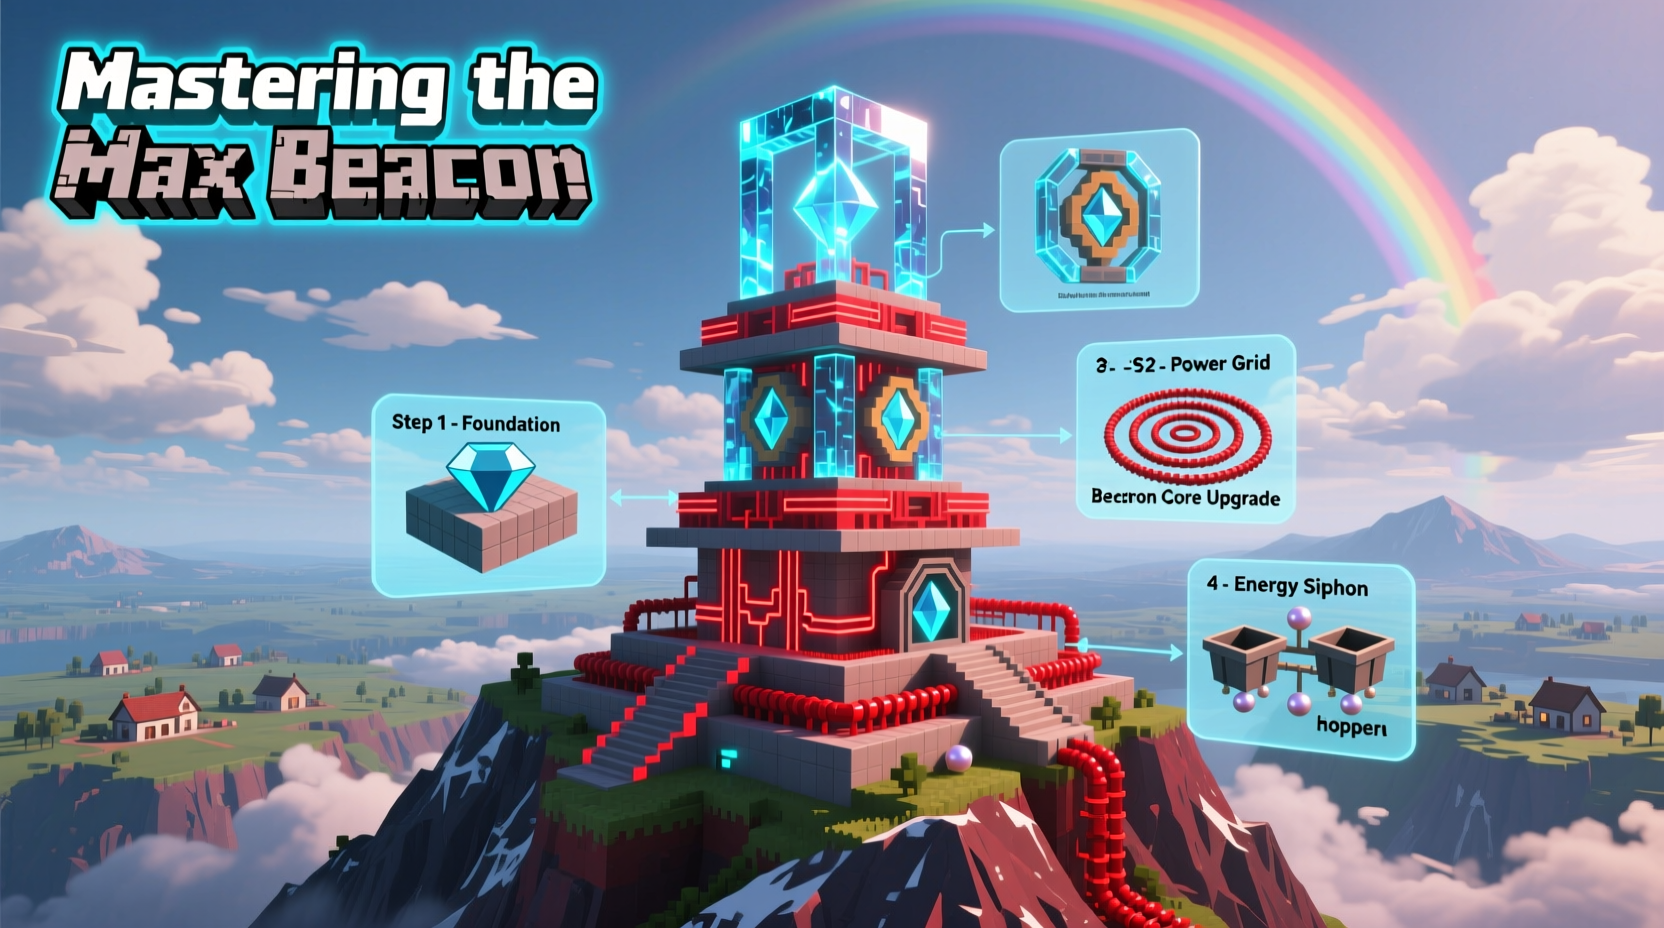
- Pyramid Level 1: 3x3 base (9 blocks)
- Level 2: 5x5 base (25 blocks)
- Level 3: 7x7 base (49 blocks)
- Level 4: 9x9 base (81 blocks)
Each additional layer increases the range and potency of the beacon’s effects. Only at the fourth and final level can you unlock the strongest effects: Speed II, Haste II, Resistance II, Jump Boost II, Strength II, and Regeneration I. Achieving this “max beacon” state is the goal of serious builders and survival veterans alike.
“Reaching Level 4 beacon activation isn’t just about showing off resources—it’s about creating a central hub of empowerment in your base.” — Lucas Mendez, Minecraft Infrastructure Designer
Step-by-Step Guide to Building the Max Beacon
Constructing a max-tier beacon requires careful layering and material consistency. Follow these steps precisely to ensure structural integrity and full functionality.
- Gather Materials: You’ll need 164 blocks of iron, gold, diamond, emerald, or netherite (or a mix, though uniform materials look best), plus 1 beacon block and 1 piece of obsidian (for placement).
- Select Your Location: Choose a flat, open area near your base. The beacon beam is visible from up to 70 blocks away vertically and spreads outward, so avoid placing it under ceilings.
- Lay the Foundation: Build a solid 9x9 base using your chosen material. This will serve as the bottom tier of the pyramid.
- Add the Second Layer: Center a 7x7 layer directly on top of the 9x9 base. Ensure alignment is perfect—any offset will break the pyramid logic.
- Third Layer: Place a 5x5 layer centered on the previous one.
- Fourth Layer: Finish with a 3x3 layer on top.
- Top It Off: Place a single block of your material in the center of the 3x3 layer, then set the beacon on top of it.
- Power the Beacon: Right-click the beacon and insert a mineral block (iron, gold, etc.) into the upgrade slot to activate it.
Choosing Effects and Combining Buffs
Once activated, the beacon allows you to select primary and secondary effects. At Level 4, you gain access to both tiers of enhancement.
The first menu lets you pick one of six primary effects:
- Speed II
- Haste II
- Strength II
- Jump Boost II
- Resistance II
- Regeneration I
After selecting a primary effect, you can apply a secondary (lesser) effect by adding another mineral block to the beacon interface. For example, combining Strength II with Speed II turns you into a near-unstoppable force for mining, combat, and exploration.
| Effect | Benefit | Best Used For |
|---|---|---|
| Speed II | Dramatically increased movement speed | Exploration, escaping mobs |
| Strength II | +8 damage per hit (equivalent to enchanted diamond sword) | Combat, boss fights |
| Regeneration I | Heals 1 HP every 2.8 seconds | Sustained combat, high-risk builds |
| Resistance II | Reduces all damage taken by 40% | Surviving explosions, dragon attacks |
Resource Optimization and Material Choices
While any combination of iron, gold, diamond, emerald, or netherite works structurally, each has trade-offs in availability, aesthetics, and efficiency.
Iron is the most practical for early-game setups due to its abundance from mining and smelting. Gold offers visual flair but is less efficient resource-wise unless you have a gold farm. Diamonds and netherite are ideal for permanent bases where prestige matters, but they represent significant investment.
Mini Case Study: The Skyblock Survivor
Jamal, a seasoned Skyblock player, faced a challenge: limited space and scarce resources. His island had only 3 stacks of iron ingots. By carefully crafting a 9x9 iron pyramid using exactly 164 blocks (melting down spare tools and armor), he achieved Level 4 beacon activation. He chose Speed II and Haste II, allowing him to mine obsidian rapidly and travel across floating islands faster than ever. This strategic use of the beacon cut his build time in half and gave him a competitive edge in challenges.
Essential Checklist for Max Beacon Success
- Checklist:
- ☐ Gather 164 mineral blocks (iron, gold, diamond, etc.)
- ☐ Collect 1 beacon and 1 obsidian block
- ☐ Choose a stable, elevated location
- ☐ Build pyramid: 9x9 → 7x7 → 5x5 → 3x3
- ☐ Place beacon on central top block
- ☐ Insert mineral block to activate
- ☐ Select primary effect (e.g., Strength II)
- ☐ Add second mineral block to enable secondary effect (e.g., Speed II)
- ☐ Test beacon range (up to 50 blocks radius)
Frequently Asked Questions
Can multiple beacons stack their effects?
No, status effects from multiple beacons do not stack. However, if two beacons provide different effects (e.g., one gives Speed, another gives Strength), players within range of both will receive both buffs simultaneously.
Does the beacon work in the Nether or End?
Yes. The beacon functions in all dimensions. In fact, placing one near the exit portal in the End allows immediate regeneration after defeating the Ender Dragon—critical for recovery before returning home.
Why isn’t my beacon activating?
Common issues include misaligned pyramid layers, missing center column, or insufficient base size. Double-check that each layer is perfectly centered and made of valid blocks. Also ensure the beacon sits on a solid block—preferably the same material as the pyramid.
Conclusion: Power Up Your Gameplay
The max beacon stands as one of Minecraft’s most rewarding engineering feats. More than a flashy tower, it’s a functional powerhouse that enhances mobility, durability, and combat effectiveness. Whether you're defending a fortress, automating a farm, or exploring distant biomes, having Speed II and Strength II active changes how you interact with the world. With the right planning and attention to detail, anyone can build this ultimate power source. Now that you know how, it's time to gather your resources, lay the foundation, and let the beam rise.


 浙公网安备
33010002000092号
浙公网安备
33010002000092号 浙B2-20120091-4
Comments
No comments yet. Why don't you start the discussion?