
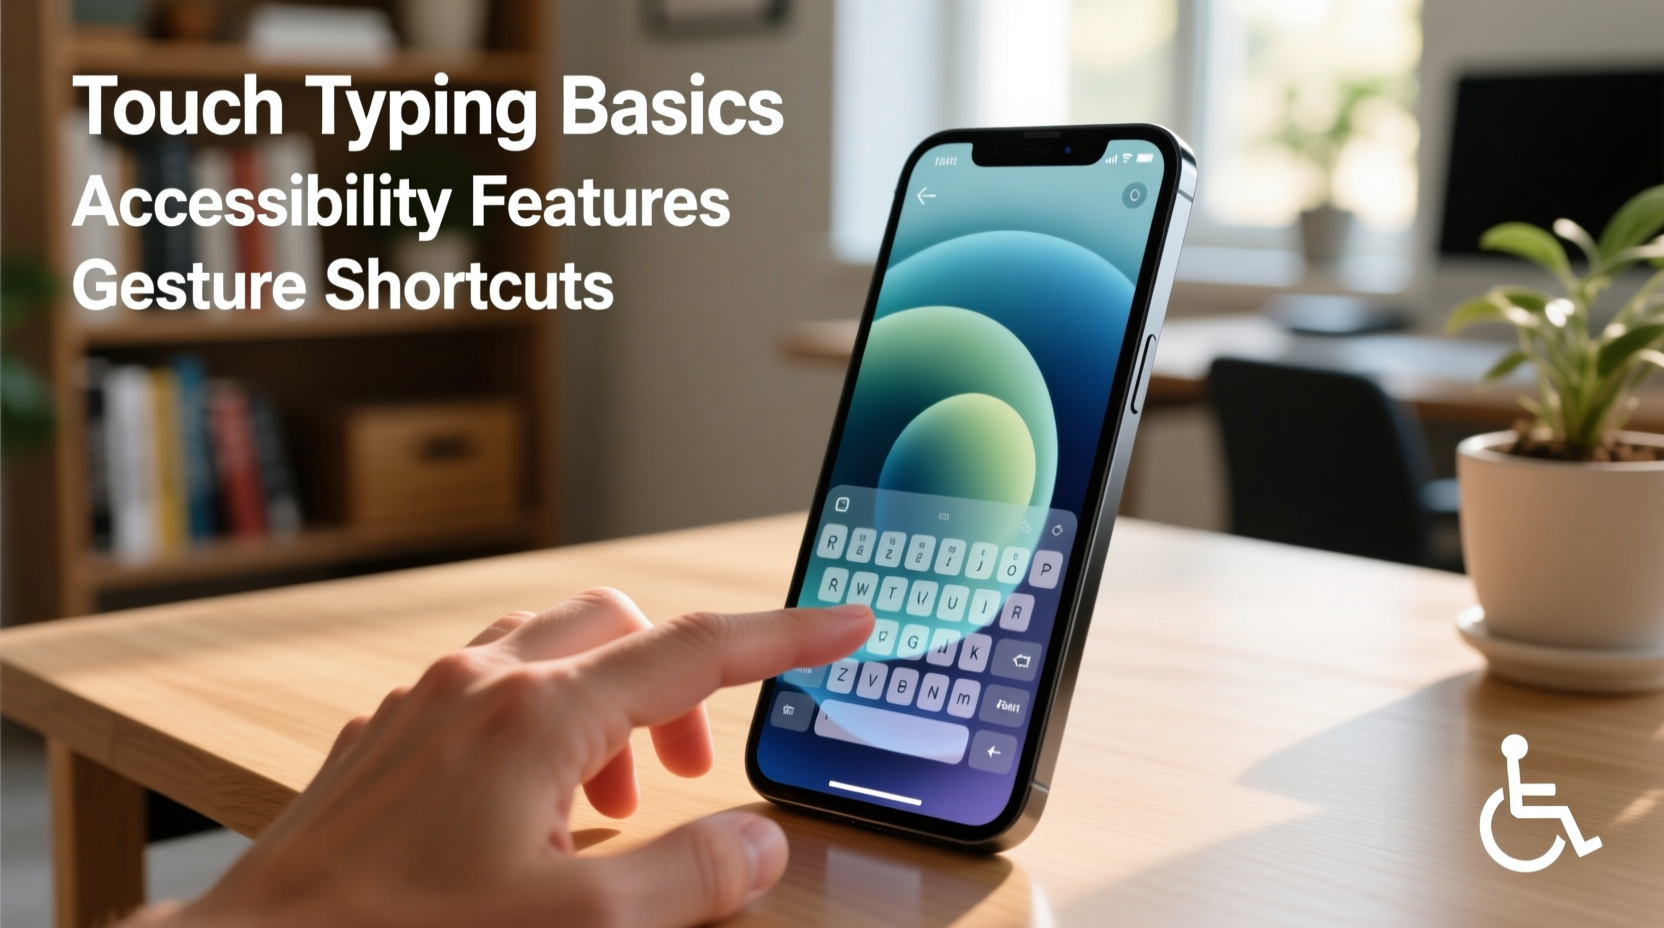
In an era where touchscreens dominate—smartphones, tablets, kiosks, and even laptops with digital overlays—the on-screen keyboard has become more than a backup input method. It’s a primary interface for millions. Whether you're using it due to mobility challenges, device limitations, or simply preference, mastering the on-screen keyboard can dramatically improve your productivity, reduce strain, and enhance digital independence.
Unlike physical keyboards, on-screen variants rely on precision taps, predictive text, and gesture controls. This demands a different set of skills. But with the right techniques, settings, and awareness of built-in accessibility tools, anyone can type efficiently and comfortably—regardless of ability or device.
Understanding the On-Screen Keyboard: More Than Just Touch
The on-screen keyboard is a software-based input system displayed directly on a device’s screen. It mimics the layout of traditional QWERTY keyboards but adapts dynamically based on context, language, and user preferences. Common platforms include:
- iOS (iPhone/iPad) – Smart Keyboard with QuickPath swipe typing
- Android – Gboard with voice dictation and glide typing
- Windows – Touch Keyboard with split layout and handwriting input
- macOS – Accessibility Keyboard for switch control and dwell typing
These keyboards are not static. They learn from usage patterns, offer auto-correction, and integrate voice commands. Their flexibility makes them powerful tools—but only if used intentionally.
Optimizing Layout and Settings for Speed and Accuracy
Default settings rarely suit everyone. Customizing your on-screen keyboard boosts both comfort and efficiency. Here are actionable adjustments across major platforms:
- Resize and reposition: On Windows and Android, drag the keyboard to one side for thumb access in portrait mode.
- Enable split mode: Useful on large tablets; splits the keyboard for easier reach with thumbs.
- Adjust key size: Larger keys reduce typos, especially for users with motor impairments.
- Turn on predictive text: Reduces keystrokes by suggesting next words.
- Use haptic feedback: Subtle vibrations simulate tactile response, improving accuracy.
For users with visual impairments, increasing font size and enabling high-contrast themes ensures visibility. VoiceOver (iOS) and TalkBack (Android) also read out each key press, providing auditory confirmation.
Do’s and Don’ts of On-Screen Keyboard Use
| Action | Recommended | Avoid |
|---|---|---|
| Finger placement | Use pads of fingers, not fingertips | Using nails or stylus without calibration |
| Typing speed | Start slow, prioritize accuracy | Rushing leads to errors and frustration |
| Hand posture | Keep wrists elevated, elbows relaxed | Resting palms on screen causes accidental inputs |
| Environment | Well-lit, stable surface | Bumpy surfaces or moving vehicles |
Advanced Techniques for Faster Typing
Once comfortable with basics, advanced methods can cut typing time by up to 40%. These techniques are often overlooked but widely supported.
Gesture Typing (Swiping)
Also known as \"swipe typing\" or \"glide typing,\" this allows you to drag your finger across letters to form words without lifting. Gboard and SwiftKey lead in accuracy here.
To master it:
- Practice common word paths (e.g., “the,” “and,” “you”)
- Slow down initially—speed comes with muscle memory
- Correct mispredictions immediately to train the algorithm
Voice Dictation Integration
Modern OSes support near-instantaneous voice-to-text with impressive accuracy. Activate it via microphone icon and speak naturally.
Best practices:
- Pause briefly between sentences
- Say punctuation aloud (“period,” “comma,” “new line”)
- Use quiet environments to minimize errors
“Speech recognition, when combined with light editing on an optimized on-screen keyboard, can double input speed for many users.” — Dr. Lena Torres, Assistive Technology Researcher, MIT Media Lab
Accessibility Features That Transform Usability
For individuals with motor disabilities, vision loss, or temporary injuries, the on-screen keyboard isn’t just convenient—it’s essential. Operating systems now include robust accessibility layers that make independent typing possible.
Switch Control and Dwell Typing
Available on iOS, Android, and Windows, these features allow users to navigate the keyboard using external switches, eye-tracking, or mouse hover (dwell). For example:
- On macOS, enable Accessibility Keyboard and use head tracking via camera.
- Windows 11 offers Eye Control, letting users select keys with gaze.
- Android’s Switch Access supports Bluetooth buttons for scanning through keys.
Text Prediction and Word Suggestions
Highly beneficial for users with limited dexterity. Platforms like Google’s Word Bank let users save frequent phrases (e.g., “I need help” or “Thank you”) for one-tap insertion.
Step-by-Step: Building Your Efficient Typing Workflow
Follow this sequence to build a personalized, high-efficiency typing routine:
- Assess your needs: Are you prioritizing speed, accessibility, or reduced hand strain?
- Select the right keyboard app: Try Gboard, SwiftKey, or Fleksy based on feature set.
- Customize layout: Resize, split, or rotate depending on device and grip.
- Train predictive models: Type regularly to improve suggestions.
- Integrate voice: Use dictation for long-form content, switch to touch for edits.
- Practice daily: Spend 5–10 minutes on typing drills using apps like Keybr or Typeracer.
- Review performance: Check error rates and adjust settings monthly.
Real-World Example: Maria’s Transition After Injury
Maria, a freelance writer, fractured her wrist in a fall. Unable to use a physical keyboard, she relied solely on her iPad for work. Initially frustrated by slow typing and frequent mistakes, she explored accessibility options.
She enabled AssistiveTouch and switched to SwiftKey for superior swipe accuracy. She activated voice dictation for drafting articles and used predictive text to minimize corrections. Within three weeks, her output returned to 90% of pre-injury levels. By combining voice, gestures, and customized layouts, she regained independence—and discovered a more flexible workflow.
Essential Checklist for Mastering the On-Screen Keyboard
- ✅ Enable haptic or audio feedback for input confirmation
- ✅ Adjust keyboard size and position for ergonomic reach
- ✅ Turn on predictive text and personalize word suggestions
- ✅ Practice swipe/gesture typing daily for 5 minutes
- ✅ Integrate voice dictation for longer texts
- ✅ Explore accessibility tools like dwell typing or switch control
- ✅ Use consistent lighting and avoid glare on screen
- ✅ Clean screen regularly to prevent smudges affecting touch sensitivity
Frequently Asked Questions
Can I use an on-screen keyboard with a stylus?
Yes. A capacitive stylus improves precision, especially on small screens. Calibrate it properly and use palm rejection settings to avoid accidental touches.
Why am I making so many typos?
Frequent errors often stem from incorrect finger placement, overly small keys, or lack of feedback. Try increasing key size, enabling tap animations, and slowing down to build accuracy before speed.
Is there a way to type without touching the screen at all?
Absolutely. With eye-tracking (Windows Eye Control), switch scanning, or voice-first workflows, full typing is possible without physical contact. Combine voice dictation with smart editing commands for best results.
Conclusion: Take Control of Your Digital Input
Mastering the on-screen keyboard isn’t just about adapting to a trend—it’s about reclaiming control over how you interact with technology. Whether you're navigating a tablet on the go, recovering from injury, or supporting someone with accessibility needs, efficient on-screen typing opens doors to faster communication, greater independence, and smoother digital experiences.
The tools are already on your device. The strategies are proven. Now it’s time to apply them deliberately. Customize your setup, practice consistently, and embrace multimodal input—voice, gesture, and touch. Small changes today can lead to significant gains in comfort, speed, and confidence tomorrow.


 浙公网安备
33010002000092号
浙公网安备
33010002000092号 浙B2-20120091-4
Comments
No comments yet. Why don't you start the discussion?