
The Bianco Piccolo is a rising favorite among espresso enthusiasts—a compact, creamy, milk-forward variation of the classic macchiato. Unlike its larger cousin, the latte macchiato, the Bianco Piccolo delivers bold espresso intensity balanced with just enough steamed milk to smooth the edges without diluting flavor. With a Nespresso machine, achieving this delicate harmony is entirely within reach, but it requires precision, timing, and technique. This guide walks you through every detail needed to craft a flawless Bianco Piccolo at home—consistently.
Understanding the Bianco Piccolo: What Sets It Apart
The term \"Bianco Piccolo\" translates to \"small white,\" referring to its modest volume and milky finish. Served in a 60–80ml glass or cup, it features a single shot of intense espresso layered beneath a small amount of velvety microfoam. The result is a rich, aromatic drink where the espresso remains dominant, yet softened by a whisper of warm milk.
Unlike a cappuccino or flat white, the Bianco Piccolo isn’t about equal parts. It’s an asymmetrical composition: mostly espresso, lightly marked (“macchiato”) by milk. The Nespresso system, particularly models with integrated milk frothers like the Lattissima or Creatista series, makes this drink accessible—but only if used correctly.
“Precision in temperature and texture separates a good Bianco Piccolo from a great one. It’s not just about pulling a shot—it’s about how the milk enhances, not masks, the coffee.” — Luca Moretti, Specialty Coffee Trainer & Former Barista Champion
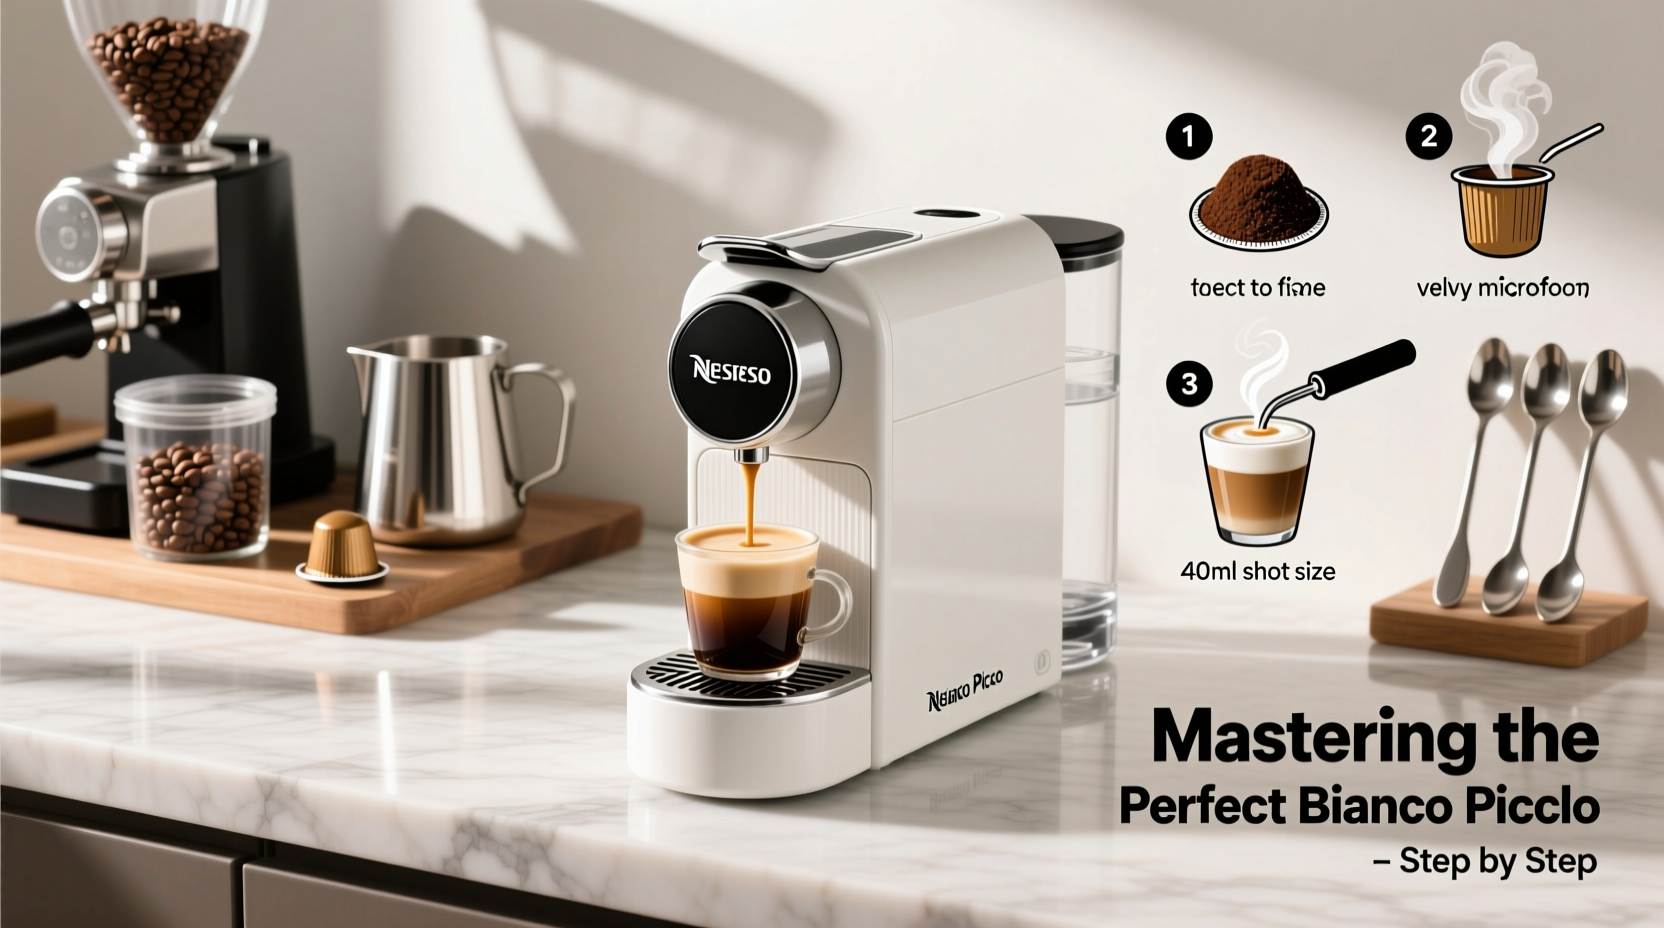
Step-by-Step Guide to Crafting the Perfect Bianco Piccolo
Follow this detailed sequence to replicate barista-level results at home. Consistency is key—repeat these steps each time for reliable quality.
- Preheat Your Cup: Rinse a small glass or ceramic cup with hot water. A cold vessel cools the espresso too quickly, muting aroma and altering mouthfeel.
- Select the Right Capsule: Opt for a strong, full-bodied espresso blend. Nespresso’s Arpeggio, Ristretto, or Napoli work well due to their roasted depth and crema stability.
- Brew the Espresso: Use the “Espresso” button (typically 40ml). Ensure your machine is descaled and primed to maintain optimal pressure and extraction.
- Froth the Milk: Fill your milk jug to the minimum line (usually 50–60ml) with cold whole milk. Whole milk produces the creamiest microfoam. Attach the frother and select the “Cappuccino” or “Short Milk Foam” setting—this creates dense, warm foam without excess volume.
- Layer with Care: Pour the frothed milk slowly over the espresso, aiming to create a visible layer of foam on top. The goal is contrast: dark espresso below, light foam above.
- Serve Immediately: Enjoy within 30 seconds to experience peak temperature, aroma, and texture separation.
Optimizing Ingredients and Equipment
Your ingredients and tools directly impact the final profile. Even minor deviations can shift the balance from luxurious to lackluster.
Milk Selection
Whole milk (3.25% fat) is ideal for creating stable, creamy microfoam. Its protein and fat content allow for smooth texture and sweetness enhancement. Alternatives like oat or soy can work, but they often produce looser foam and may overpower delicate espresso notes.
Capsule Choice
Nespresso offers over 30 blends, but not all suit the Bianco Piccolo. Look for capsules labeled “intense,” “roasty,” or “woody.” Avoid lighter roasts, which lose character when combined with milk.
| Capsule Name | Intensity (1–12) | Recommended for Bianco Piccolo? | Why |
|---|---|---|---|
| Arpeggio | 9 | Yes | Rich body, persistent crema, holds up to milk |
| Ristretto | 10 | Yes | Intense, slightly bitter edge balances milk sweetness |
| Volluto | 4 | No | Too mild; gets overwhelmed by foam |
| Napoli | 12 | Yes | Heavy roast, robust finish—ideal for bold profiles |
Machine Settings Matter
If you own a Nespresso machine with customizable milk settings (e.g., Creatista Pro), adjust the temperature to 60–65°C (140–150°F). Exceeding 70°C scorches milk proteins, introducing off-flavors. For non-adjustable models, monitor frothing duration to prevent overheating.
Avoiding Common Mistakes
Even experienced users make errors that compromise the Bianco Piccolo’s elegance. Here are the most frequent pitfalls and how to correct them:
- Using too much milk: The Bianco Piccolo is meant to be espresso-dominant. Stick to 40–60ml of milk total.
- Over-frothing: Excessive air creates stiff, bubbly foam rather than silky microfoam. Stop frothing when the jug feels warm, not hot.
- Brewing into a cold cup: Rapid cooling dulls volatile aromas. Always preheat.
- Waiting too long to serve: The layered effect collapses within minutes. Serve immediately after pouring.
- Reusing capsules: Nespresso capsules are single-use. Attempting a second brew yields weak, sour results.
Real-World Example: Maria’s Morning Ritual
Maria, a graphic designer from Lisbon, struggled with inconsistent Bianco Piccolos for months. She loved the drink from her favorite café but couldn’t replicate it at home. Her early attempts were either too milky or too sharp. After tracking variables, she discovered two issues: she was using skim milk and brewing into a chilled coupe glass straight from the dishwasher.
She switched to whole milk, began preheating her glass with hot tap water, and started using the Ristretto capsule. She also reduced frothing time by stopping the machine mid-cycle. Within days, her results improved dramatically. “It’s now my daily ritual,” she says. “The balance is just right—bold, creamy, and satisfying without being heavy.”
Essential Checklist for Every Bianco Piccolo
Use this checklist before brewing to ensure nothing is overlooked:
- ☑ Preheat cup or glass
- ☑ Choose an intense Nespresso capsule (Arpeggio, Ristretto, Napoli)
- ☑ Brew a 40ml espresso shot
- ☑ Use cold whole milk (50–60ml)
- ☑ Froth to 60–65°C with fine, glossy foam
- ☑ Pour slowly to preserve layering
- ☑ Serve immediately
- ☑ Clean frother right after use
Frequently Asked Questions
Can I make a Bianco Piccolo with a Nespresso Essenza Mini?
Yes, but you’ll need a standalone handheld milk frother. The Essenza Mini doesn’t have an automatic milk system. Heat milk on the stove to 60°C, then froth manually for best results.
Is the Bianco Piccolo the same as a macchiato?
It’s a variation. A traditional espresso macchiato is espresso “stained” with a spoon of foam. The Bianco Piccolo uses more steamed milk and is served in a specific small glass, offering a silkier texture and cooler drinking temperature.
Can I use plant-based milk?
You can, but results vary. Oat milk performs best due to its natural sweetness and viscosity. Look for barista-style versions fortified with oils to improve foam stability. Avoid low-fat almond or rice milk—they separate easily and produce thin foam.
Perfect Your Craft, One Cup at a Time
Mastering the Bianco Piccolo isn’t about perfection on the first try—it’s about refining your process through attention to detail. From selecting the right capsule to controlling milk texture, every step contributes to the final experience. The beauty of the Nespresso system lies in its consistency, but it’s up to you to guide it toward excellence.
Now that you understand the science and art behind this elegant drink, experiment with small adjustments. Try different capsules. Fine-tune frothing time. Adjust serving vessels. Keep notes. Soon, your Bianco Piccolo will become more than a beverage—it’ll be a ritual, a moment of calm, and a testament to your growing skill.


 浙公网安备
33010002000092号
浙公网安备
33010002000092号 浙B2-20120091-4
Comments
No comments yet. Why don't you start the discussion?